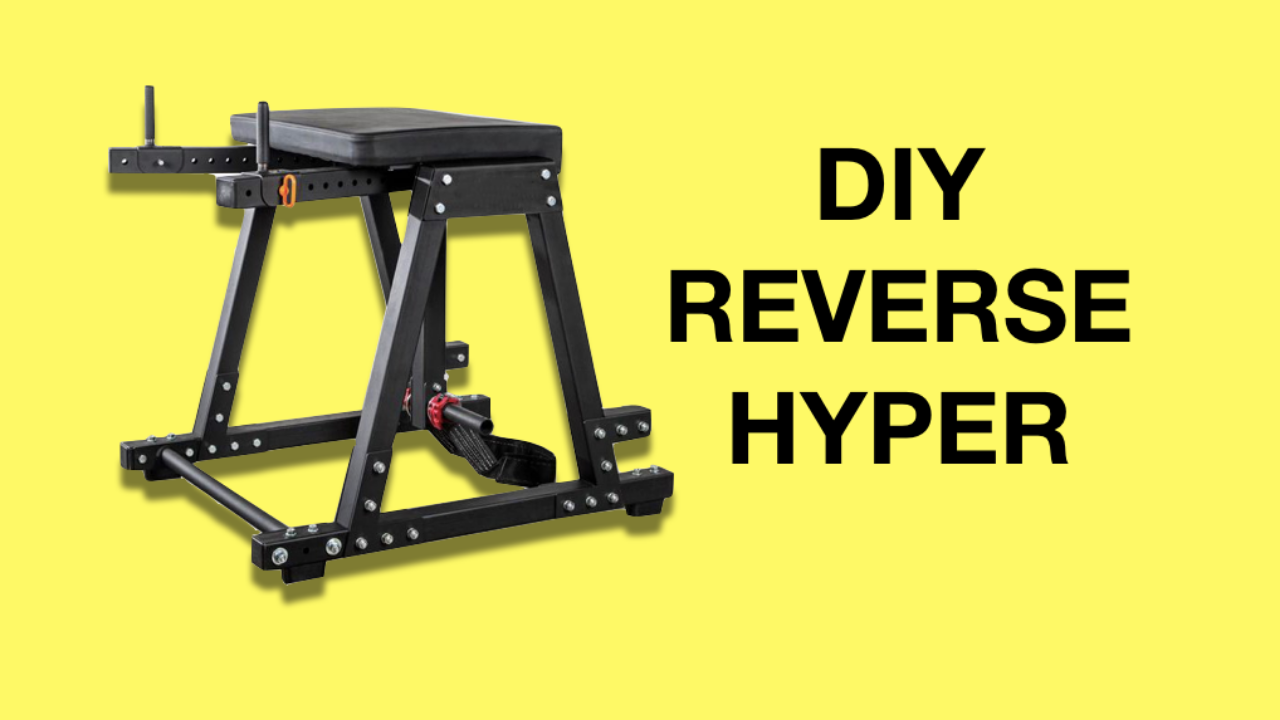
If you love doing the reverse hyper extension but don’t have a machine, I’ll show you how to make a homemade DIY version using equipment you probably already own.
Reverse Hyper Checklist
Table of Contents
Here’s a list of the equipment I used to make assemble the reverse hyper machine set up.
In case you don’t have some of the equipment, I’ll leave links below so you can check out what I have in my garage gym.
If you don’t want to use the ones I have, there’s plenty of options online for ones that fit your liking and budget.
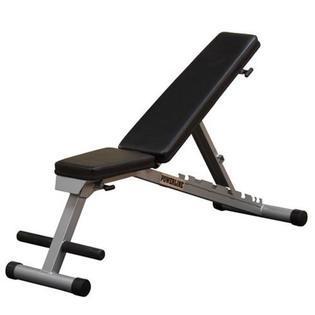
➡️ Adjustable bench – the bench must be able to incline in order for this set up to work.

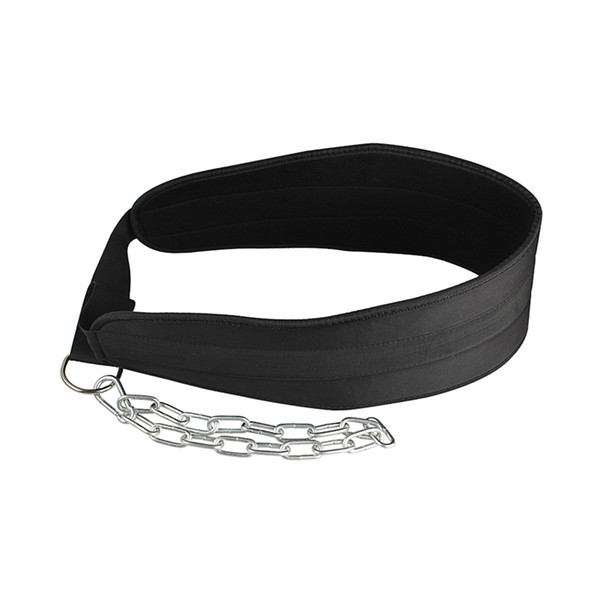
➡️ Dip belt – The dip belt will go around your ankles and is to connected to resistance bands/tubes so when your legs go into extension, you have some resistance.

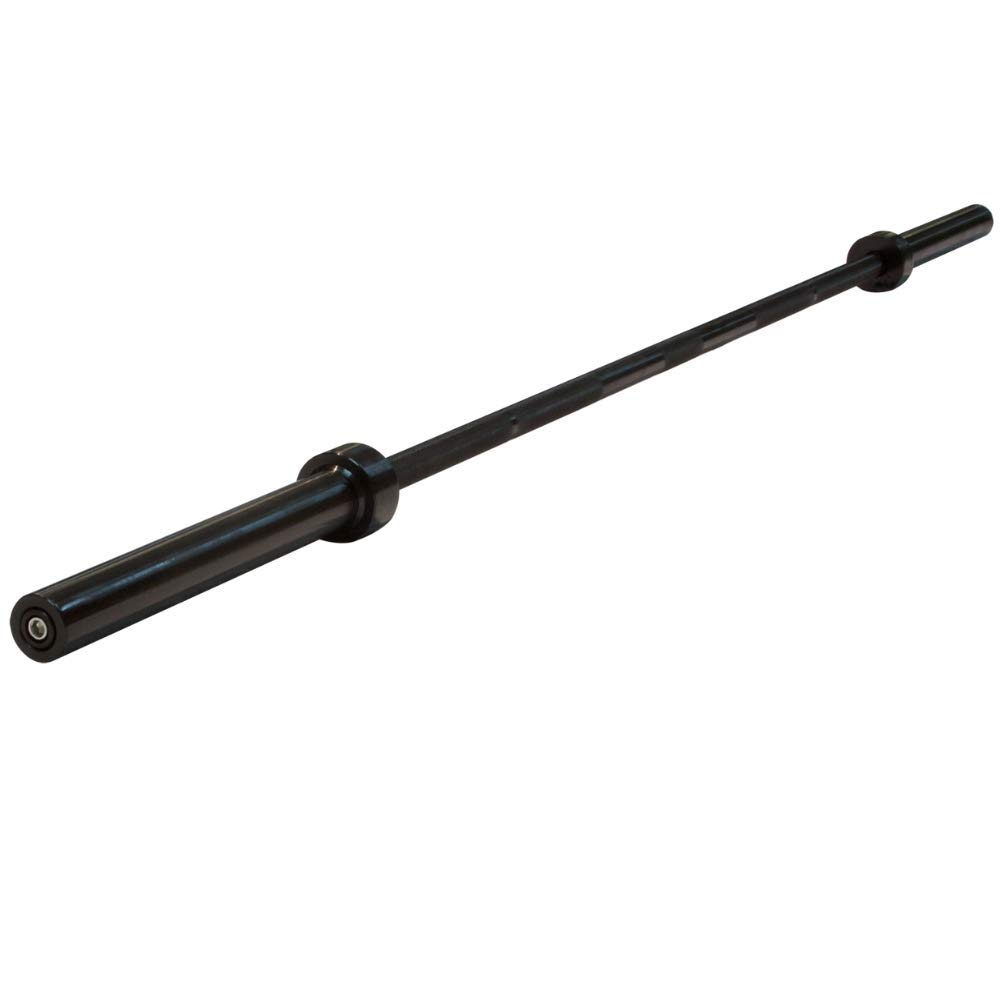
➡️ Barbell – you can use any barbell or even spotter arms facing each other so that bench can rest on them.

➡️ Weight rack – make sure the weight rack is well supported and sturdy enough to hold weight.
➡️ Heavy duty resistance tubes

Reverse Hyper Extension Set Up
➡️ Place the j-hooks behind the rack
➡️ Rest the barbell on the j-hooks
➡️ Rest the bottom part of the bench on the barbell
➡️ Wrap a resistance tube to portion of the bench touching the floor
➡️ Connect resistance tubes to dip belt
The best part about this set up is that you don’t need any machine taking up space inside your home gym.
Reverse Hyper Benefits
The reverse hyperextension will get your whole posterior chain musculature stronger.
The glutes, hamstrings, and low back all work together in extension movements so it’ll benefit anything from jumping, deadlifts, power cleans, running, etc.
Many people have also used this exercise as a form of rehab to treat low back issues and disc injuries.
Ready to start your gym?
Want to start your own garage gym?
Click here to check out my garage gym for ideas.

Shredded Dad is a home gym equipment reviewer and fitness equipment expert specializing in hands-on testing of strength and conditioning equipment.
His work has been featured by leading fitness brands and quoted by major media outlets including Yahoo Health, GQ, AskMen, LifeWire, Wales Online, and others.
ShreddedDad.com

