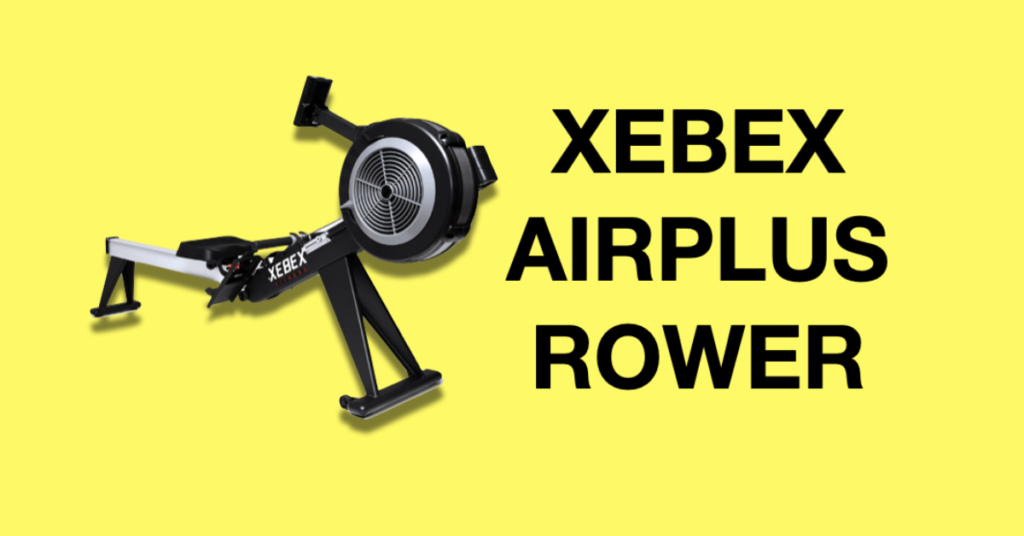
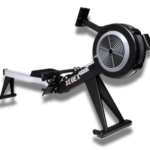
The Xebex AirPlus Rower is a dual resistance rowing machine.
I can use air resistance, magnetic resistance, or a combination of both at the same time.
This makes it an excellent piece of equipment for anyone just starting to work out to the most advanced athletes.
And the best part is that it’s easy on my joints but it gives me a brutal beat down at the same time.
With its folding design, it doesn’t eat up a lot of my garage gym real estate either.
Let’s check it out!
Unboxing
Table of Contents

The Xebex rower came in a pallet and I don’t blame them for shipping it this way.
Sometimes heavy equipment can be dropped by delivery guys so this is a safer way to go.
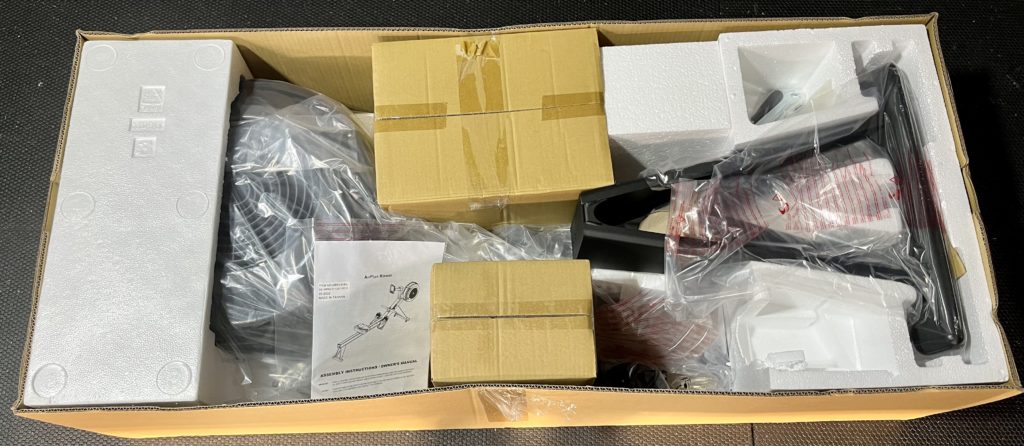
Once I opened the box, everything was tightly packed and protected in plastic bags, boxes, and styrofoam.
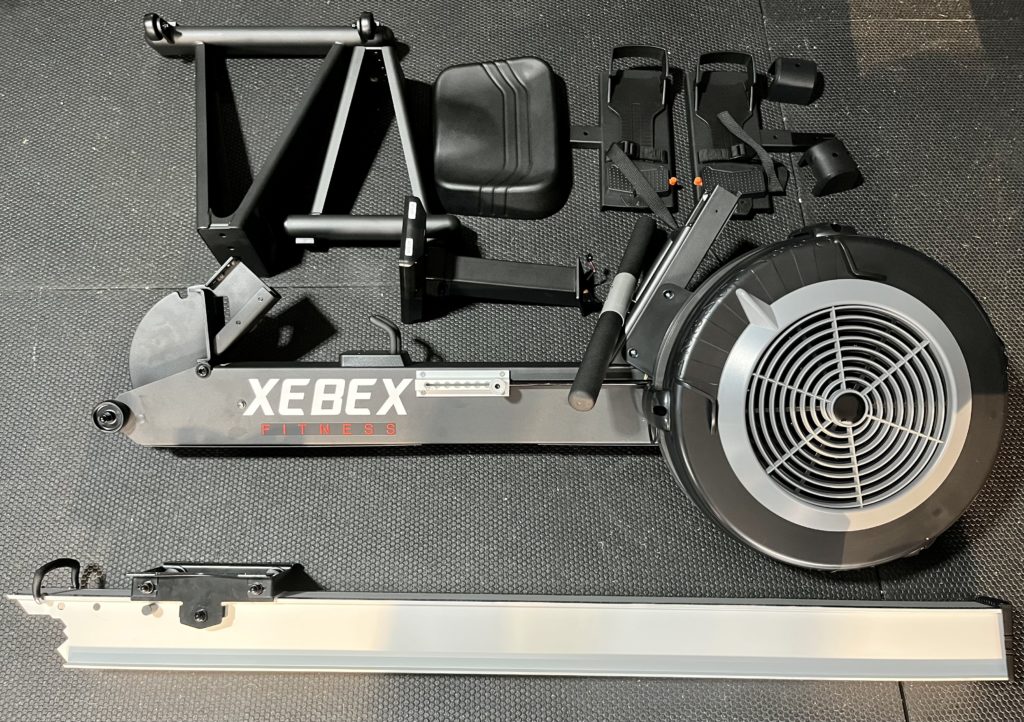
Here’s everything out of the box.
I didn’t have much to put together and assembly instructions were straight forward.
Specs
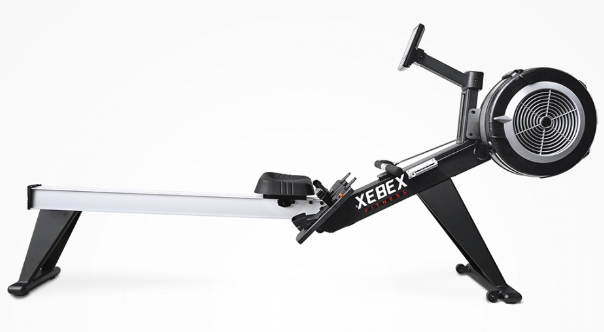
- Weight: 93 lbs
- Dimensions: 99″L x 20″W x 45″ H
- Footprint (folded for storage): 3′ long x 20″ wide
- Warranty: 5 year frame, 2 year non-wear parts
Set Up
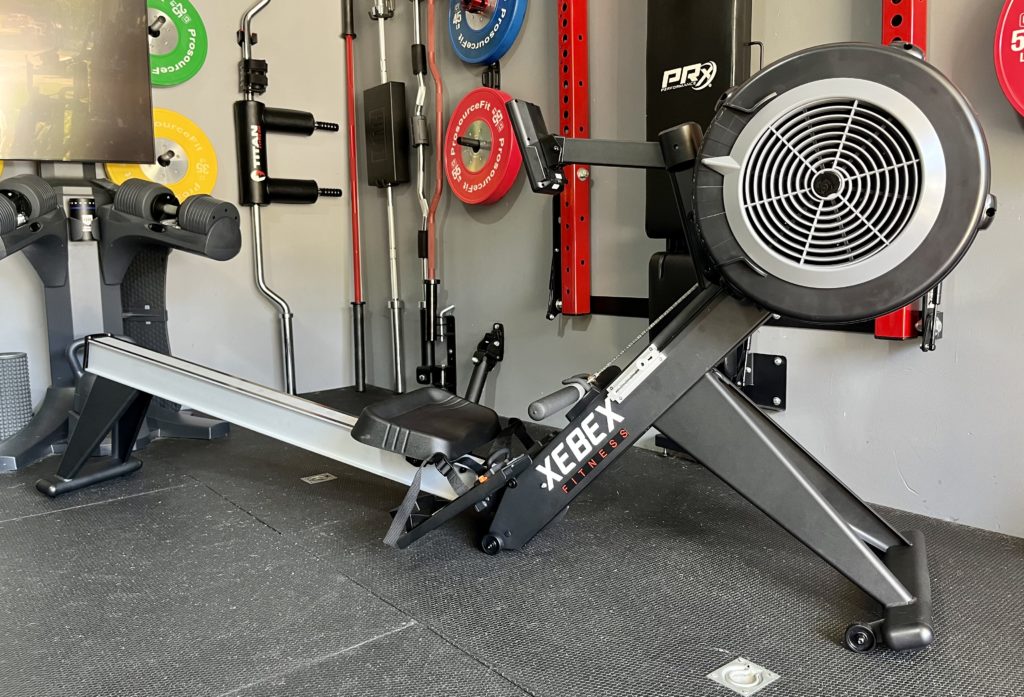
So once I put everything together, the rower looks like it’s broken in half but nothing to worry about.
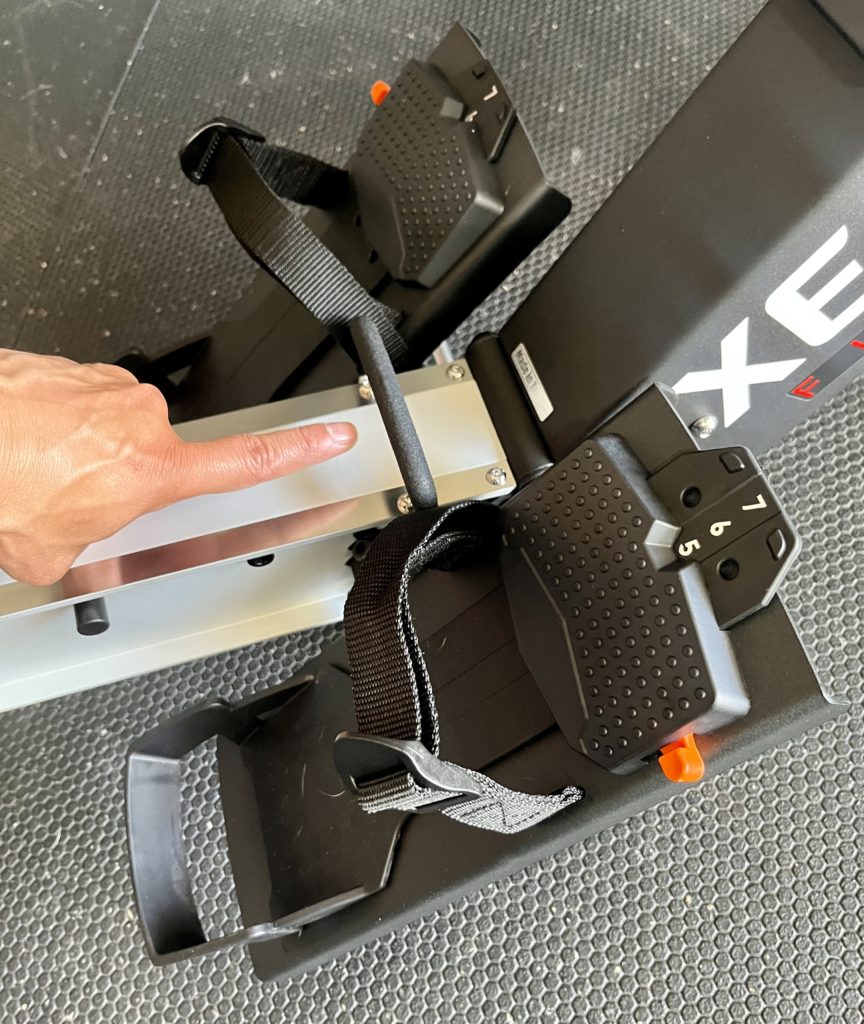
This is just the way the Xebex rower folds up in half to save space to store it vertically and I”ll show you that later.
Right in between the pedals there is a handle to straighten up the frame.
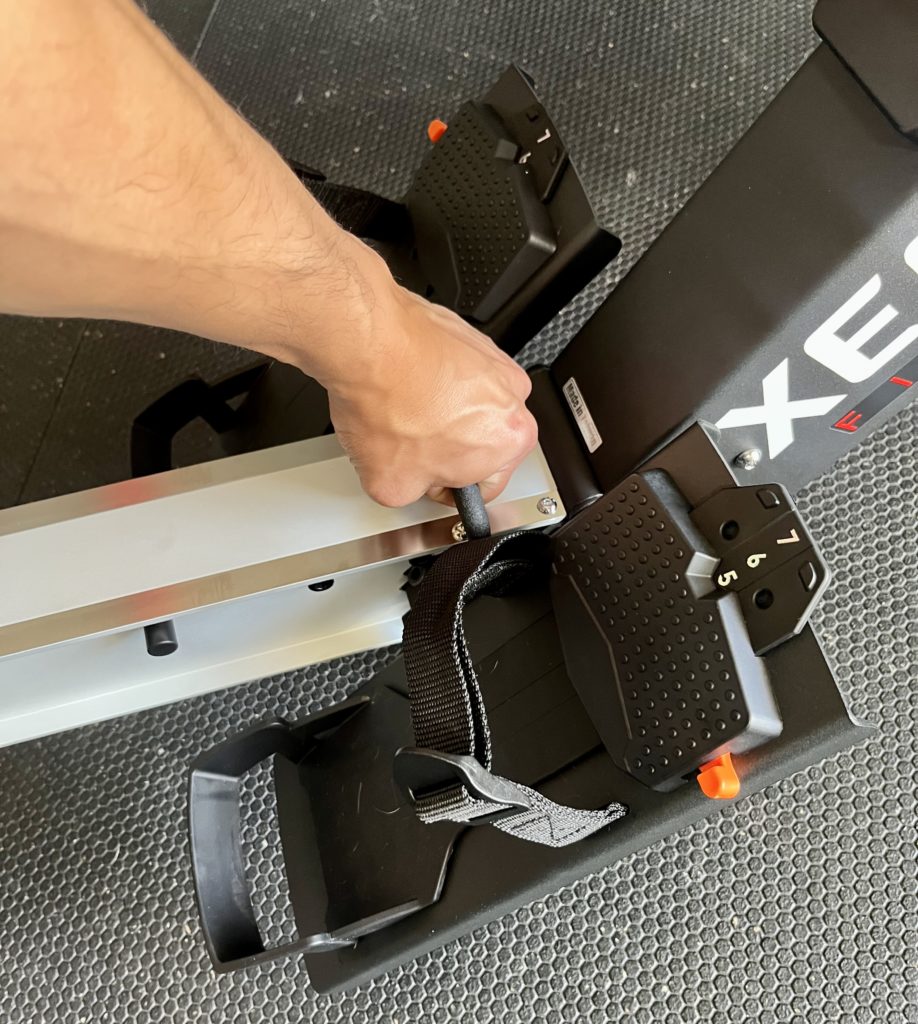
All I do is pull it straight up until I hear a click and it locks the middle section in place.
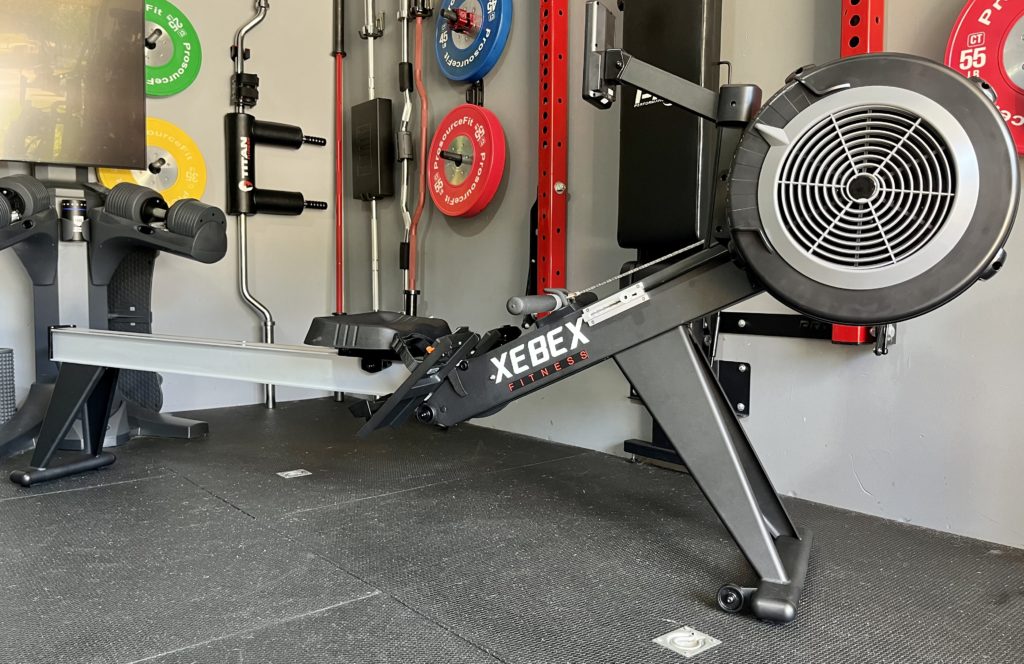
And here’s the AirPlus 4.0 all ready to use.
Features
AirPlus Resistance
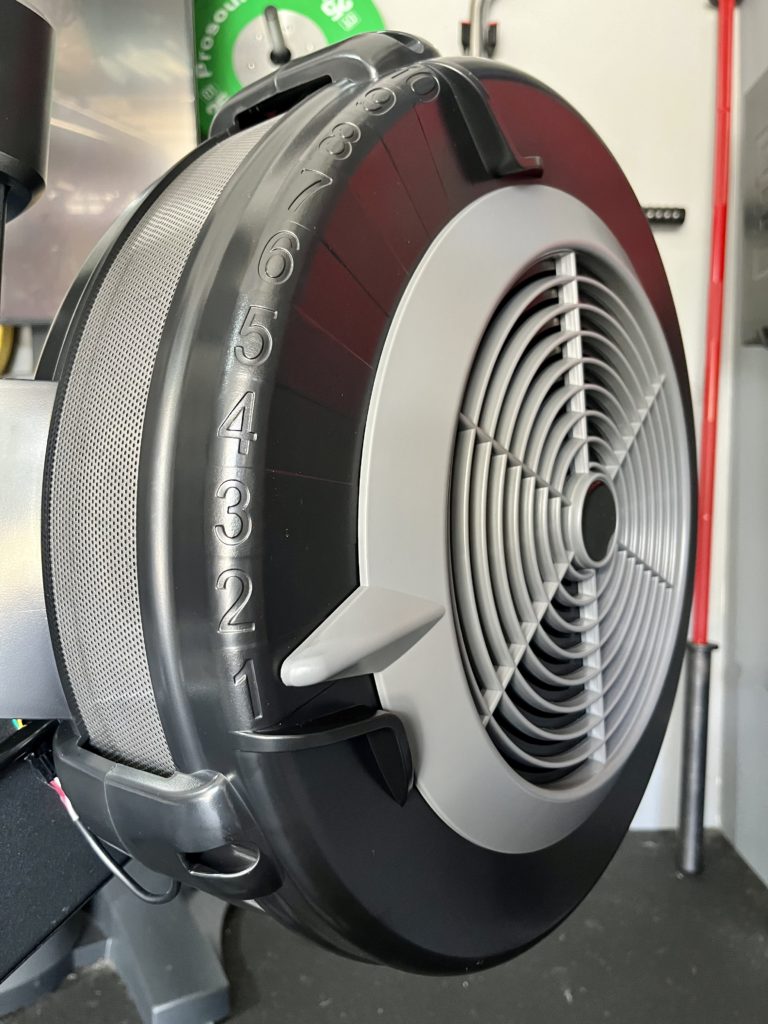
Just like the Concept 2 RowErg rower, Xebex’s rower also comes with an air resistance damper.
But Xebex also added magnetic resistance which Concept 2 doesn’t have (I’ll show you that in a bit).
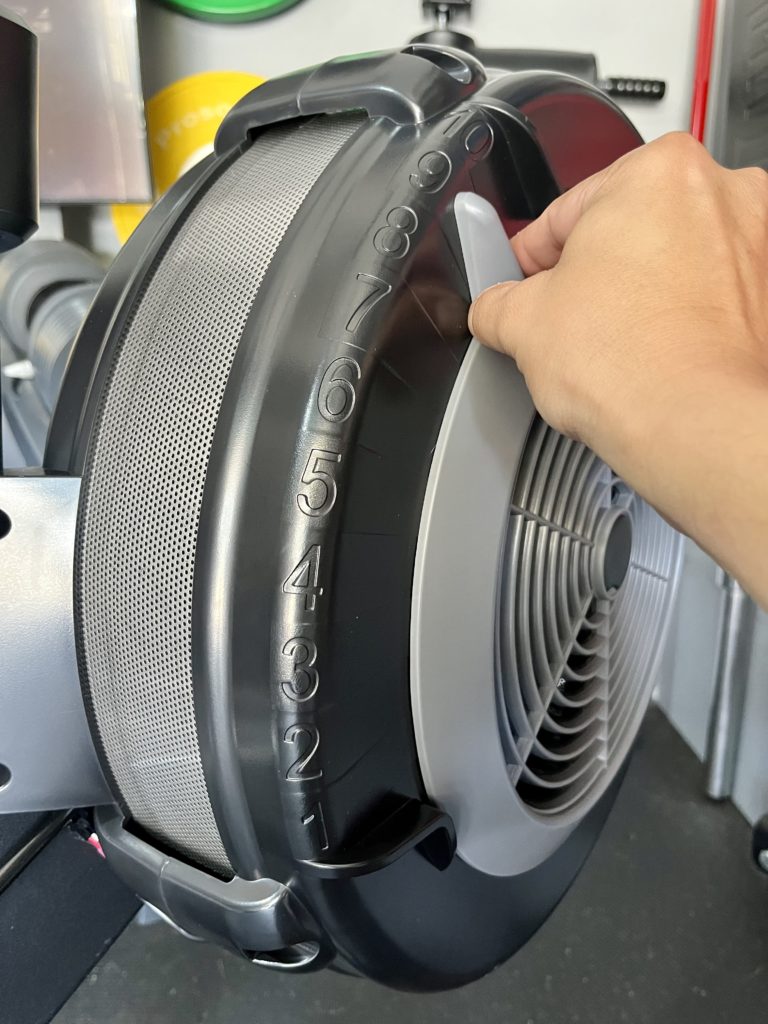
The damper has 10 settings (1 – 10) and I choose the setting manually by moving the pointer to the level I want.
A higher number lets more air into the flywheel, making it harder to spin against air resistance.
If I pick a lower number, less air goes in, so I’m working with less drag.
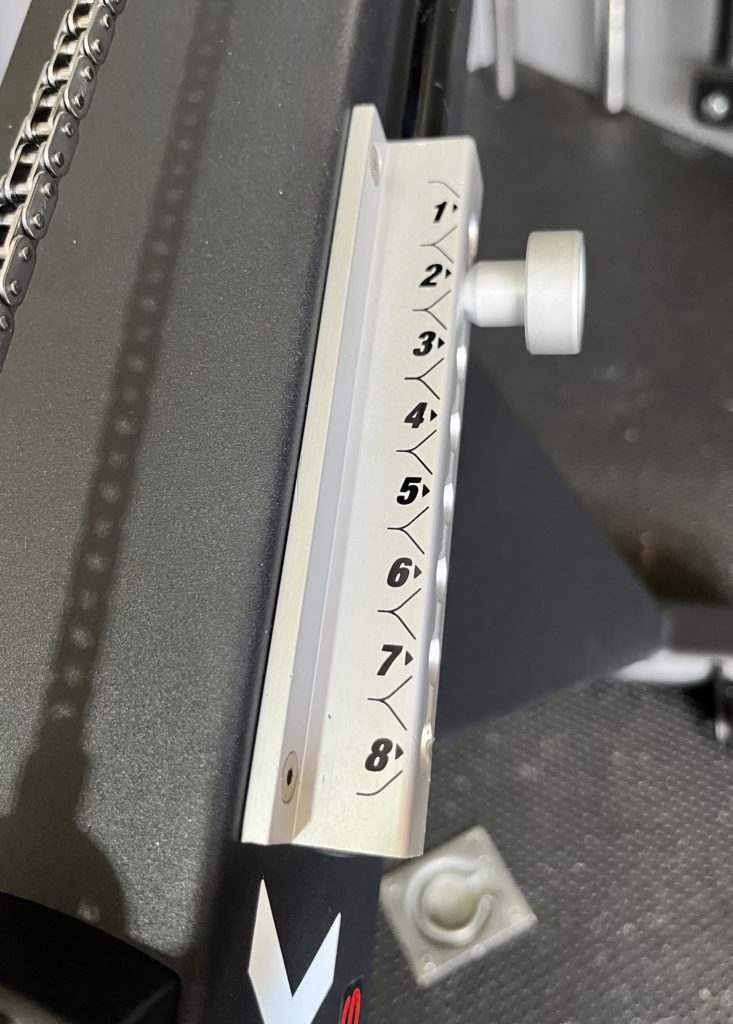
Now here’s where Xebex bumped it up a notch in intensity level.
On top of the air resistance, they added 8 magnetic resistance levels.
The combination of air plus magnetic resistance gives me a big range of resistance to work with.
So I can go from light resistance if I wanna work more on endurance to high resistance if I wanna be explosive and work on power.
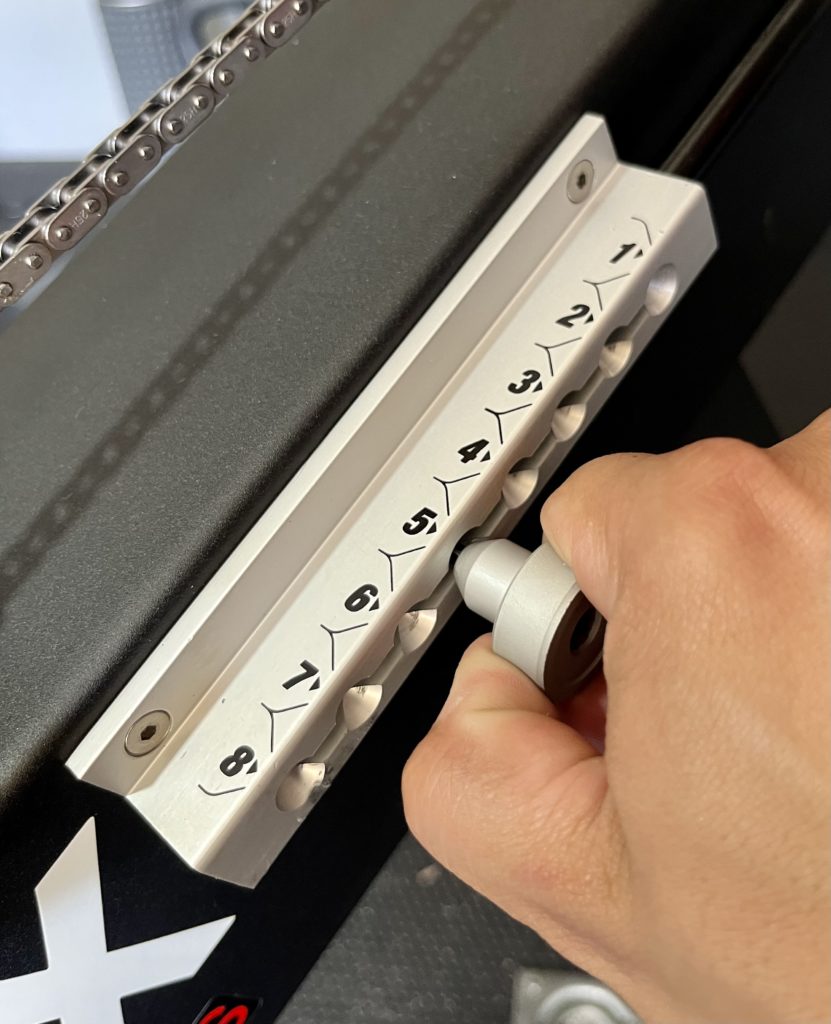
To adjust the magnetic resistance, I pull the knob out then drag it to the level I want.
RELATED: VO2 Max Calculator
Digital Display Console
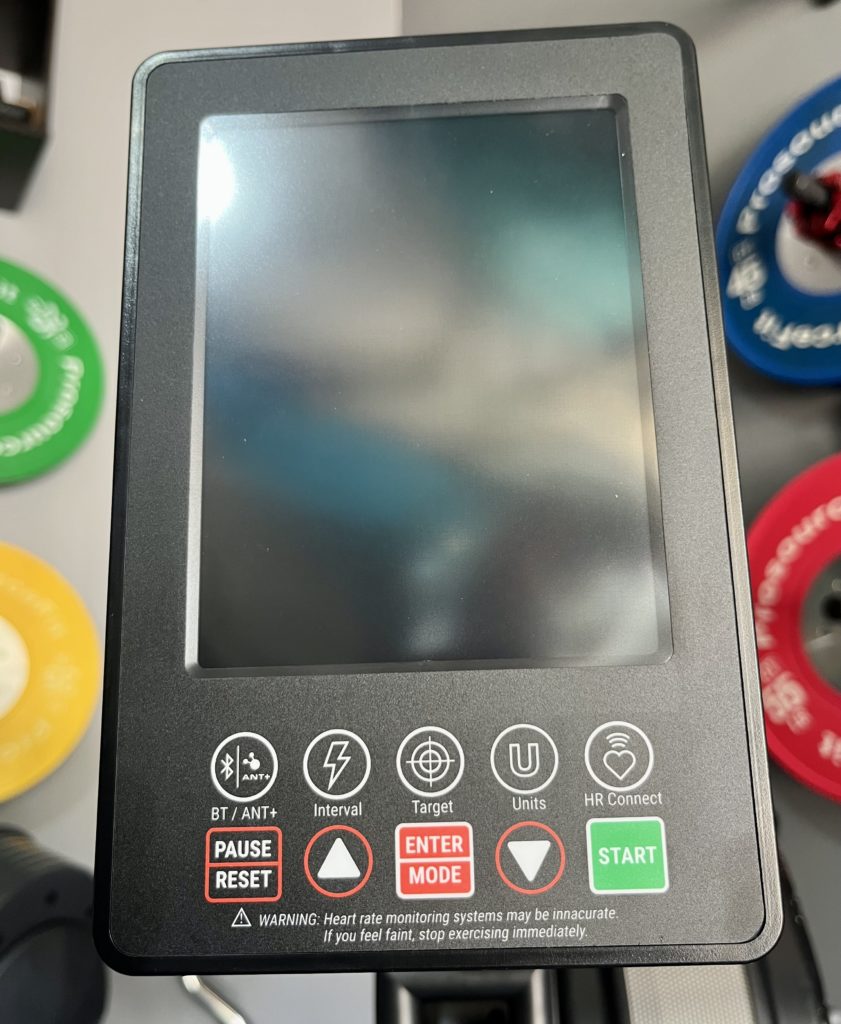
The digital display tracks a ton of information and even comes with its own instructions manual.
Probably more than I’ll ever use but it’s nice that they include all those metrics.
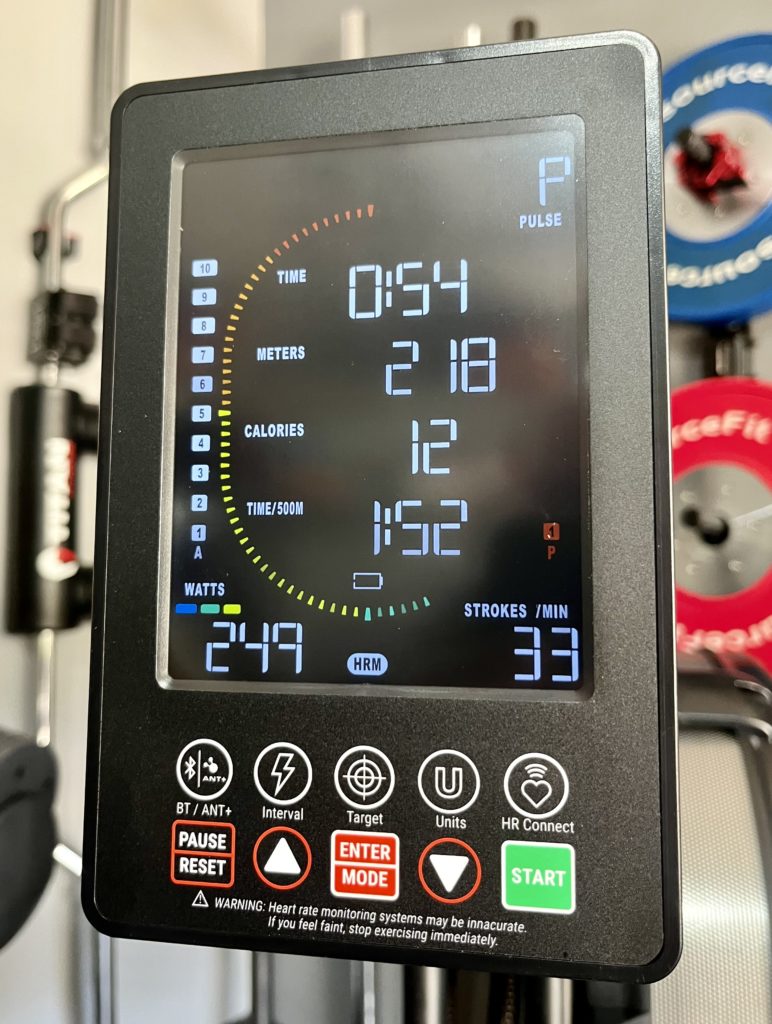
It automatically turns on once I start rowing.
The display shows me the progress I’ve made on a 500 meter interval, with the circle becoming smaller as you get closer to the finish line.
Metrics tracked include: Time rowed, time/500M, watts, pulse (when connected to my Polar H10 heart rate monitor), meters/distance, strokes per minute, calories, and total strokes.
Seat
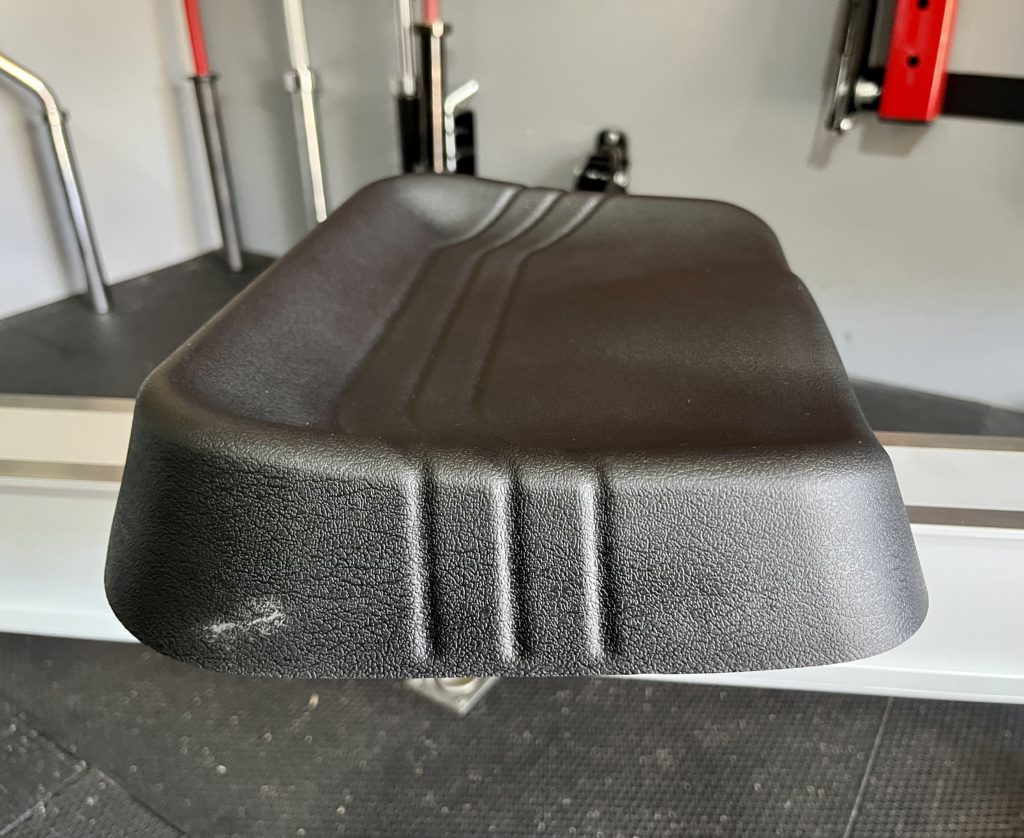
I like that the seat is a high density foam similar to AbMat products.
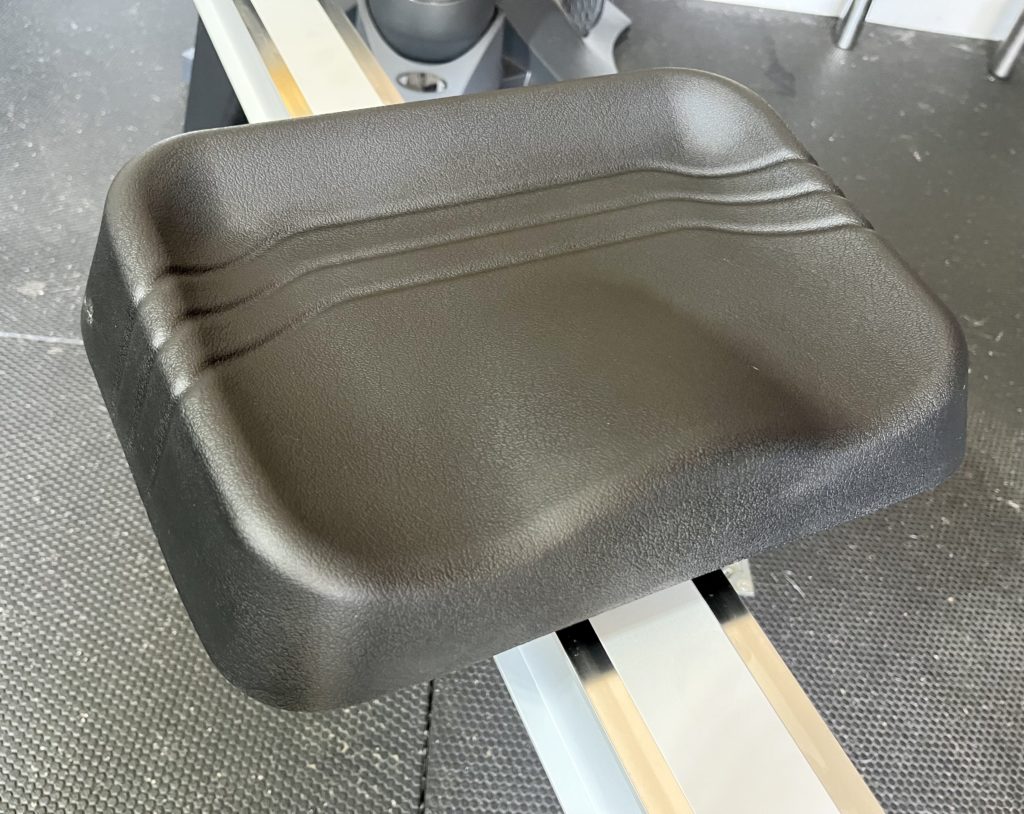
It’s comfortable and raised on the edges so that I don’t slip off it when I push off the pedals.
Pedals
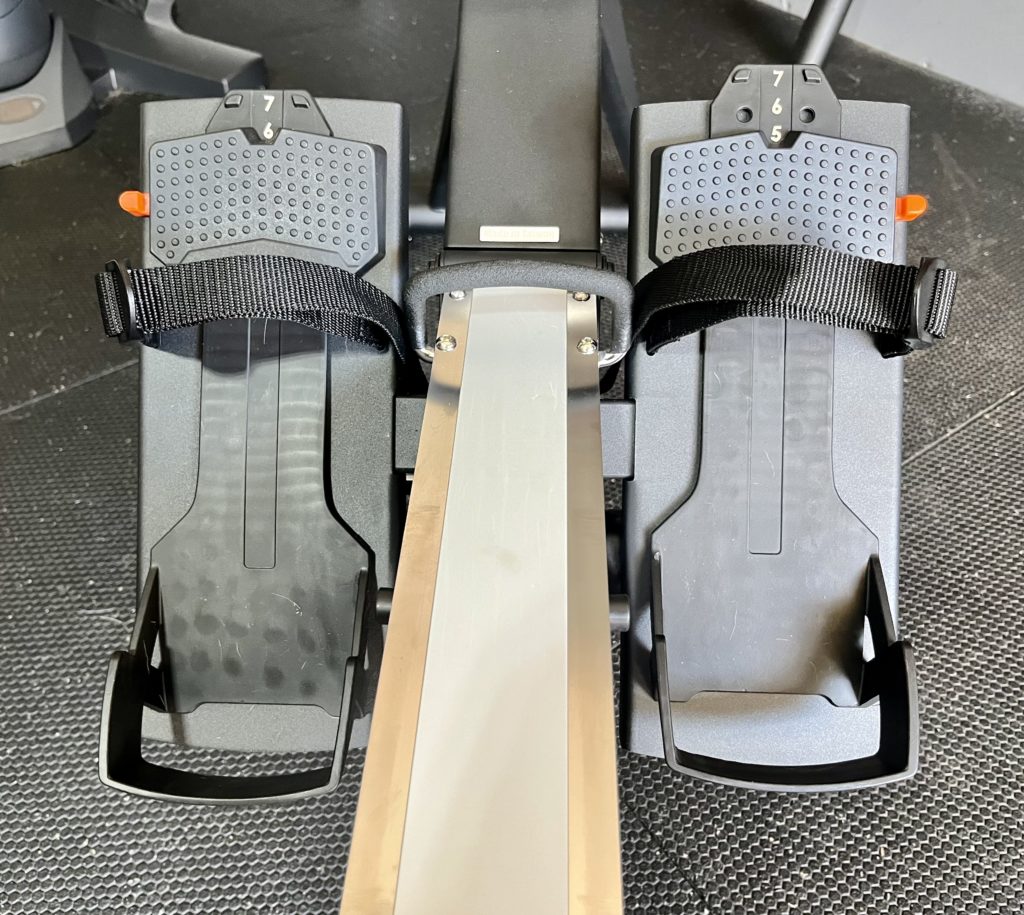
The pedals are stationary unlike other rowing machines I’ve used that pivot as my feet move.
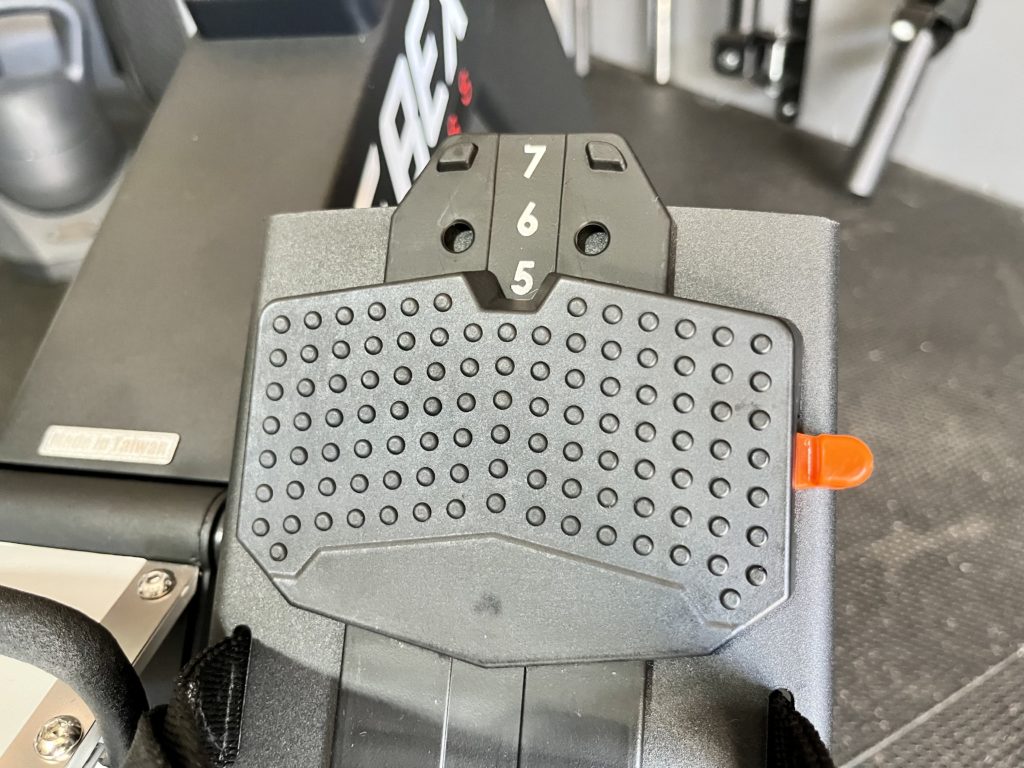
Each pedal is adjustable in length to accommodate different sized shoes.
Width wise there’s plenty of room plus my feet strap down with a strap that’s universal.
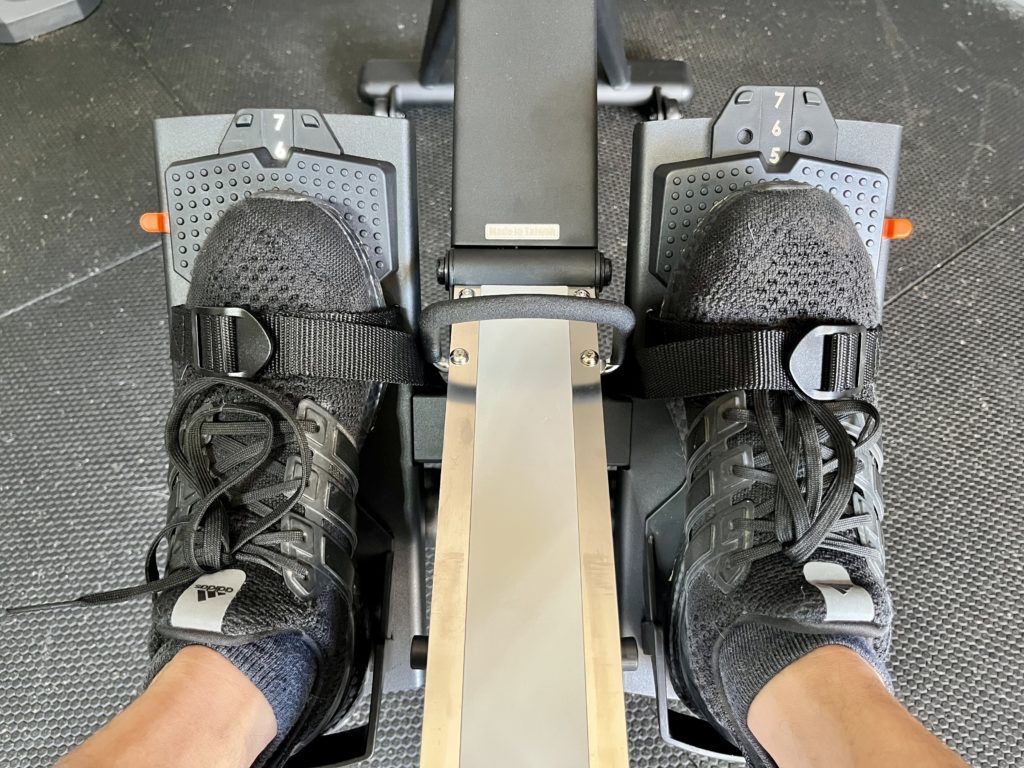
Here’s what my feet look like when I’m all strapped in.
The ball of my feet sits on a ribbed surface to prevent slipping.
Top of my feet is held in place by straps and my heels have a plastic strap behind them.
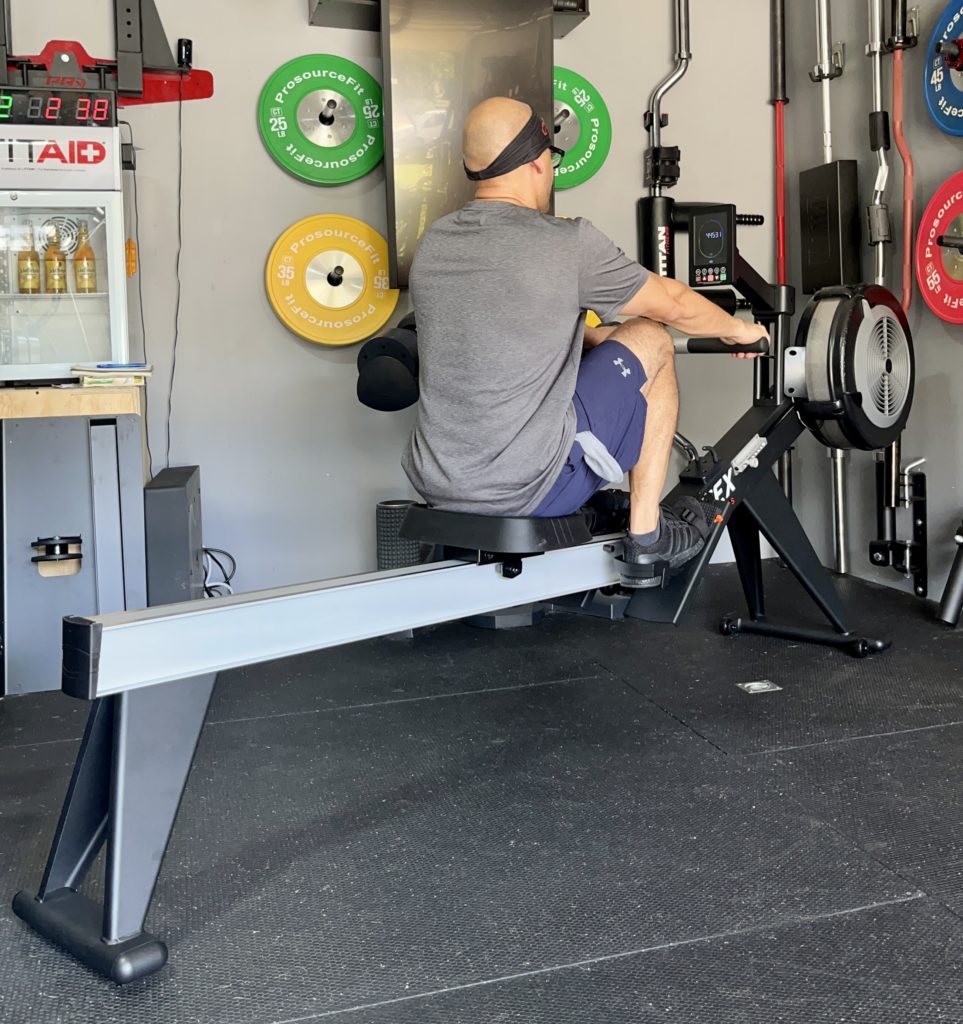
Earlier I told you these pedals don’t pivot but my heels are free to lift up while still being supported.
This happens in the catch position of the row (look below for a close up).
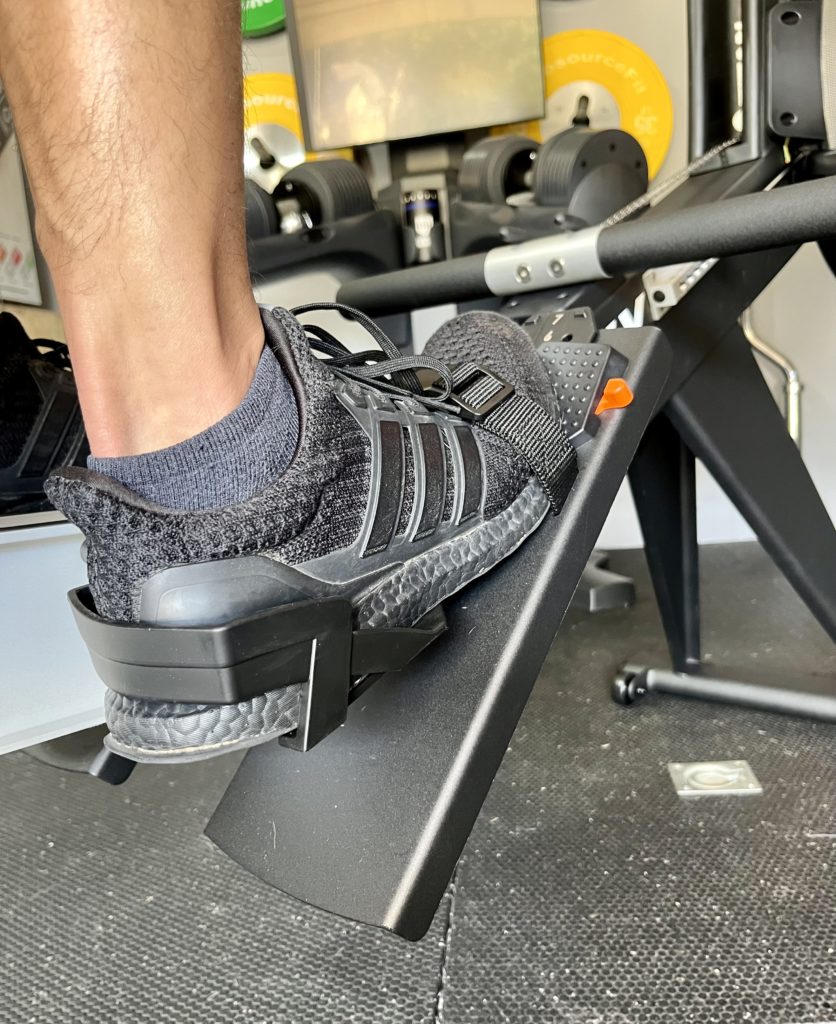
The heel strap is flexible and it allows my heel to come off the pedal while in the catch position.
Handle
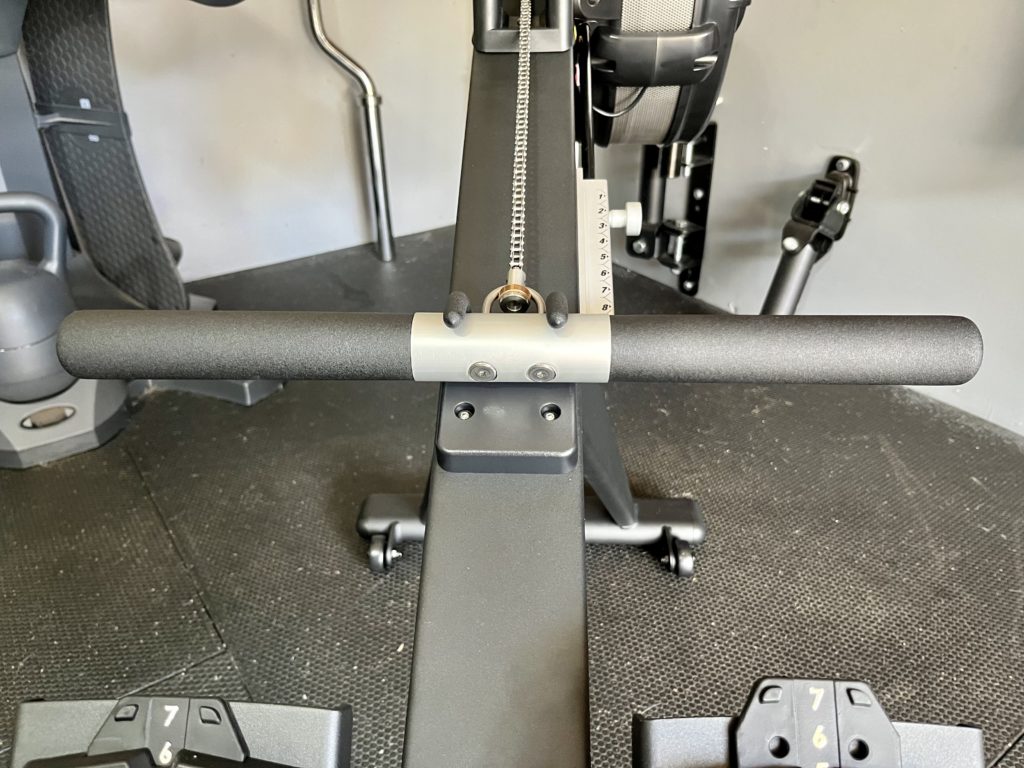
I like that the handle is thick and the grip feels like it’s rubber dipped.
The rubber is wrapped tightly around the handle and doesn’t move around at all.
Sometimes I like to change it up and wrap my Angles 90 grips around the handle to get a more neutral grip.
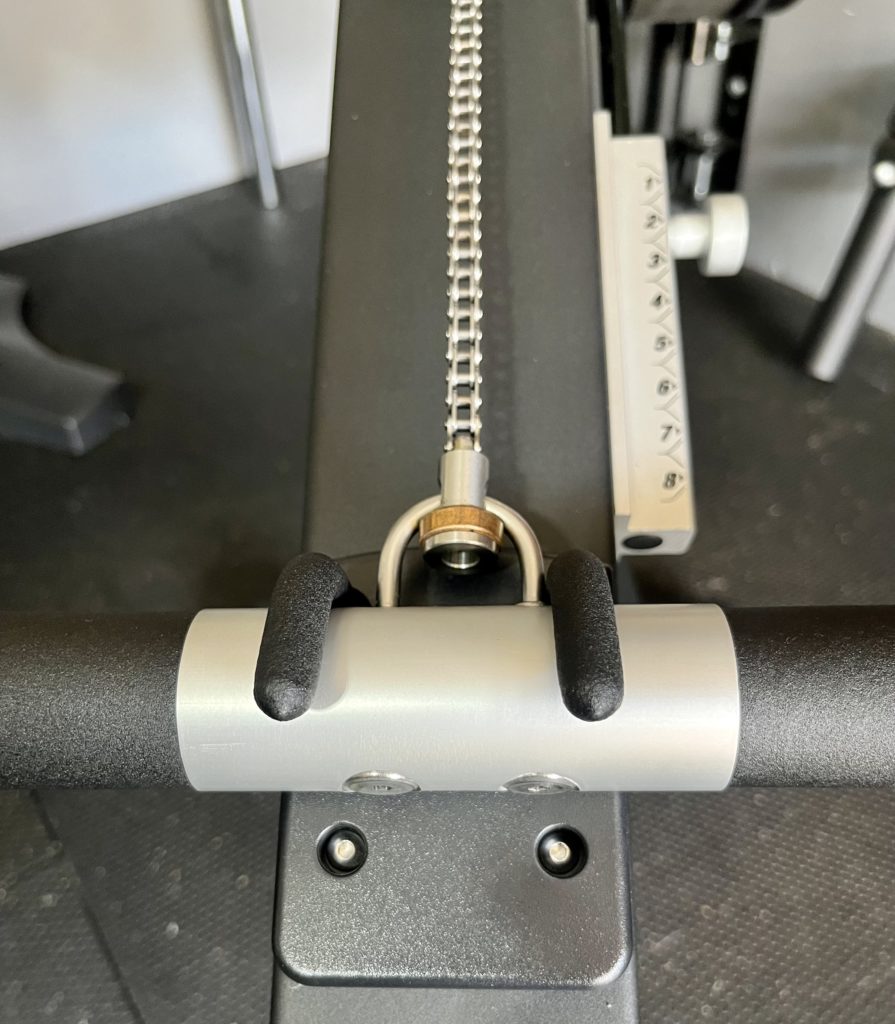
When my hands are off the handle it sits on a double hook with constant tension coming from the chain attached to it.
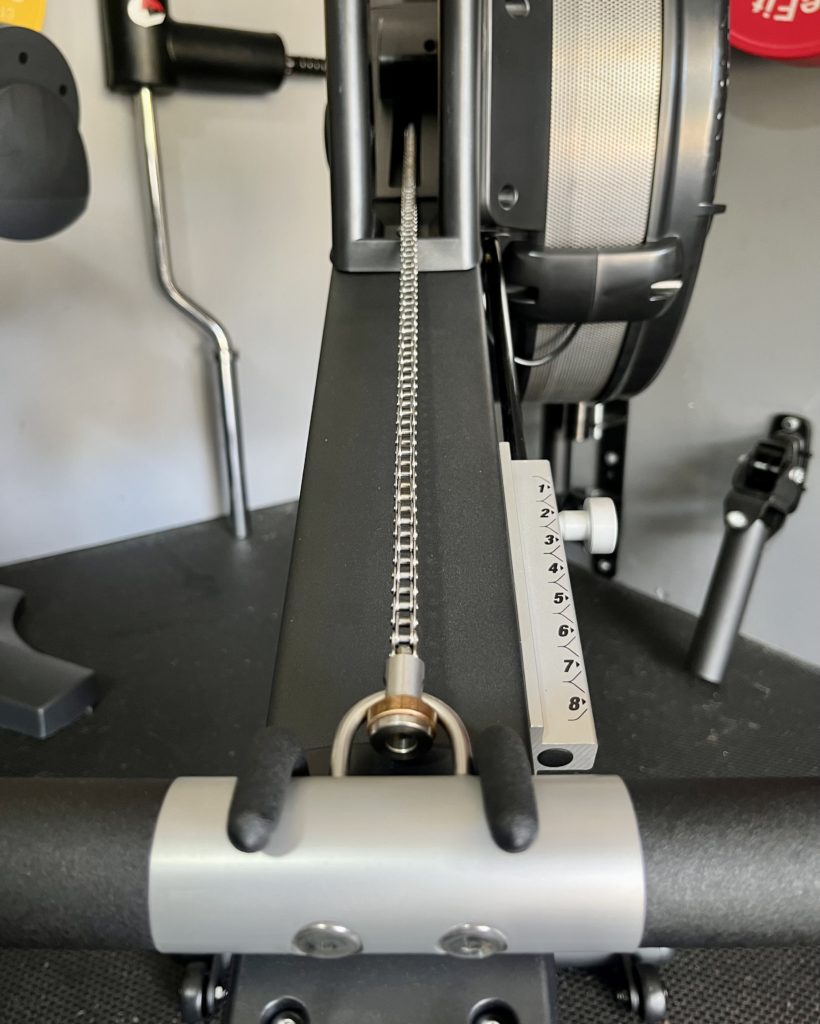
The chain goes into the flywheel housing.
With this rower being chain driven (vs belt driven), I can see it lasting a very long time.
RELATED: Yosuda Dragonfly Rower
Wheels
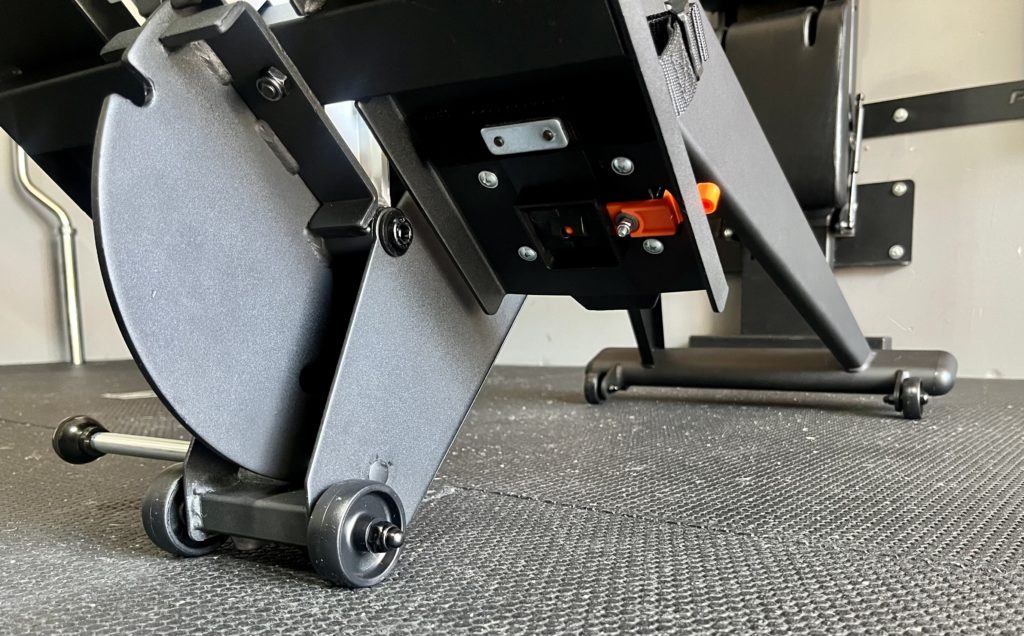
The Xebex AirPlus rower has 4 four wheels that make it easy for me to move it around my garage.
There’s two wheels right below the flywheel and two in the middle of the rower.
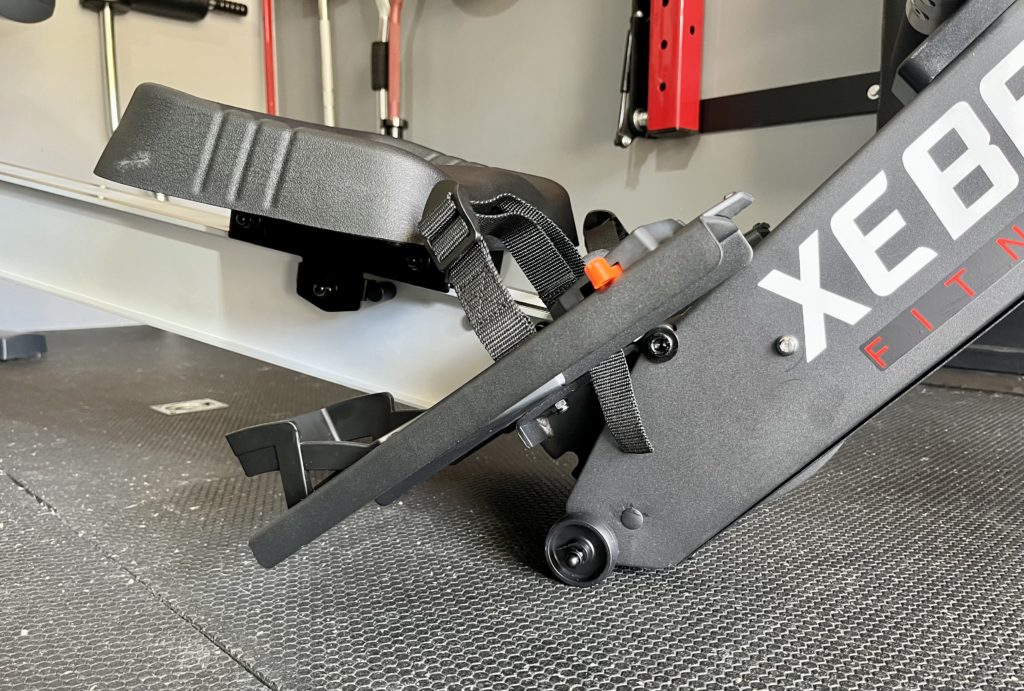
The wheels only touch the floor when the rower is folded for storage.
I’ll show you how that’s done below.
Storage
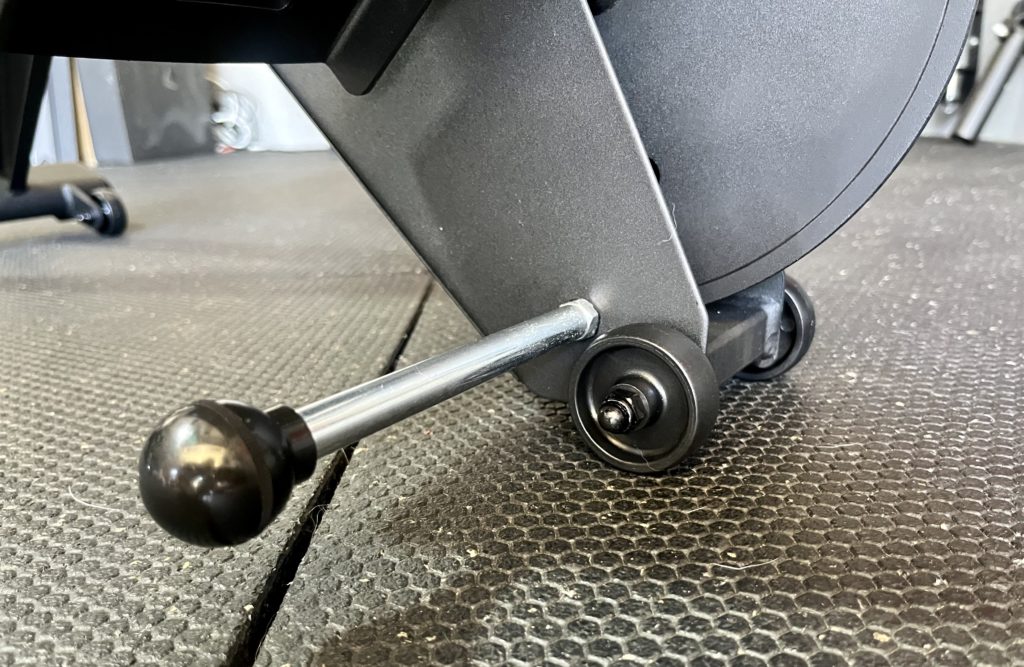
Right below the pedals there’s a long pin.
This unlocks the rower so I can fold it and unfold it.
When I’m done rowing, all I do is pull the pin out, the middle of the rower will fold down touching the floor.
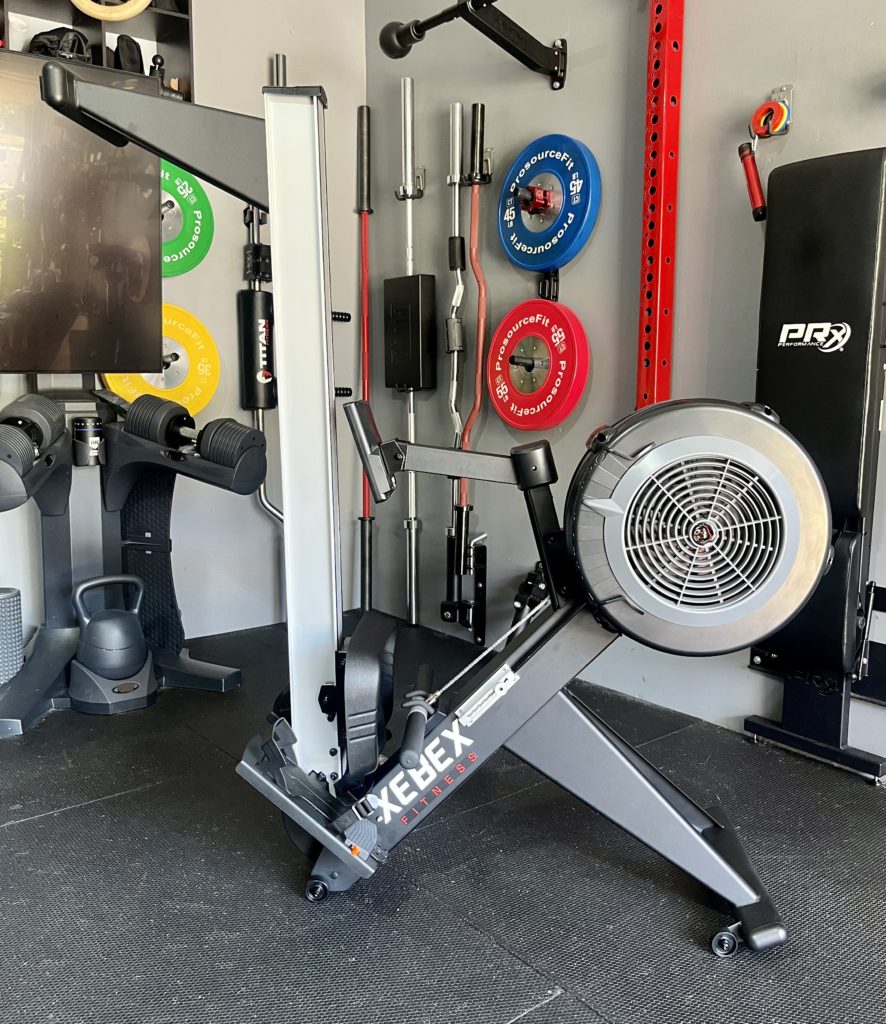
Then I’ll fold the seat rail vertically until it clicks and locks in place.
This way I can store the rower without taking up a ton of space.
When I’m ready to use it again, I pull the pin and rail unlocks.
Feet
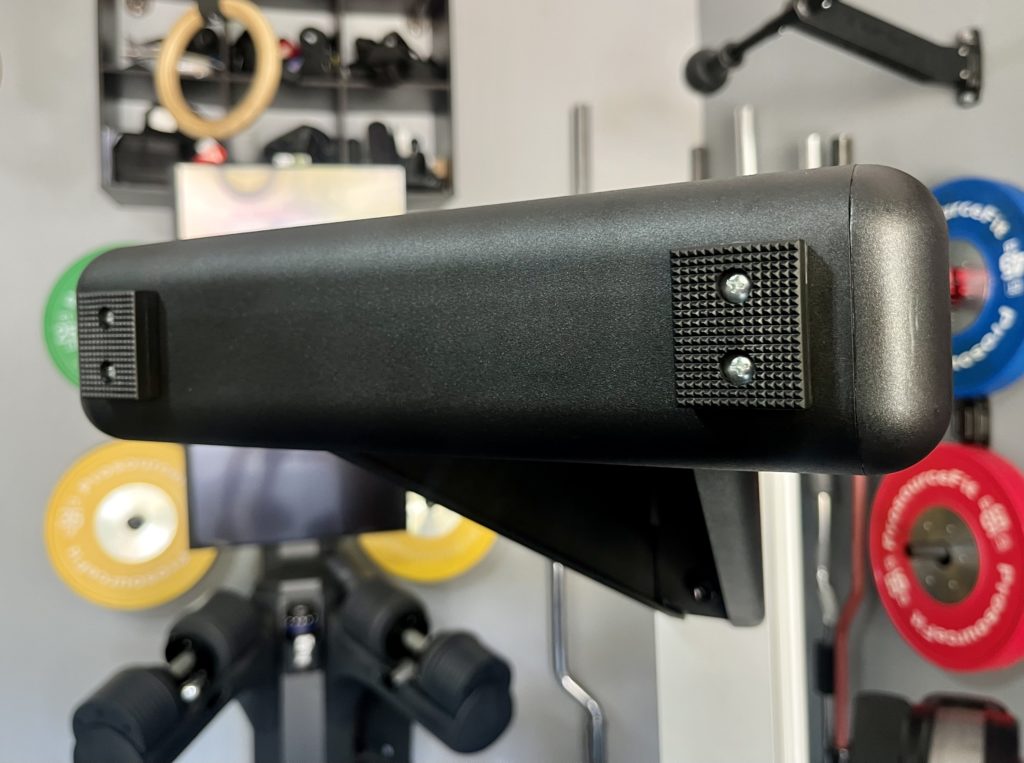
Both the front and back feet have a pair of squared rubber pieces on the bottom.
I like that these are screwed and have a bit of texture on them (almost looks like knurling).
These keep the rower from moving around when I’m using it.
Xebex Air Plus vs Concept 2 RowErg Rower
| Features | Xebex AirPlus | Concept 2 RowErg |
| Resistance | Air (10 levels) and magnetic (8 levels) | Air (10 levels) |
| Display Console | Color LCD | LCD |
| Build | Steel/Aluminum | Steel/Aluminum |
| Seat | High density foam | High density foam |
| Storage | Folds less than 50% of length | Stores vertically |
| Drive Mechanism | Chain driven | Chain driven |
The Xebex AirPlus rower and Concept 2 RowErg rower are very similar.
Biggest difference between the two is that the Xebex rower has two forms of resistance vs Concept 2’s one.
Look at the table above to compare features.
Pros & Cons
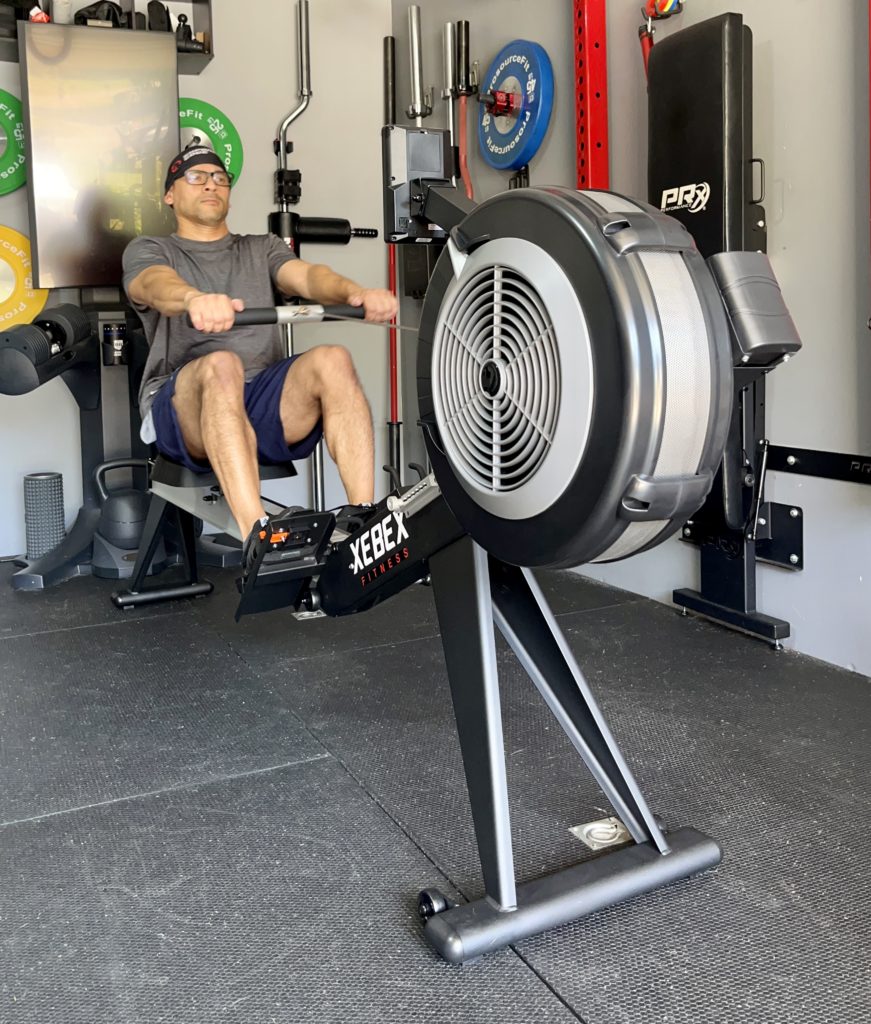
Pros
- Dual resistance: Magnetic and air resistance is great so I can start easy and increase the resistance as I get better
- Tracking: Digital screen keeps track of several metrics while I row to help me keep track of progress
- Moves easily: When I fold it up, wheels touch the floor and make it easy to move the rower around
- Space saving: Folds up to take up less space in my garage gym
- Low impact: Even though rowing kicks my ass, it’s still easy on my joints
- Chain driven: I like that this uses a chain instead of a belt because that will last longer with little maintenance
Cons
- Price: It’s not cheap but it’s made of high quality materials that will last a very long time.
GetRxd / Xebex Discount Code
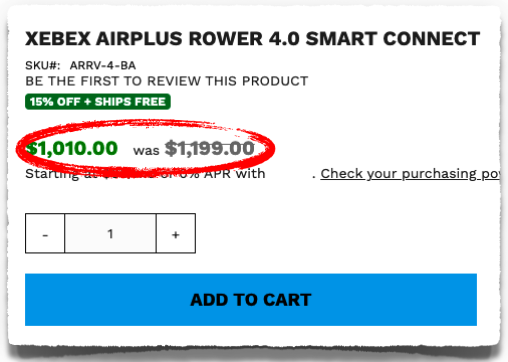
The Xebex AirPlus rower is a premium piece of equipment…
But it currently has a 15% discount and ships FREE.
Click here to get it at the discounted price while it lasts.
Xebex AirPlus Rower Review
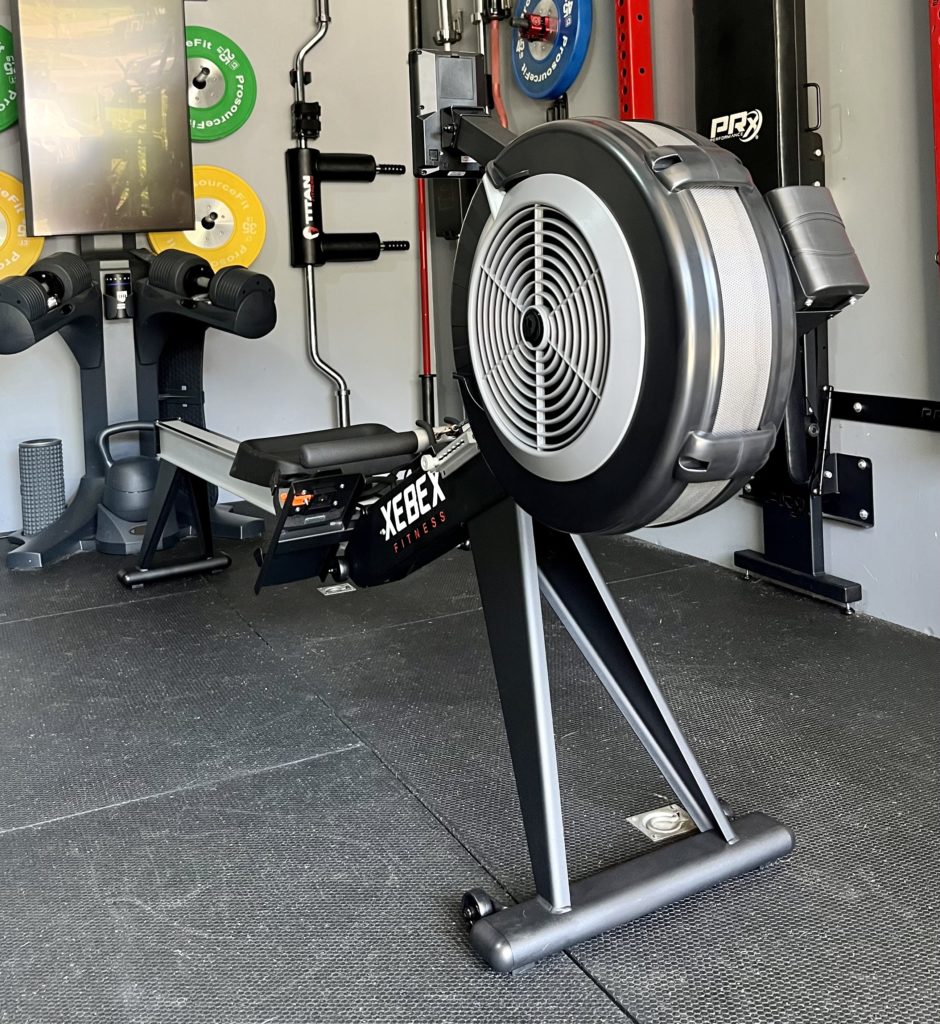
I’d say the quality on the Xebex AirPlus rower is up there with Concept 2’s RowErg rower.
Solid build, comfortable seat, smooth motion, and tracks everything.
I like having the dual resistance option so I have more ways to challenge myself.
And the way it folds in less than half its size is genius for space saving.
Check Out The Xebex AirPlus Rower

Shredded Dad is a home gym equipment reviewer and fitness equipment expert specializing in hands-on testing of strength and conditioning equipment.
His work has been featured by leading fitness brands and quoted by major media outlets including Yahoo Health, GQ, AskMen, LifeWire, Wales Online, and others.
ShreddedDad.com

The Concept 2 needs to be separated into two pieces for storing it when not in use. It can be tilted up if you have a ceiling height greater than 8 feet and a way to keep it in place. The Concept 2 is meant to be used in a dedicated space as with a gym or dedicated exercise room in a house.