In this RailTrainer review, I’m going to show you how to convert your squat rack into a functional trainer using a retractable home cable pulley system.
This is the first of its kind and now you have the ability do cable functional trainer exercises without spending thousands of dollars and without a big machine taking a lot of space in your home gym.
🔥 UPDATE 🔥
Table of Contents
- 1 🔥 UPDATE 🔥
- 2 In The Box
- 3 Setting Up The RailTrainer
- 4 RailTrainer Retractable Cable System
- 5 Weight Rack Attachments
- 6 Weight Capacity
- 7 RailTrainer vs Functional Trainers
- 8 RailTrainer vs Home Cable Pulley Systems
- 9 RailTrainer Coupon
- 10 90 Day Money Back Guarantee
- 11 RailTrainer Review
- 12 RailTrainer Quickpin
RailTrainer is out of business so below you’ll see companies that sell cable machines and functional trainers:
➡️ Rep Ares 2.0
➡️ Rep Fitness Functional Trainer
➡️ Titan Fitness Functional Trainer
➡️ Bells of Steel Functional Trainer
➡️ Force USA Functional Trainer
In The Box
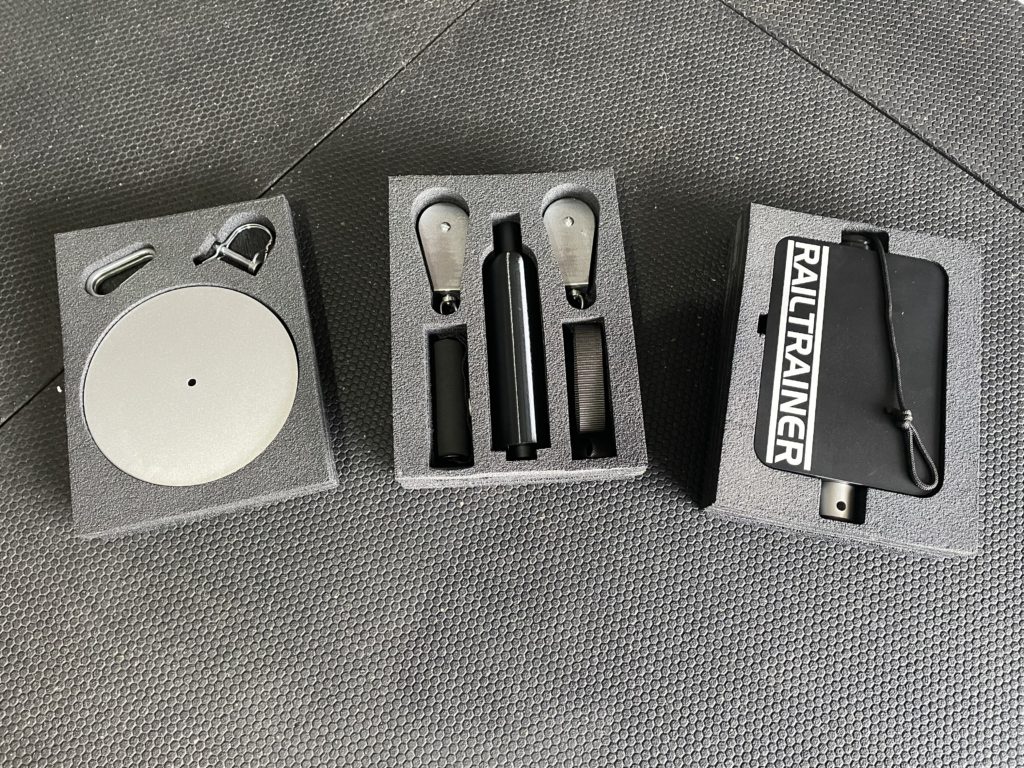
In order to use the RailTrainer retractable cable pulley system like a functional trainer, you’ll need 2 kits.
Above you see what each kit comes with.
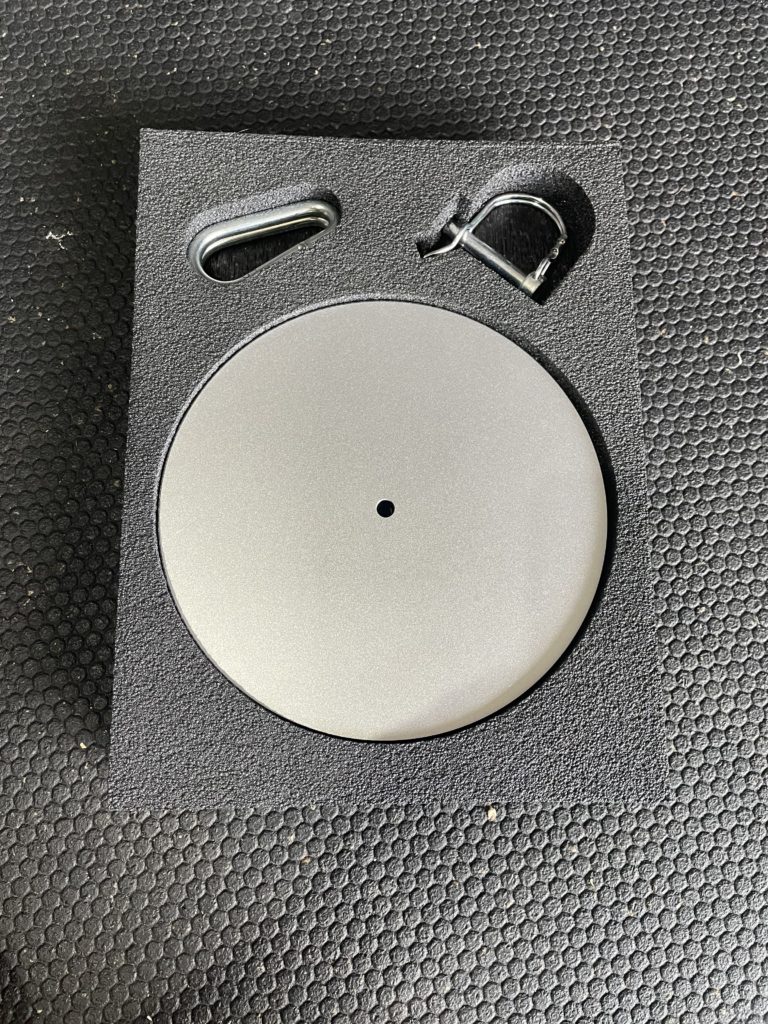
The first foam rectangle in the box holds the base of the RailTrainer.
The RailTrainer is plate loaded, which means you add your own weights.
You can use both Olympic sized and standard sized weights.
Along with the circular base, you also have 3 carabiners and a locking pin.
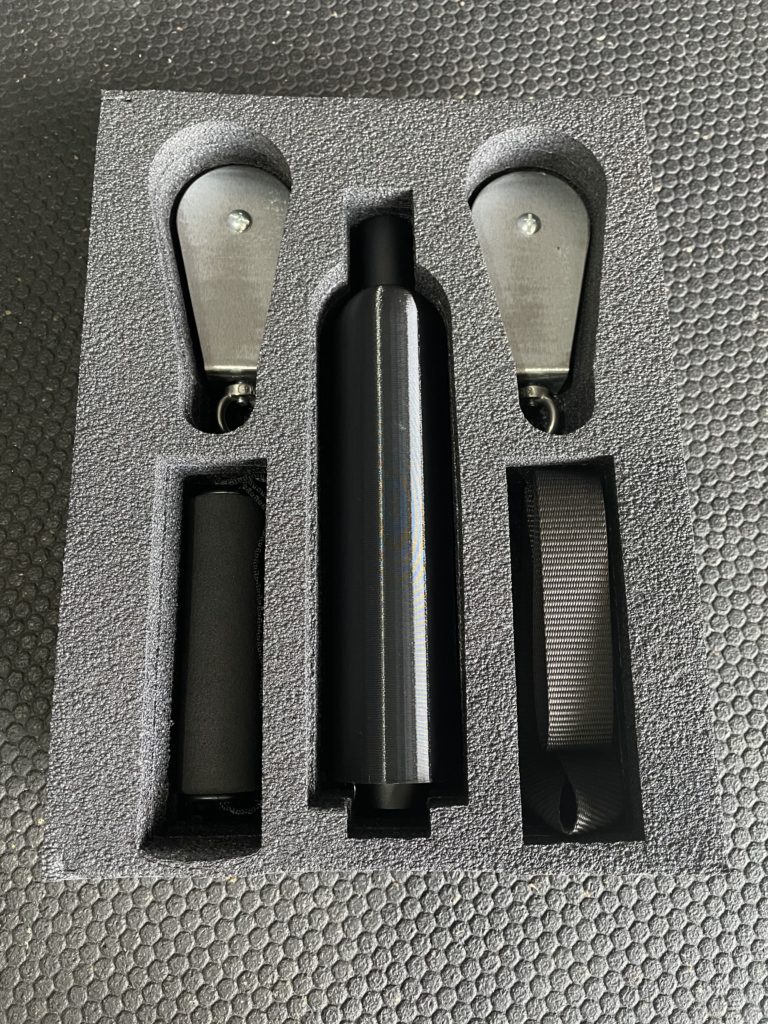
The second foam layer comes with two no gap pulleys, a handle, straps, and a loading pin.
No gap pulleys prevent the cable from getting stuck to the sides of the pulley.
This gives you a smooth, fluid motion when you’re exercising.
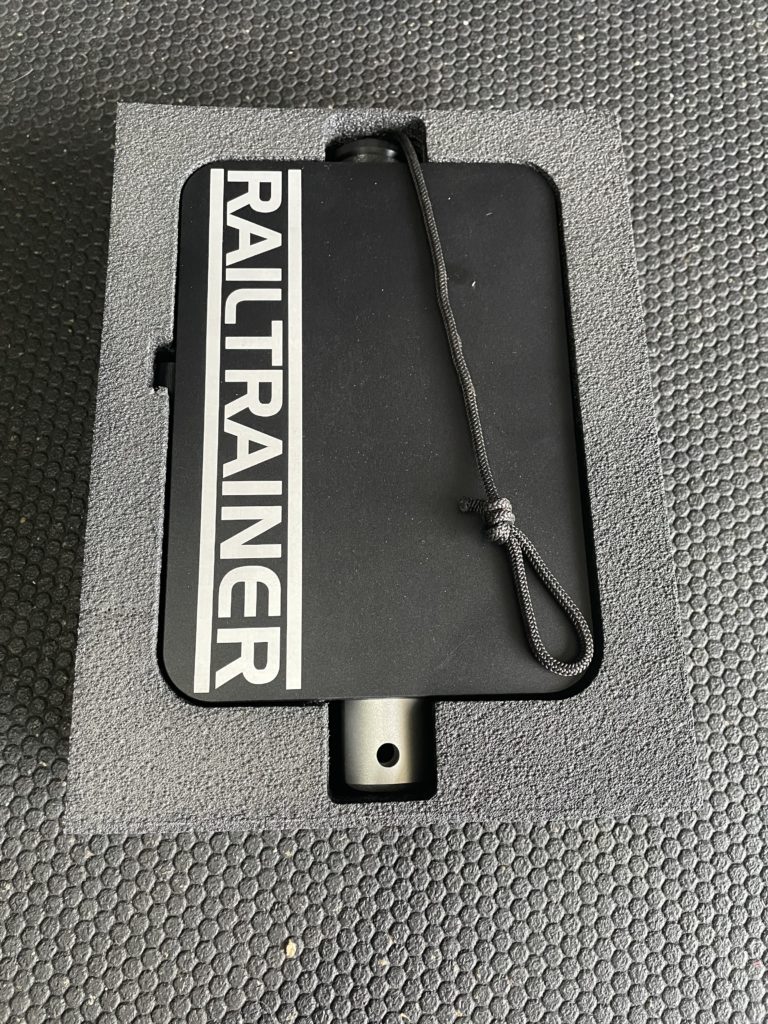
The third foam layers has the RailTrainer Quickpin retractor.
This is what makes this home cable pulley system different than the rest.
The rectangle houses a retractable cable that allows you to change the cable’s length.
When you the cable with pulleys at different heights and angles, you can recreate functional trainer cable exercises.
Setting Up The RailTrainer
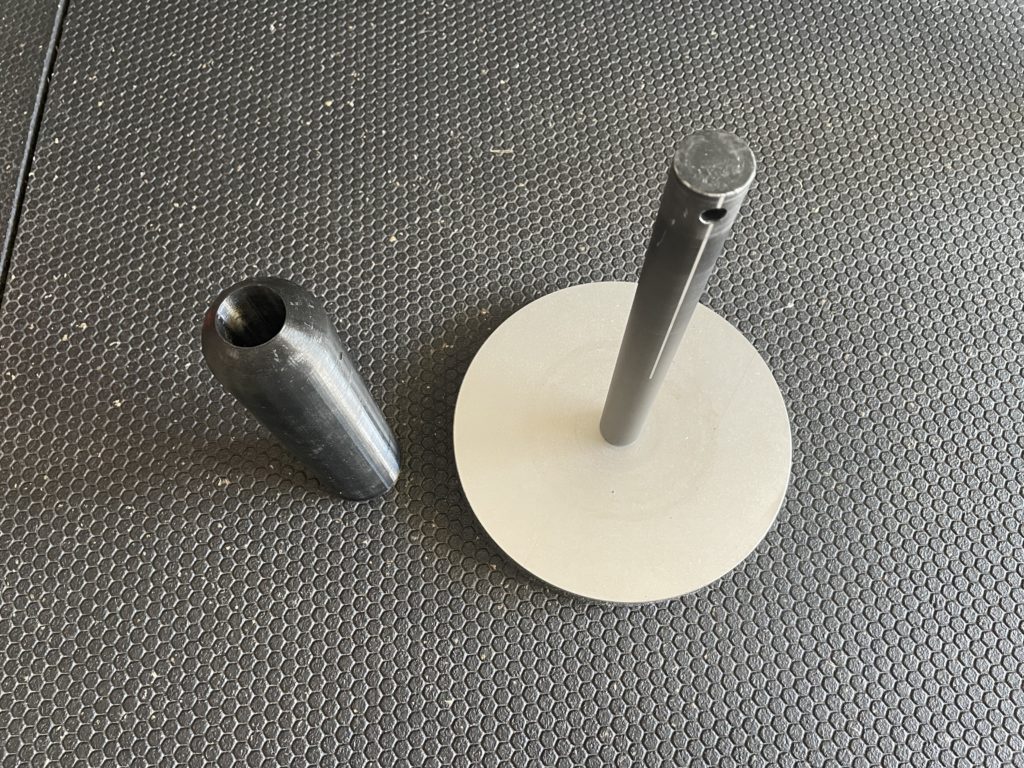
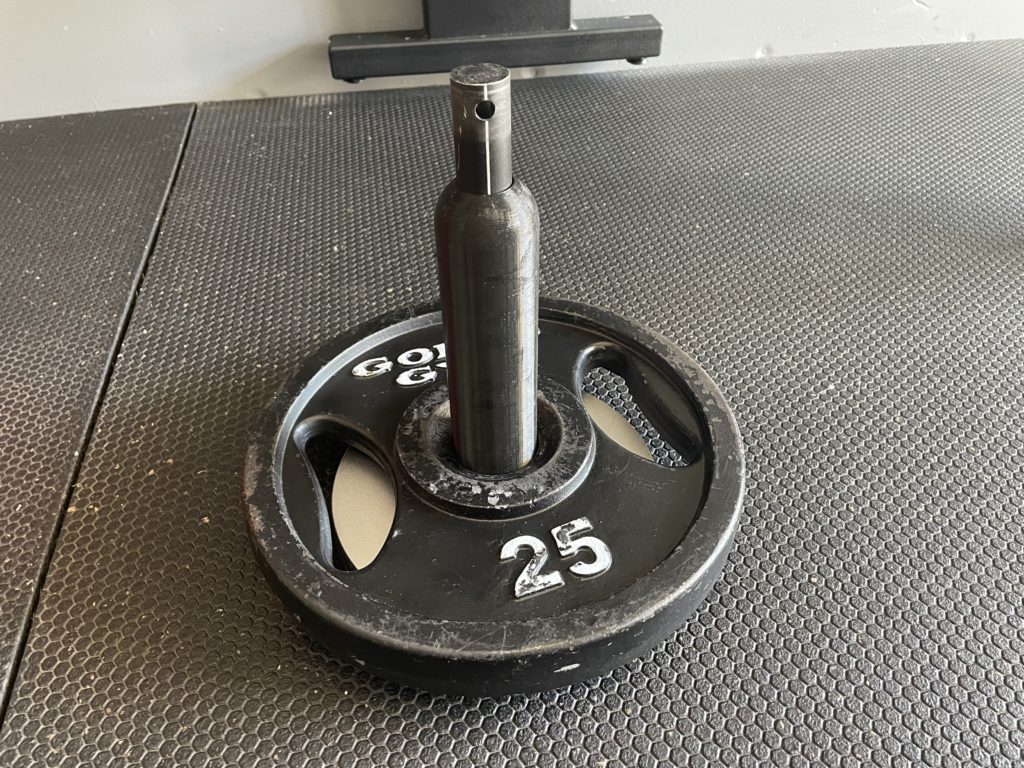
First thing you want to do, is add the loading pin to the base of the RailTrainer Quickpin using the included hardware.
After the Standard weight plate sized loading pin is attached, you can slide the Olympic sized sleeve right on top.
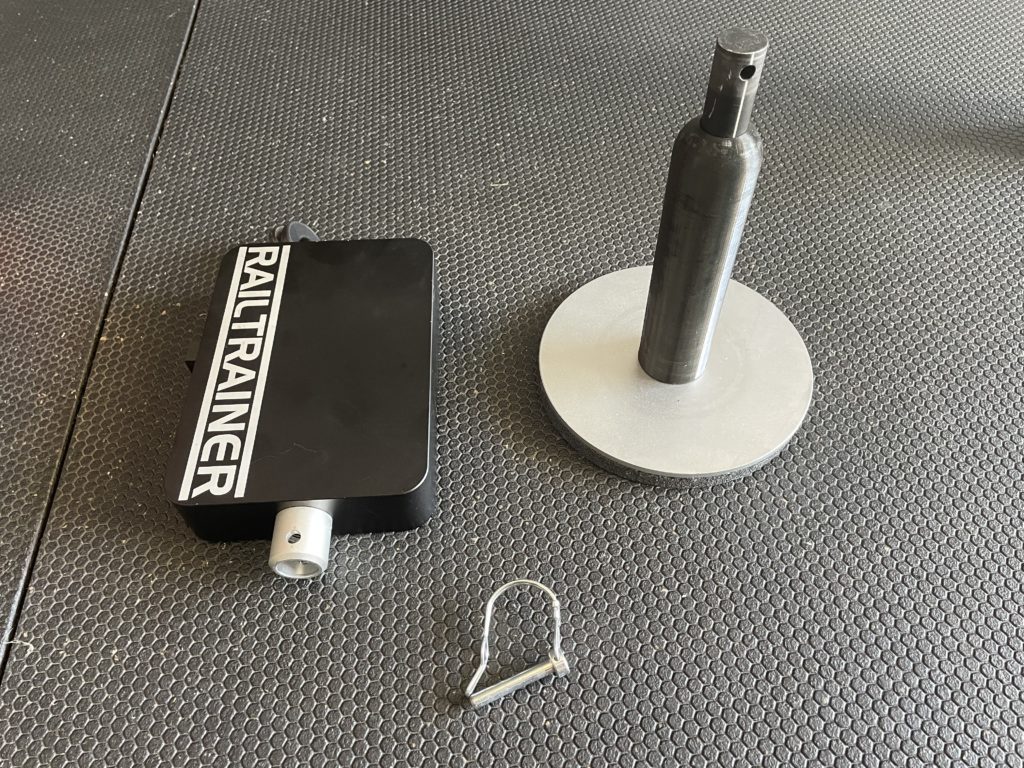
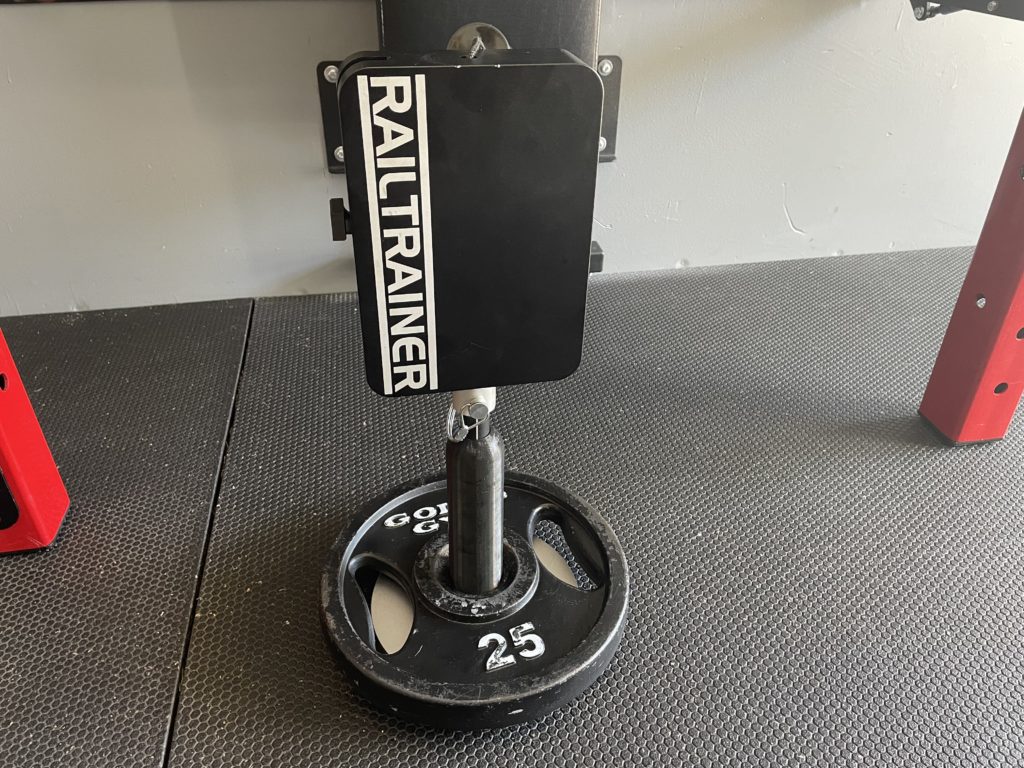
To finalize the set up, you connect the retractor with the loading pin in the middle.
Simply insert the bottom of the retractor to the top of the loading pin, match the circles, and insert the locking pin.
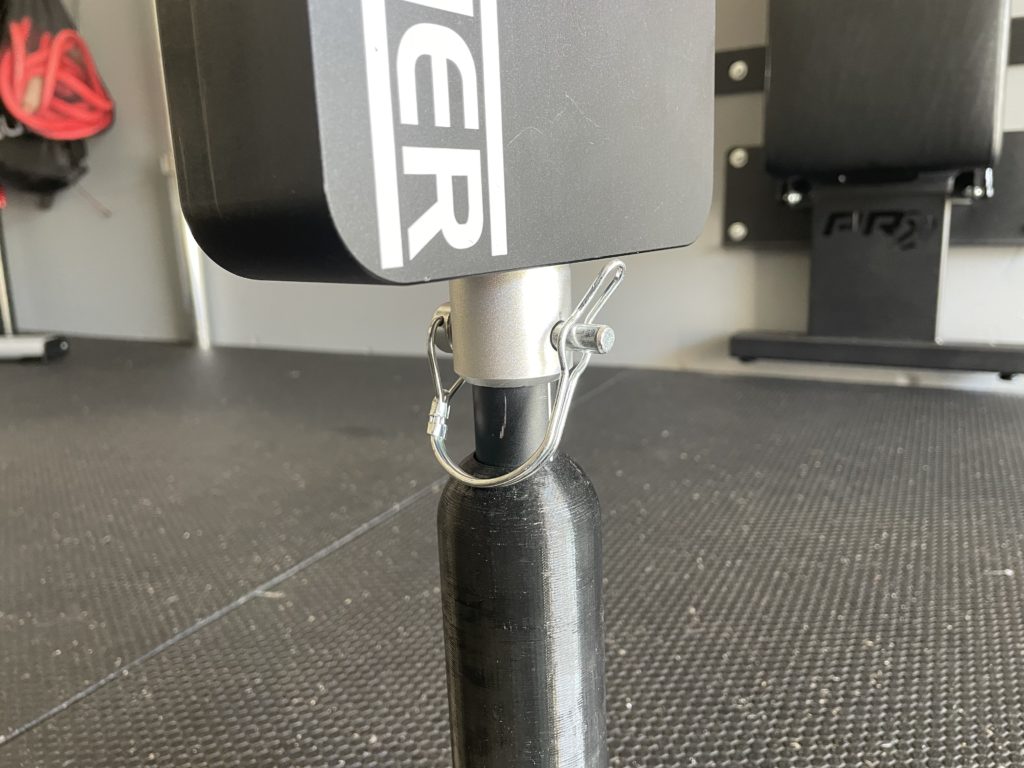
Below you’ll see what the final set up looks like before adding any weight.
Without adding any weight, the retractor and base weigh about 11 lbs.
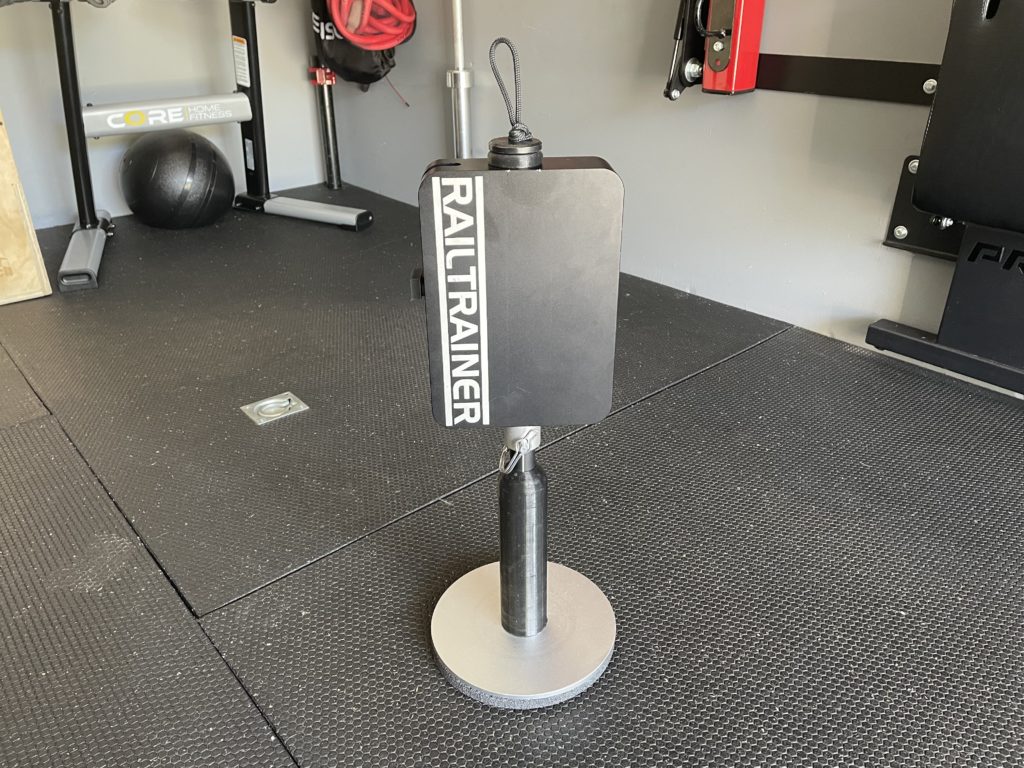
To load weights on to the base, simply unlock the pin and stack weights down the loading in.
Once you’re done adding weight, add the retractor to the top of the loading pin and lock it in place with the pin.
RailTrainer Retractable Cable System
The RailTrainer is different from any home made cable pulley system because of it’s retractable cable.
You can do a lot more with a cable that changes length versus a fixed length cable.
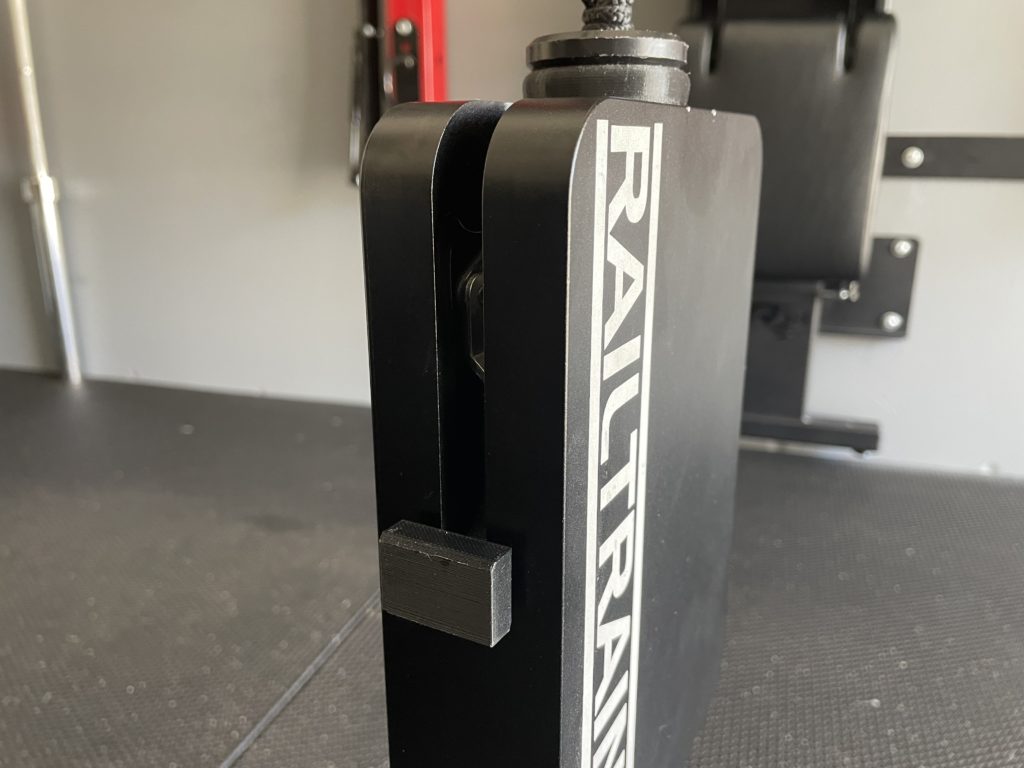
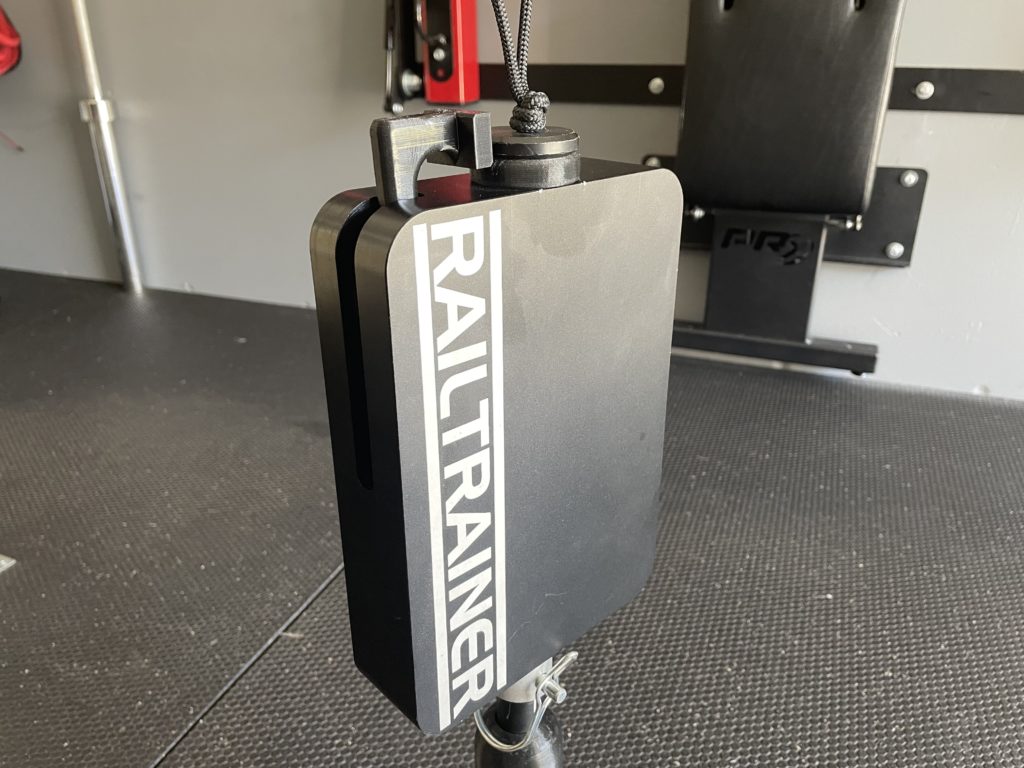
On the side of the retractor, there’s a small lever that locks and unlocks the cable.
When the lever is down, it locks the cable in place.
When the lever is up, it unlocks the cable and allows you to resize it.
Weight Rack Attachments
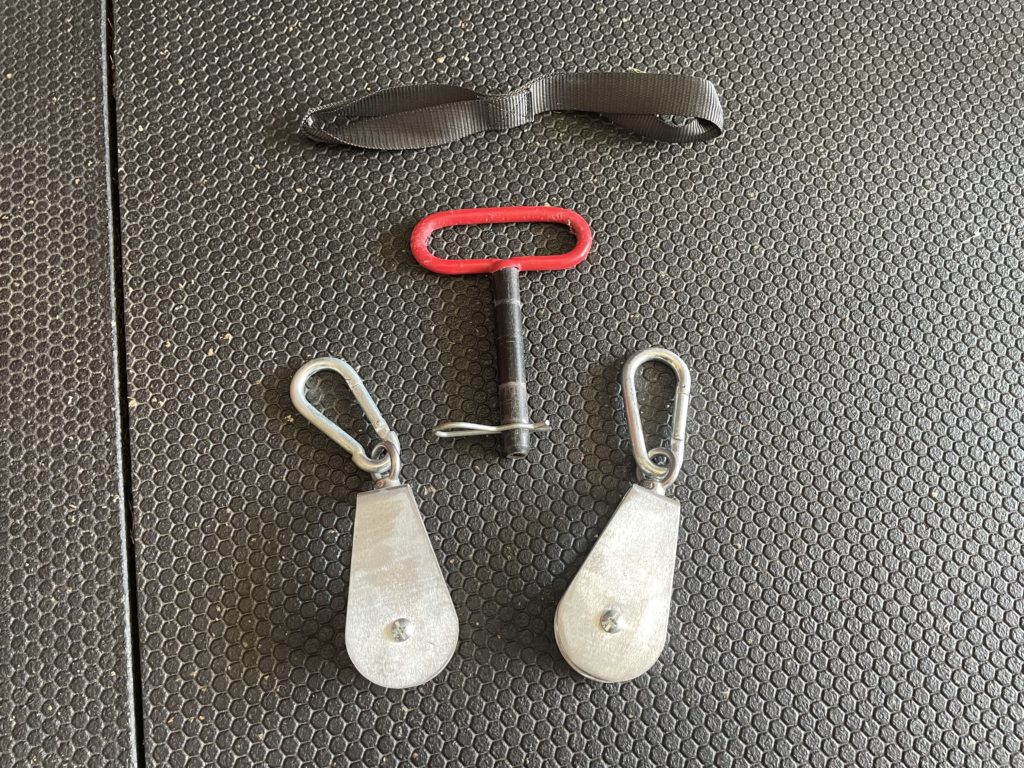
Now that you know how the RailTrainer Quickpin works, it’s time to attach it to your rack.
For that you’ll need a few accessories that come with the kit.
No Gap Pulleys
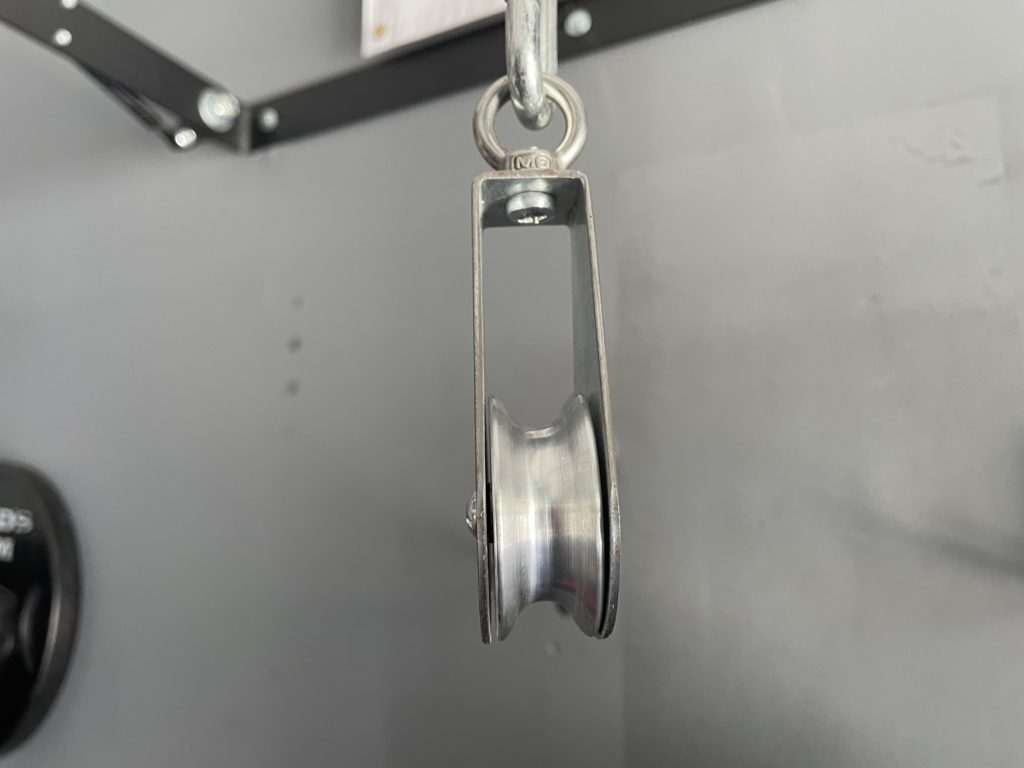
The RailTrainer kit comes with two no gap pulleys.
No gaps on the sides of the pulley wheel means you don’t have to worry about the cable jamming while you exercise.
You get a smooth, fluid motion like the cable machines at commercial gyms.
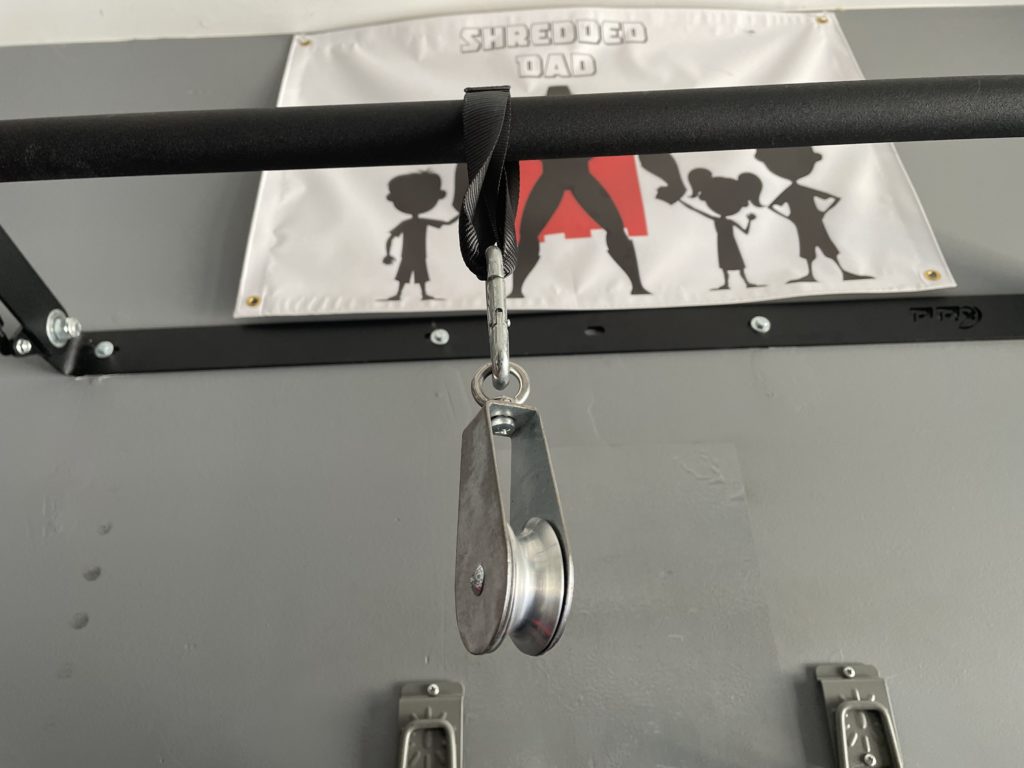
You attach one pulley to a pull up bar with a strap.
This gives you the option to recreate any high pulley exercises like tricep push downs, lat pull downs, cable crossovers, etc.
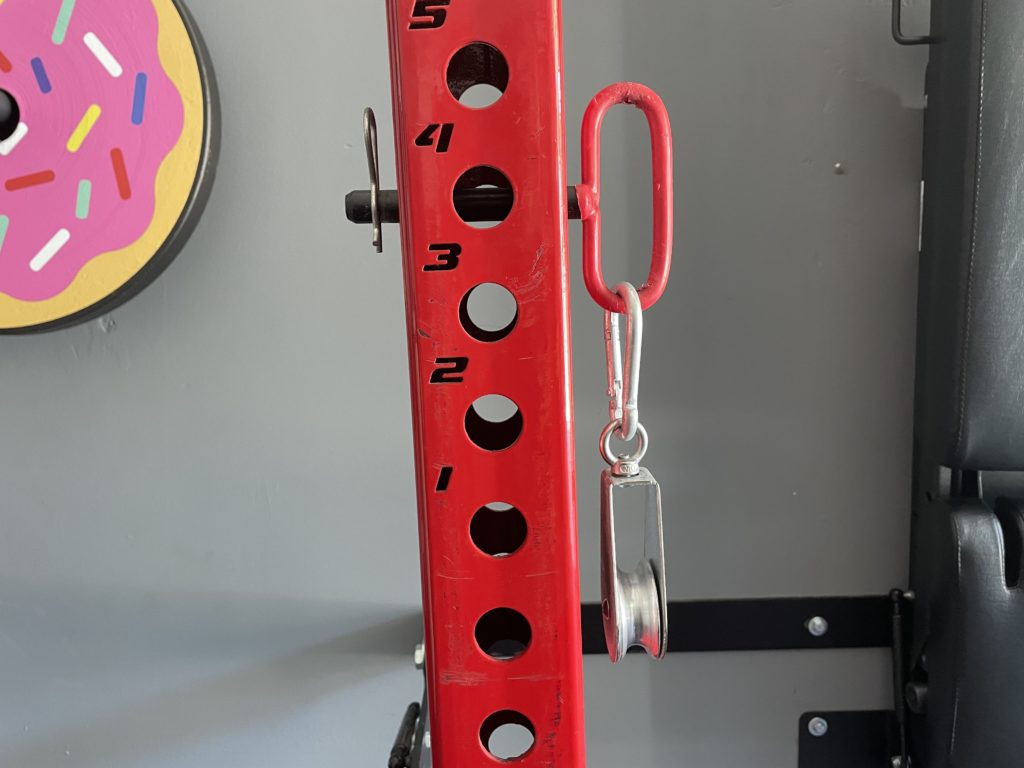
The other pulley is attached to the side of your rack by a hitch pin.
You can run the cable from the top pulley to the side pulley to recreate more exercises like neutral cable crossovers or low to high cable crossovers.
Adjusting the height of the pin up and down the rack lets you do exercises at different angles.
Hitch Pin
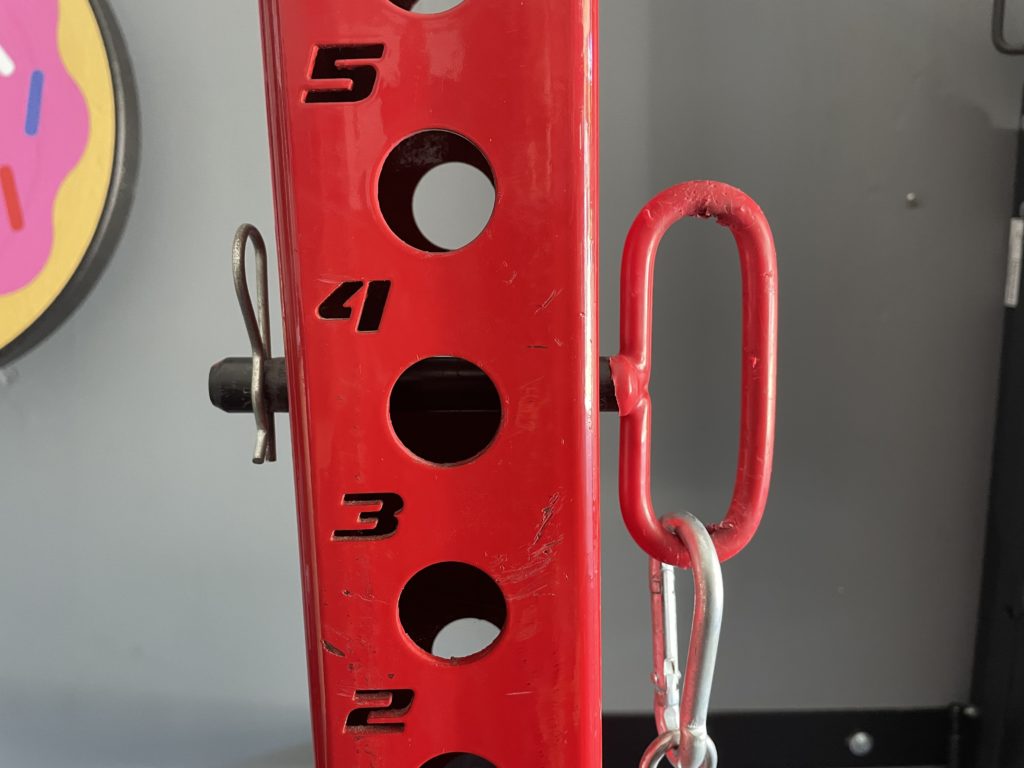
When you order the RailTrainer, you get too choose the diameter of the hitch pin.
You can choose a 5/8″ or 1″ diameter hitch pin per RailTrainer kit.
This will vary depending on the holes on your rack.
I have a PRx Performance Pro Rack which has both 5/8″ and 1″, so I grabbed the 5/8″ hitch pin so it fits both holes.
A good alternative to hitch pins are the Surplus Strength mag pins that have carabiner holes on them.
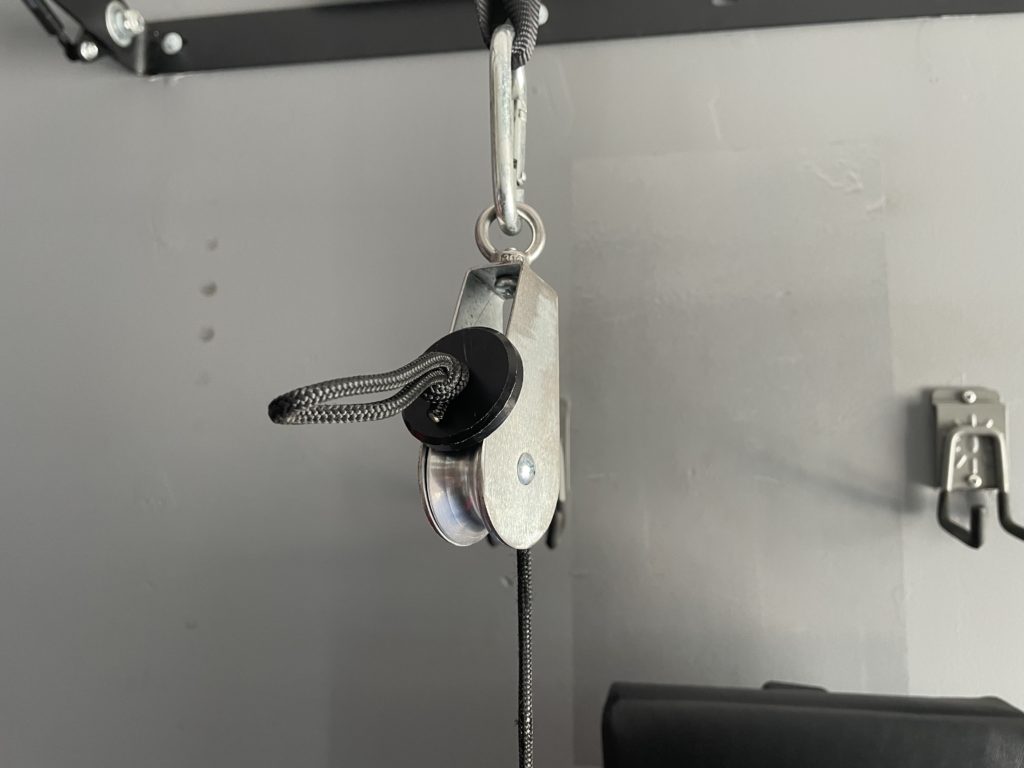
After the RailTrainer Quick and attachments are all set up, it’s time to run the cable through them.
First unlock the retractor and thread the cable through the top pulley.
The cable has a disk stopper at the end that prevents the cable from going back through the pulley.
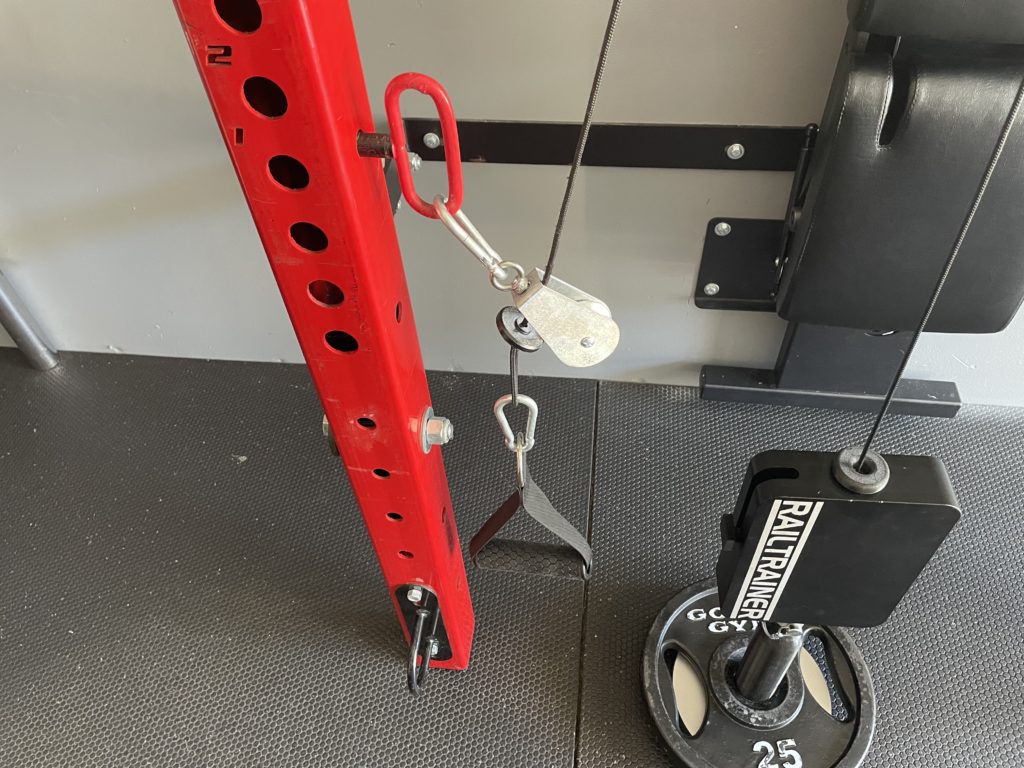
You can then continue running the cable through the side pulley as shown above.
Last thing to do is attach the handle.
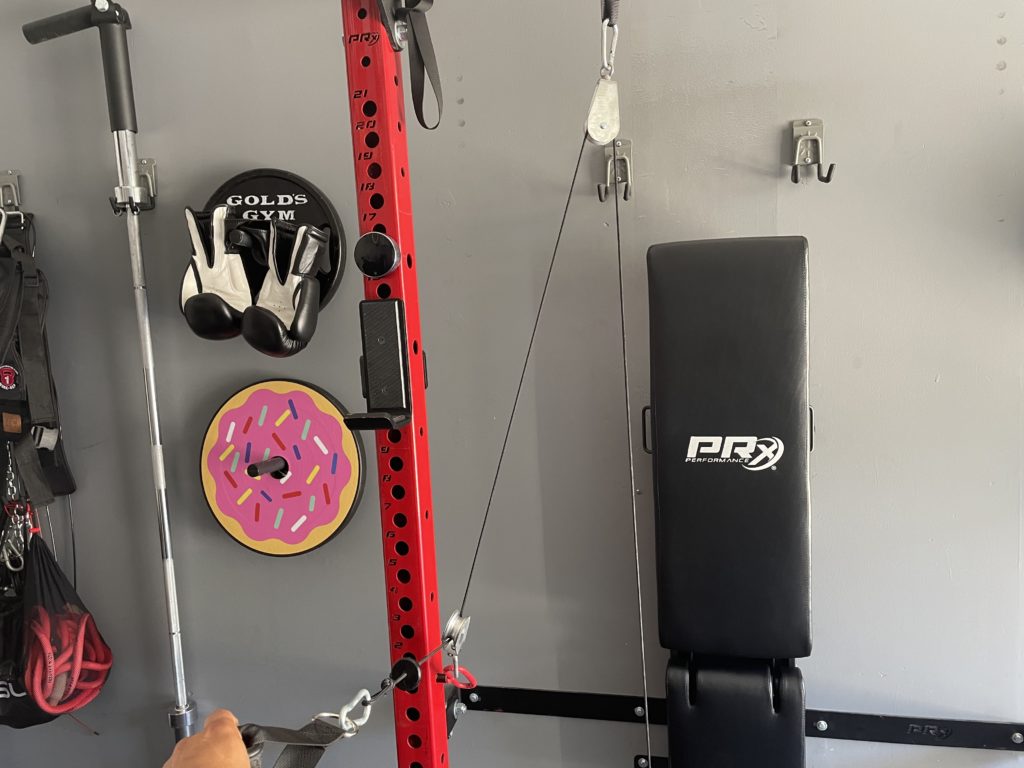
Once you get the cable to where you want it, lock the retractor.
You’re now ready to use the cable system just like a functional trainer.
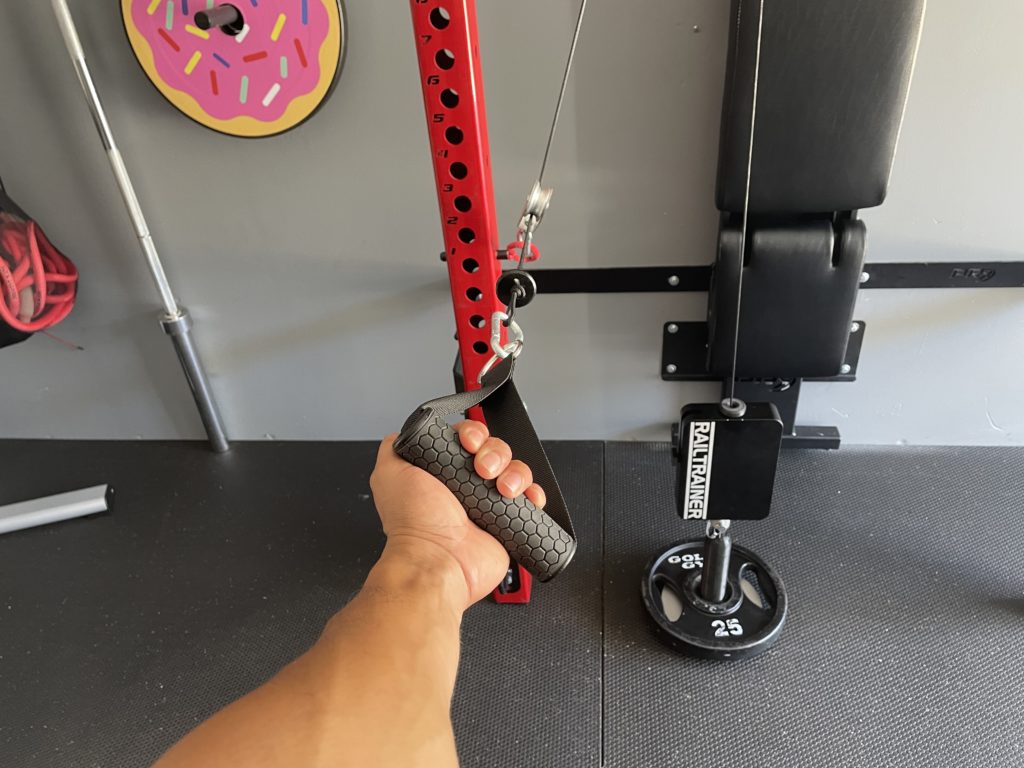
If you’re doing exercises that involve both arms, then you’ll need to set up the other RailTrainer kit on the other side of the rack.
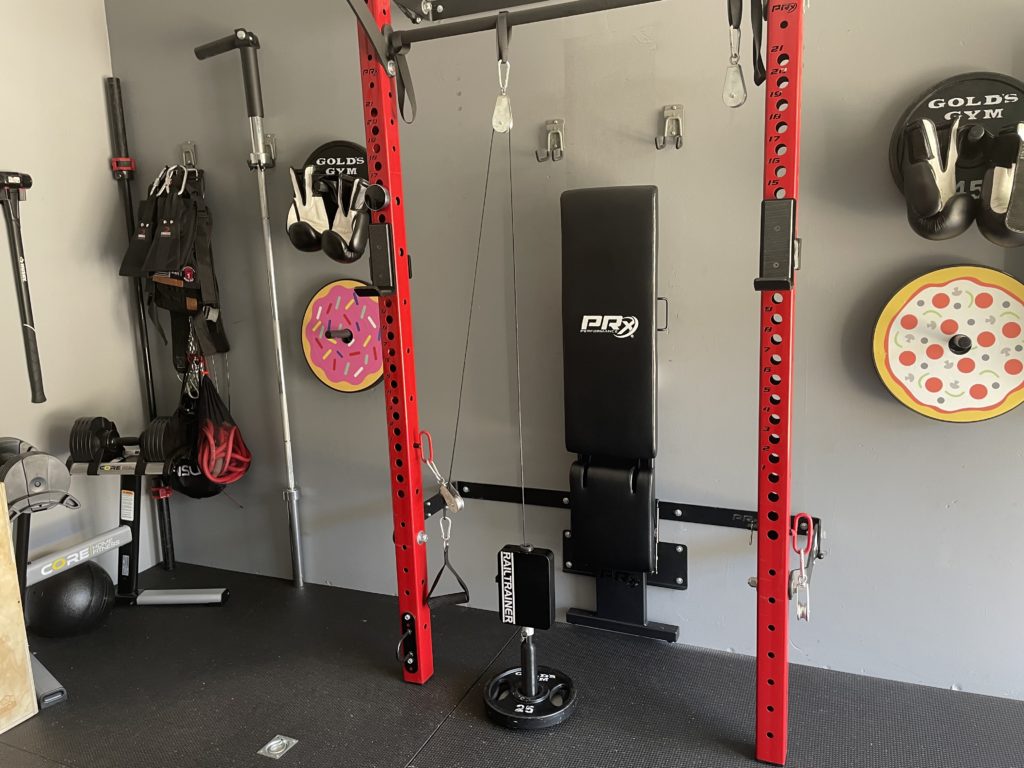
With enough creativity, you can also do leg exercises like squats, deadlifts, leg extensions, and leg curls.
Set up for Isolation leg exercises isn’t as smooth as if you were doing them on a dedicated leg extension machine but can be done with an ankle strap.
I have the Freak Athlete Hyper Pro which has a leg developer attachment so I mainly use this to upper body cable exercises.
Weight Capacity
Each RailTrainer Quickpin has a weight capacity of 200 lbs.
The cable is Paracord so it is a very durable material.
So buying a couple of kits gives you up to 400 lbs that you can lift.
For the majority of home gym owners, that’s more than plenty.
RailTrainer vs Functional Trainers
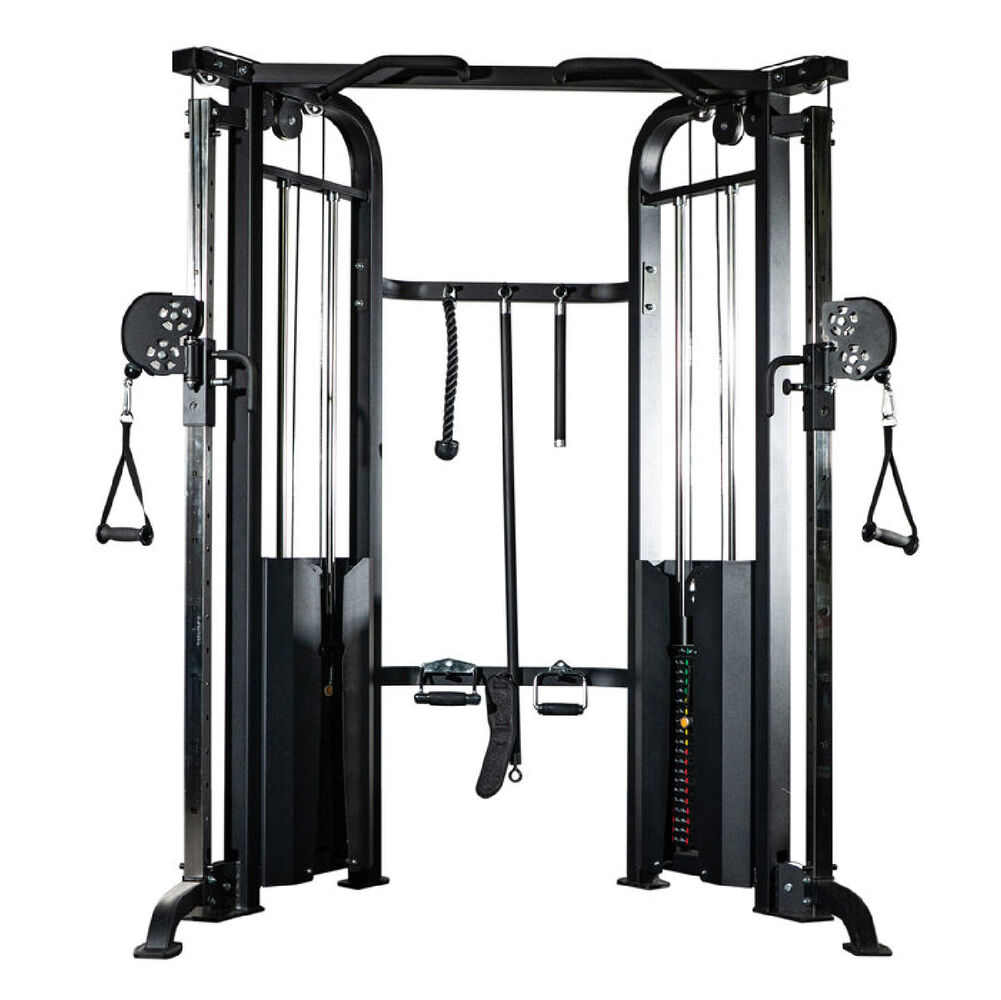
Functional trainers are awesome cable machines that you can do lots with.
But along with the awesomeness comes a hefty price and a lot of space taken up in your home gym.
If you have $2200 laying around and lots of space in your workout area, then go for the Titan Fitness functional trainer.
At least you’ll get free shipping.
Your other option is to use a RailTrainer like I do.
It didn’t cost me two grand, didn’t take up any additional space from my gym, and I’m using weights I already own.
In fact, it cost me about 85% less than what functional trainers run for.
For this reason, if you’re like most home gym owners…
Limited in space and on a budget, the RailTrainer wins.
RailTrainer vs Home Cable Pulley Systems
I’ve made my fair share of home made cable pulley systems and although they work for some exercises, you can only do so much with them.
I’ve also reviewed a few cable pulley systems sold online.
And they all have one thing in common…
A fixed cable length.
Because 99% of home cable pulley systems have a fixed length, you can’t change the angles of exercises like a functional trainer can.
The RailTrainer Quickpin gives you the ability to change cable lengths so you can go from a high pulley exercise like a lat pull down to a low to high cable crossover in a matter of seconds.
For this reason, the RailTrainer gets the win.
RailTrainer Coupon
The fact that you’ve read this RailTrainer review all the way up to here, tells me that you’re really interested in this product.
Well you’re in luck because I’ve talk to the owners and they’ve agreed to give my readers a discount.
Click here and use coupon code SHREDDED for a 10% discount off each RailTrainer Quickpin kit.
90 Day Money Back Guarantee
What I really liked about this company is that they are confident in their product.
You can try out the RailTrainer for 90 days and if for some reason you’re not satisfied, simply send it back for a full refund.
They also have a lifetime warranty on the product and its parts.
If anything goes wrong, they’ll fix it at no cost.
RailTrainer Review
After testing the product for 6 months, I’m not going back to another home cable pulley system.
The retractable cable is a game changer.
You can recreate over 100 functional trainer exercises with your squat rack and two RailTrainer Quickpin kits.
I hope this RailTrainer review gave you all the info you need to know about it.
If you still have questions, leave a comment below or send me a DM on Instagram (@dadshredded).
I’ll get back to you within 24 hours.
Click Here To Learn More From
The Official RailTrainer Website

Shredded Dad is a home gym equipment reviewer and fitness equipment expert specializing in hands-on testing of strength and conditioning equipment.
His work has been featured by leading fitness brands and quoted by major media outlets including Yahoo Health, GQ, AskMen, LifeWire, Wales Online, and others.
ShreddedDad.com


where do you get the RailTrainer? your links don’t take you where you can purchase it.
Unfortunately they went out of business. I added an update at the top of this post with several cable machine options if you want to check those out.
As a substitute to the purpose built Railtrainer could you use a safety pulley? It’s the same concept, with retractable pulley that has a break and significant load capacity. Its design to allow a worker to be tide down on a job site but is design to care the load of a person falling- the attached system has a 330lb capacity. What is your thought on the type of cable used in this system for a weight pulley application?
https://a.co/d/baGMM9u
Can the cable be locked at a certain distance? I couldn’t tell from the listing…
If it locks in place then it might work but you’d probably have to use it upsize down so that the retractable cable can go through pulleys with the rope end connecting to a loading pin.