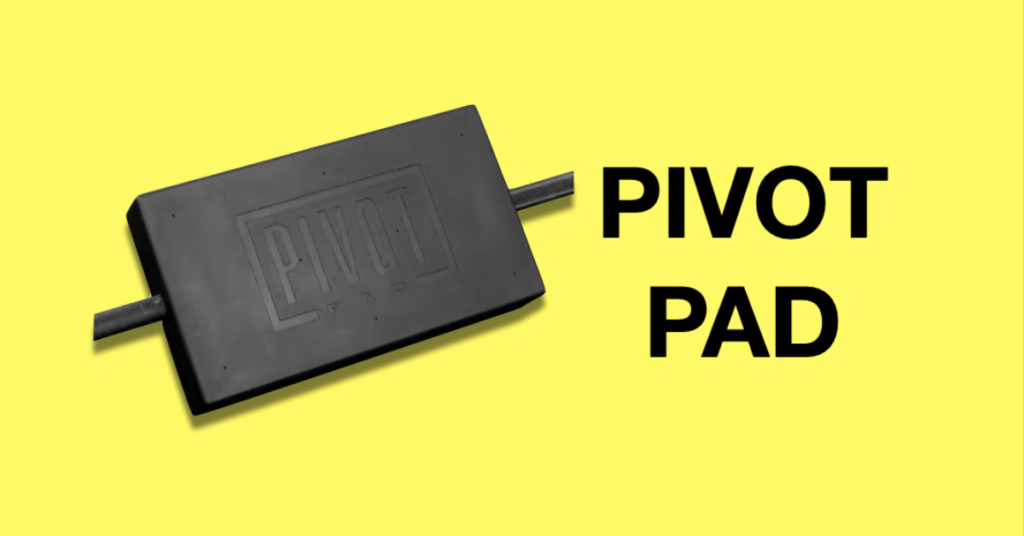
AbMat is up to it once again with the Pivot Pad.
I’ve owned a hip thrust machine and it took up a lot of my garage gym space.
And yes, I’ve done hip thrusts on a weight bench but it’s uncomfortable on my back and unstable since the bench can move.
So AbMat came up with a clever solution that takes up minimal space and repurposes equipment I already own.
It involves a barbell and a weight rack, I’ll show you how to use these with the pivot pad to recreate a hip thrust machine for your home gym.
Let’s check it out!
Unboxing
Table of Contents
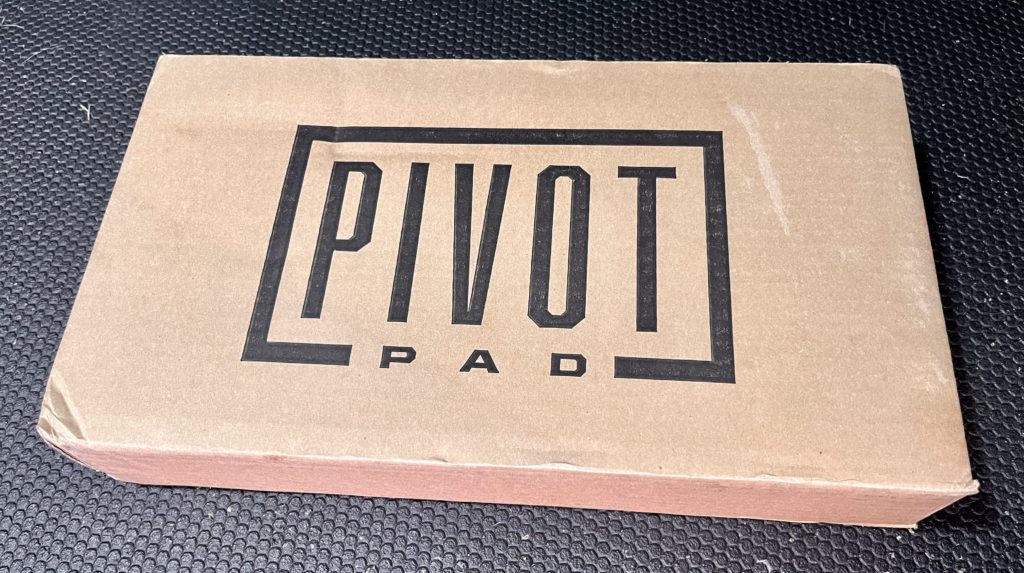
The Pivot Pad comes in a rectangular box
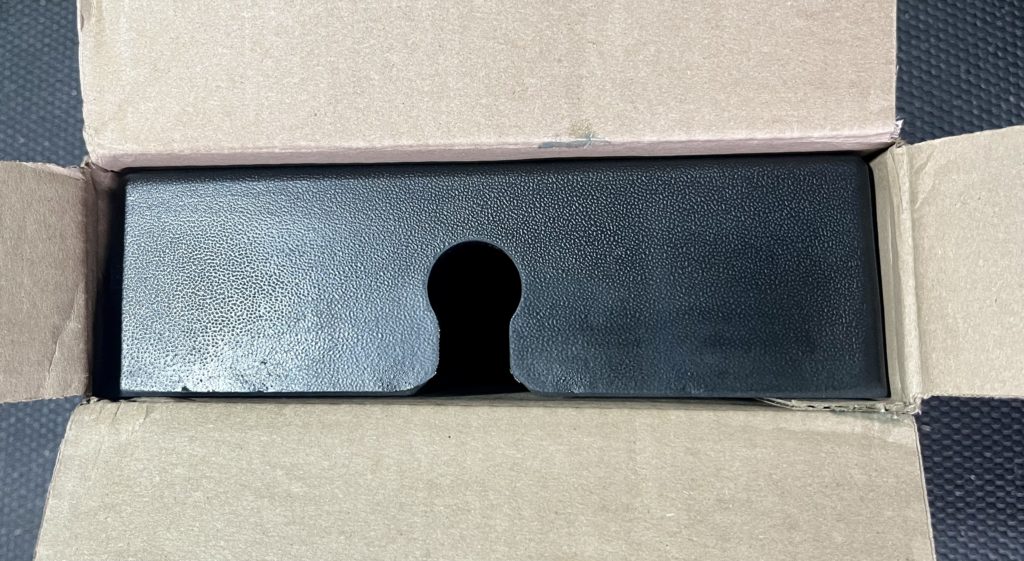
I opened up one end of the box and the first thing I see is the keyhole cutout in the middle of the pad.
This cutout is what snaps on to a barbell to secure the Pivot Pad to a barbell.
It’s a smart design that almost seems too simple to work but it does (I’ll show you how to set it up later on).
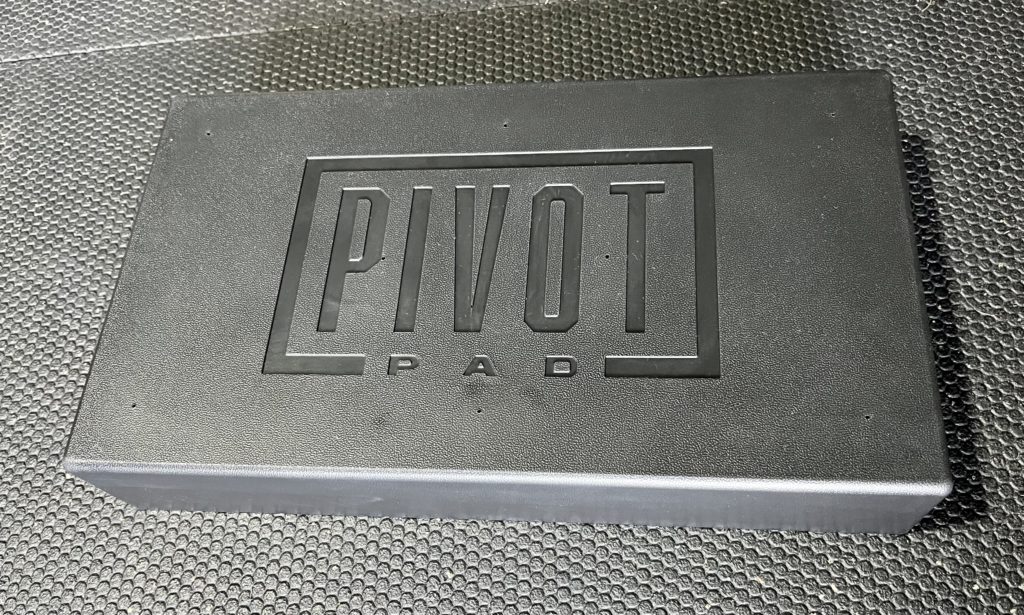
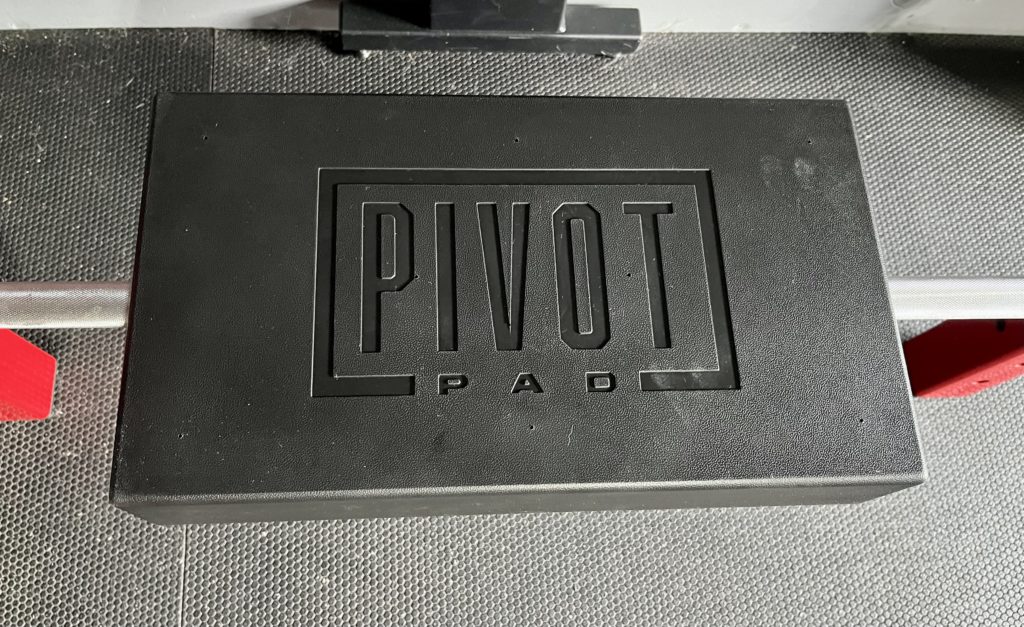
Here’s what the top of the Pivot Pad looks like with its name indented into it.
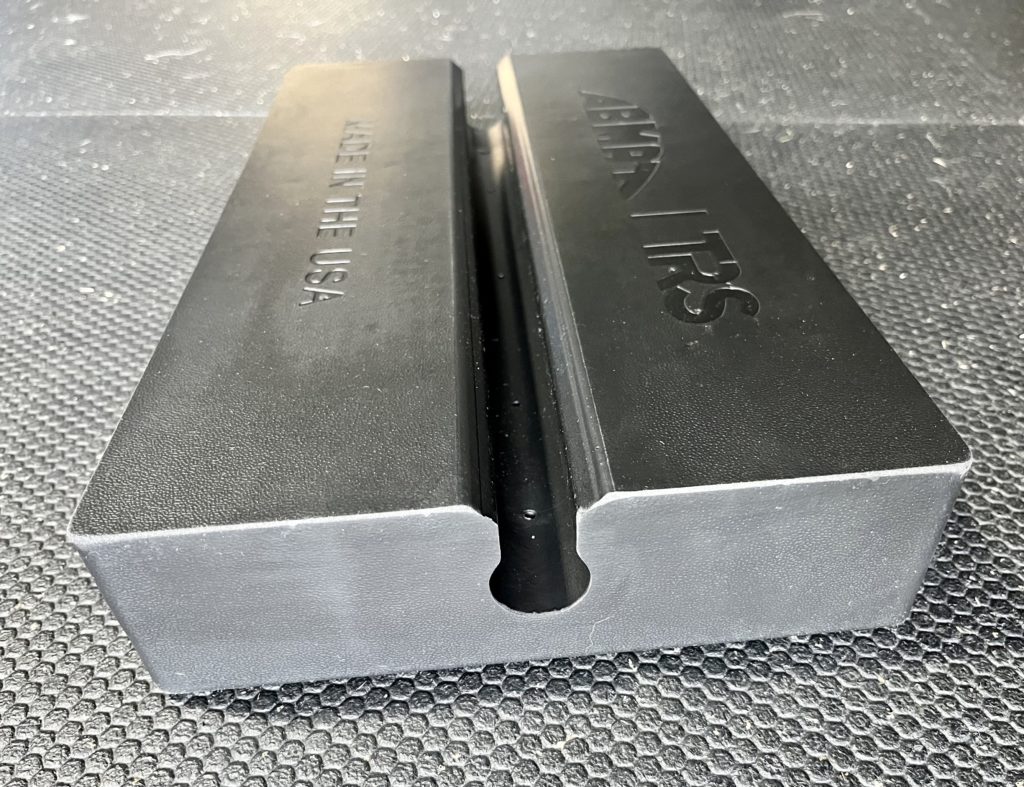
The back has AbMat branding and the keyhole shaped groove where the barbell snaps into it.
At 3″ thick, it’s slightly thinner than their box squat pad so there should be plenty of padding so I don’t feel the bar digging into my back.
Specs
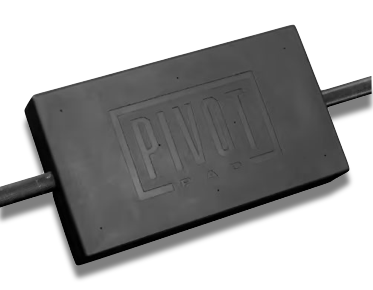
- Weight: Less than 6 lbs
- Dimensions: 18″W x 10″D x 3″H
- Material: Soft foam exterior with rigid core
Features
Like with most AbMat products, they use a foam that’s top notch in the fitness industry.
It’s made with a rigid core so it doesn’t sink much but has a soft exterior for comfort.
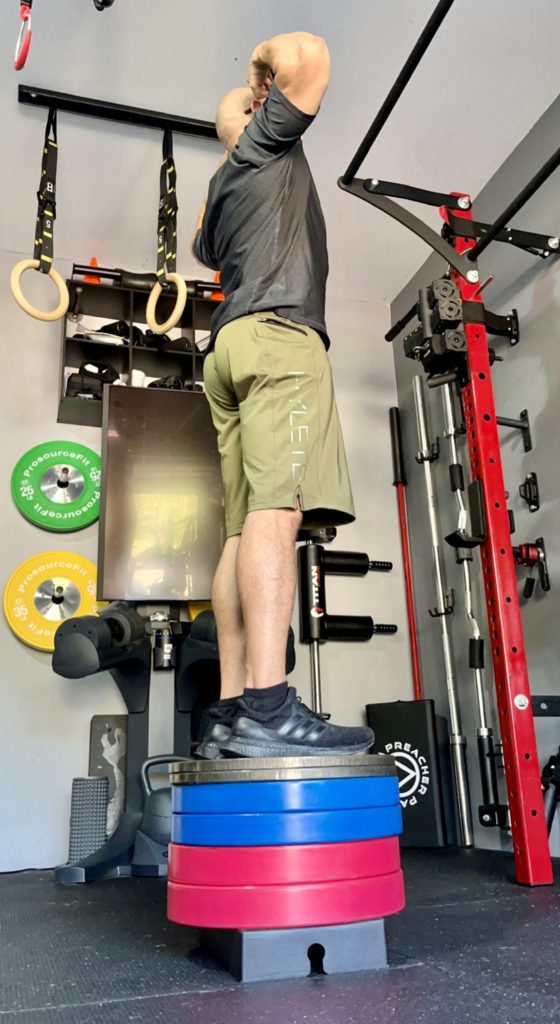
The pad is so solid I threw 450 lbs on it (myself included) and it didn’t budge.
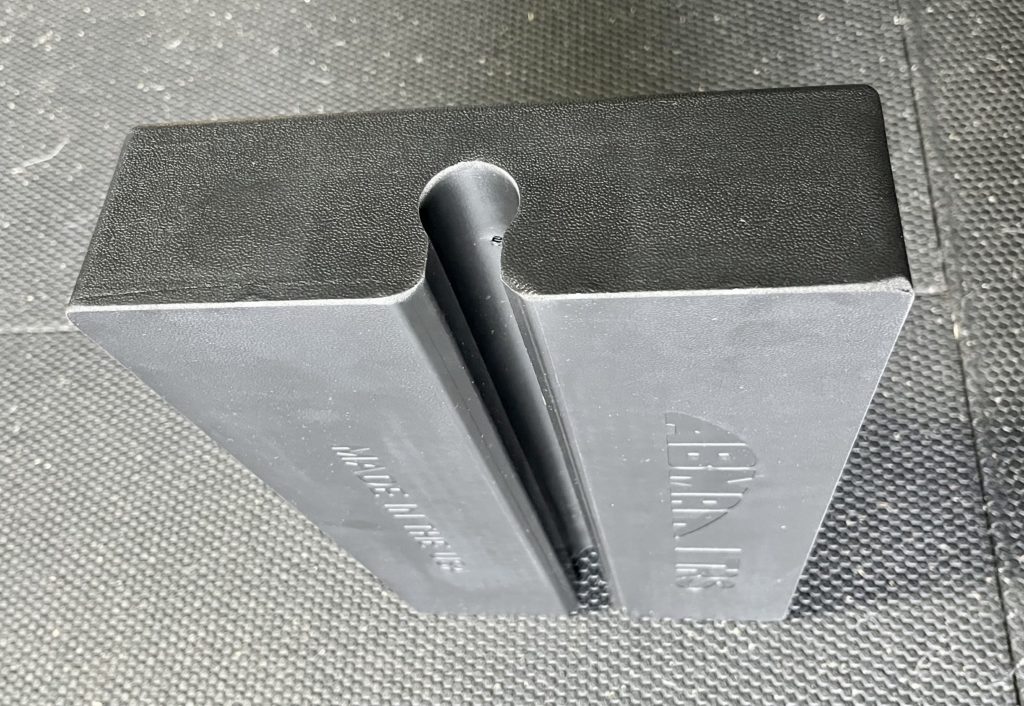
But what makes the AbMat Pivot Pad work so well is the keyhole cutout.
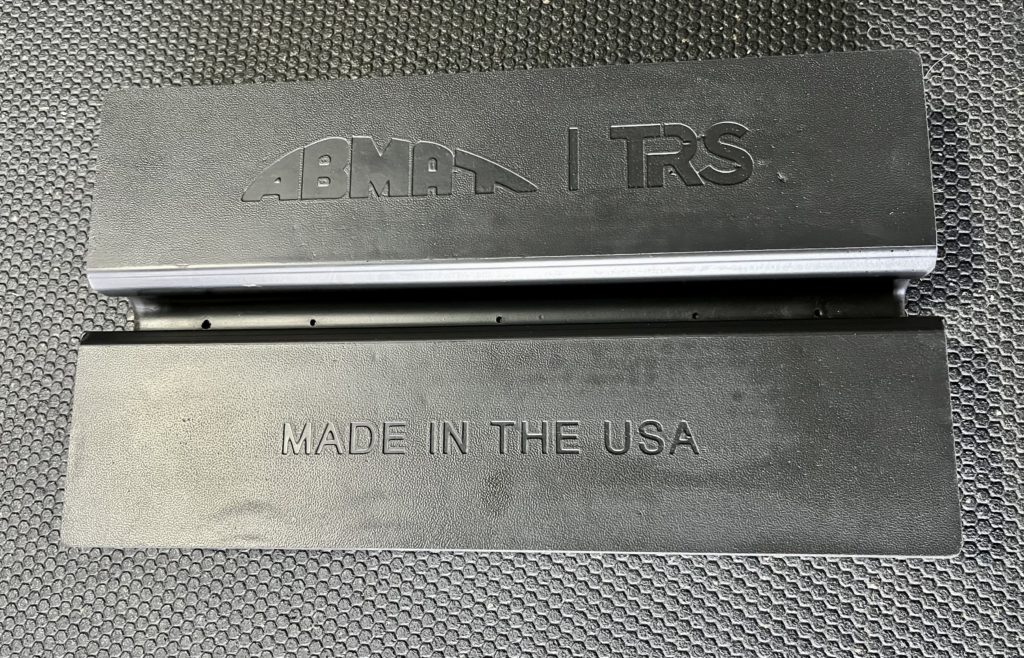
The cutout is narrow enough to squeeze my barbell through and will not come off once it’s on the barbell shaft.
Once on, the smooth inside of the pad pivots around the barbell so it moves together with my spine.
How To Use The Pivot Pad
Height Set Up
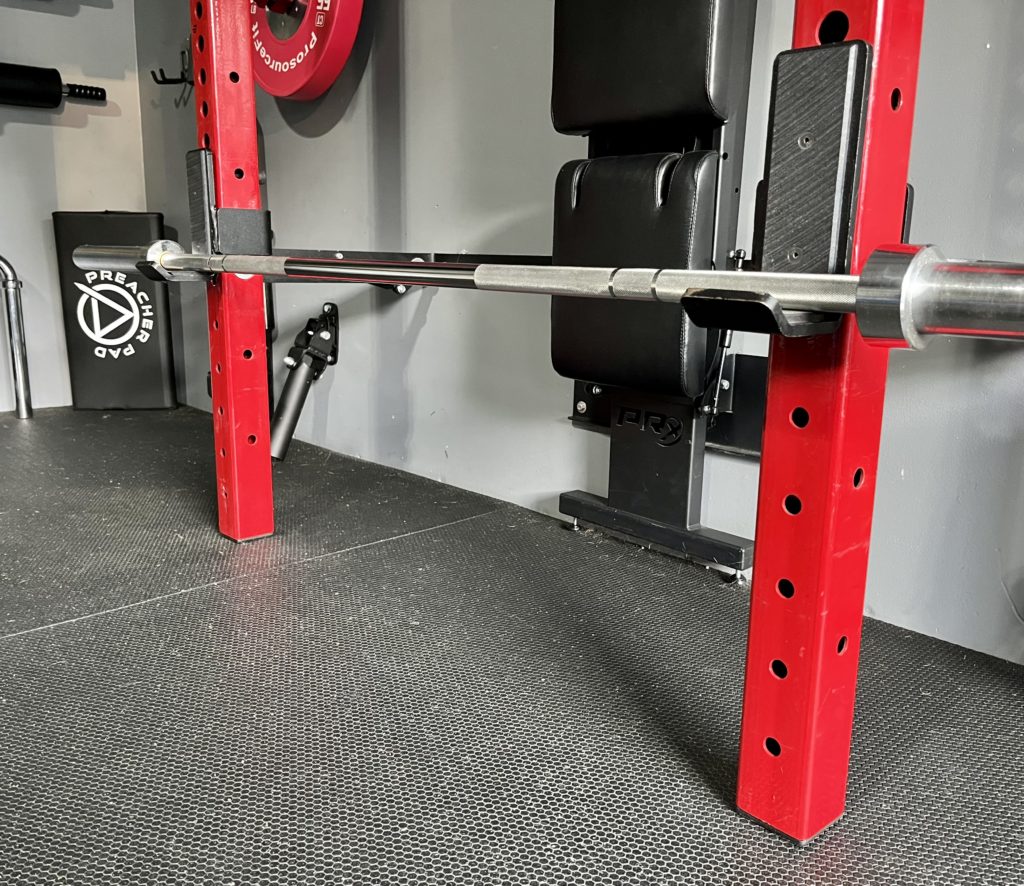
Lower your J-cups to a height that’s right below your knee cap.
Play around with the height to see what works for you.
This is an advantage the AbMat pivot pad has over fixed height hip thrusts machines.
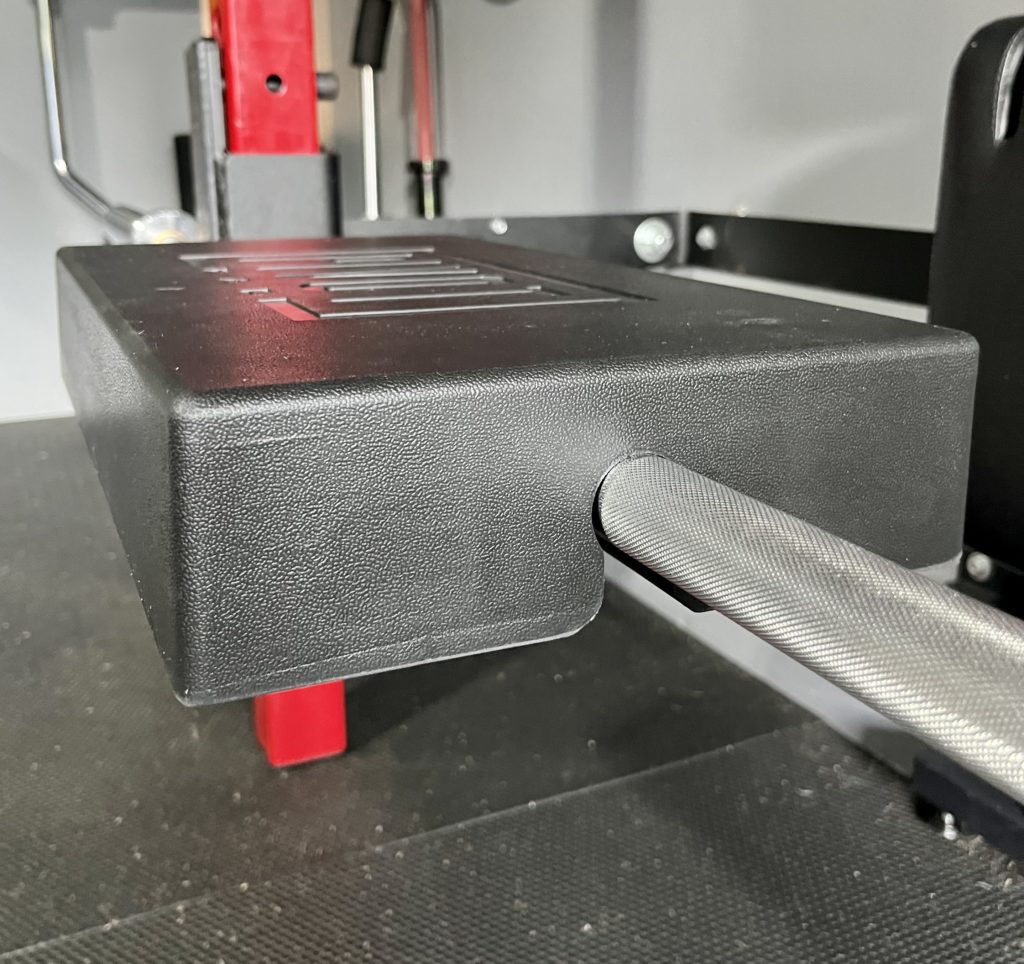
Set the barbell on the J-cups and snap the AbMat Pivot Pad to the center of the bar.
I’ve used the Pivot Pad on two types of barbells (Olympic weightlifting barbell and a powerlifting barbell).
The powerlifting barbell has center knurling and the Olympic weightlifting bar doesn’t and the pivot pad works well with both.
Select Resistance
Bodyweight
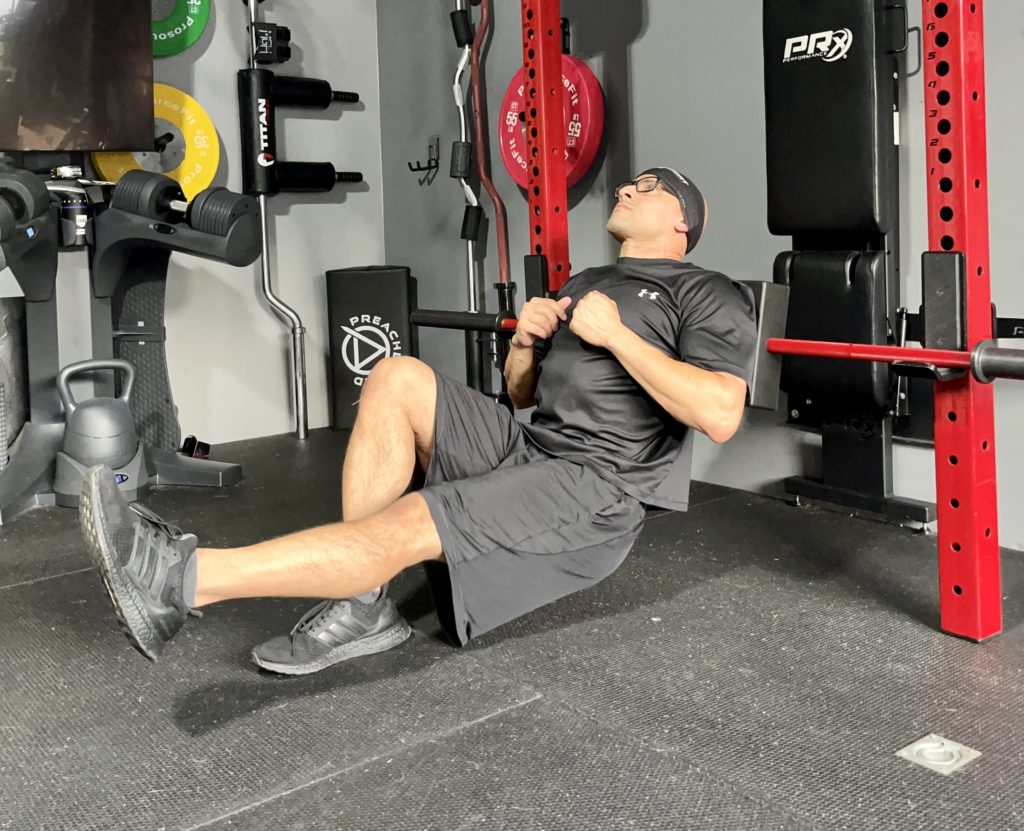
Now that the Pivot Pad is on the bar, I can choose my resistance.
I can go bodyweight (using one or two legs), use a second barbell, resistance bands, dumbbells, and even sandbags.
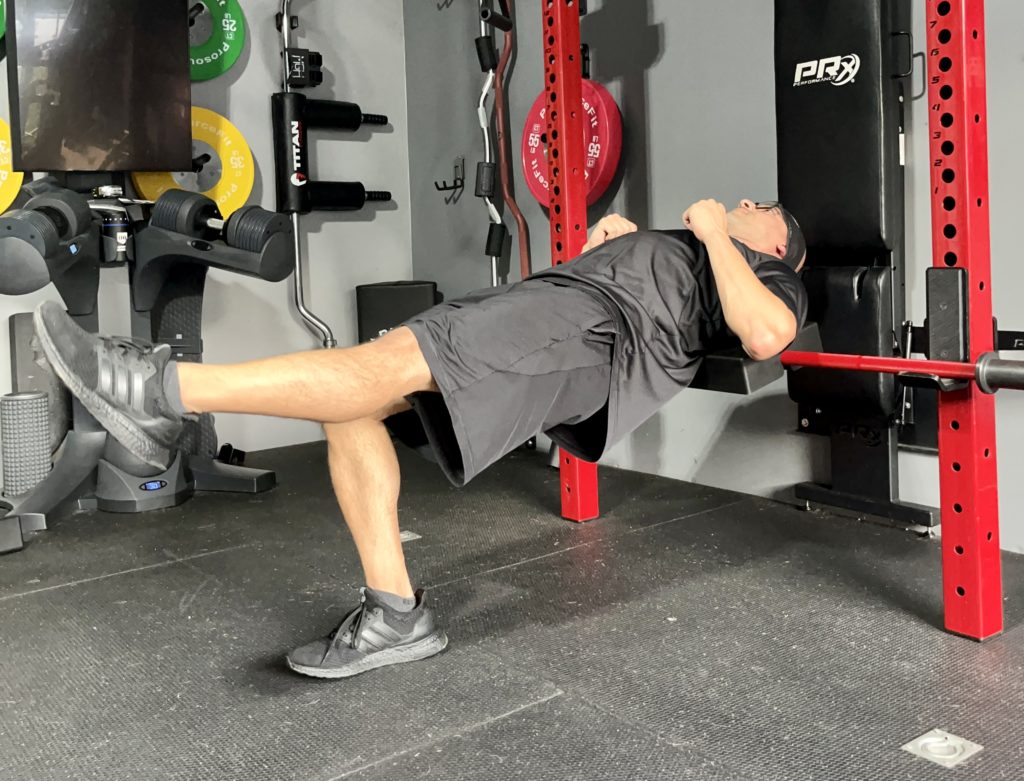
If I go bodyweight, then there’s no additional set up.
I just place my back on the pivot pad and do my hip thrusts.
The pad pivots with my body and feels just like the motion on a hip thrust machine.
Barbell Hip Thrusts
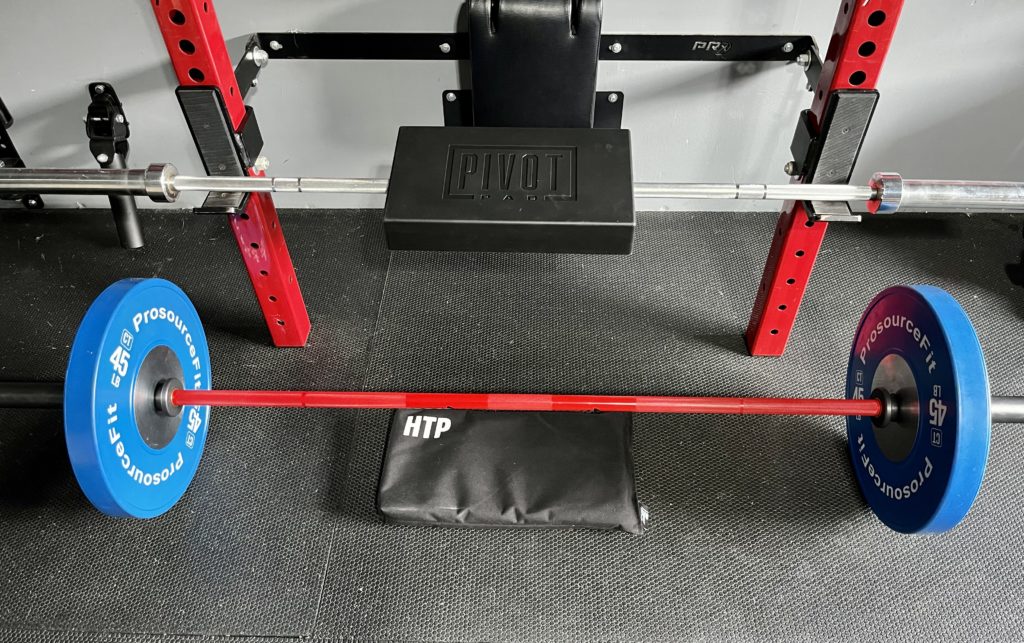
I have several barbells so if I wanna go heavy on my hip thrusts, I can load up a bar with weight plates and go at it.
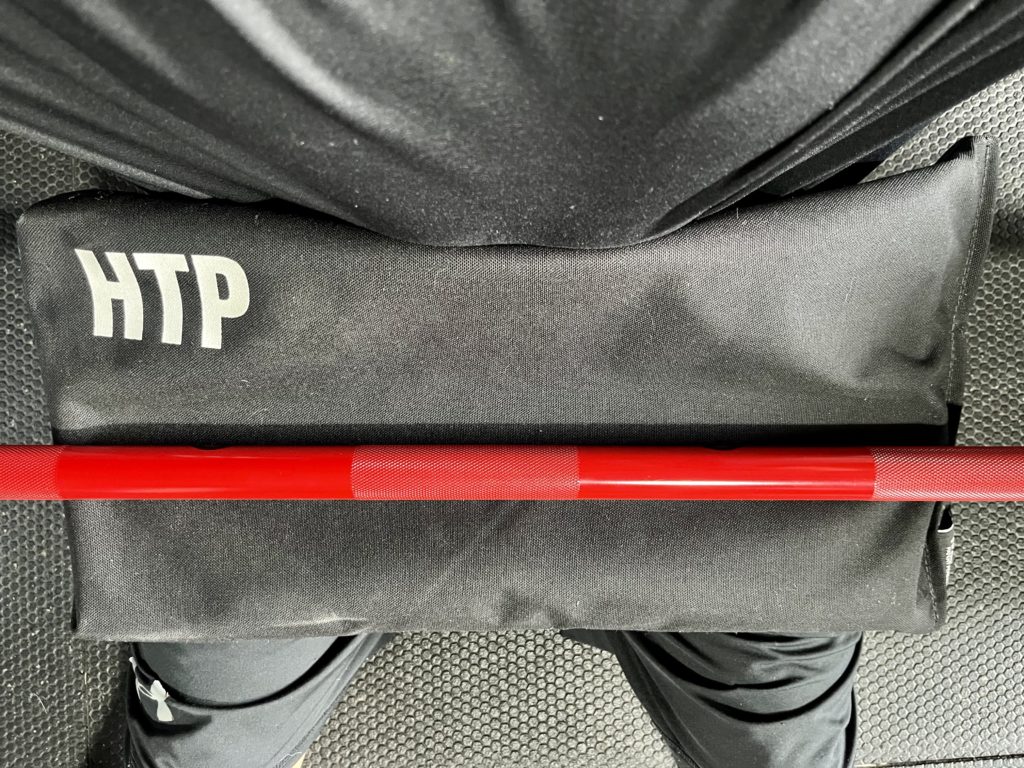
You wanna make sure you have some padding between the barbell and your hip bones cause it can get uncomfortable.
I’ve seen people use yoga mats and rolled up towels but I prefer to use a hip thrust pad.
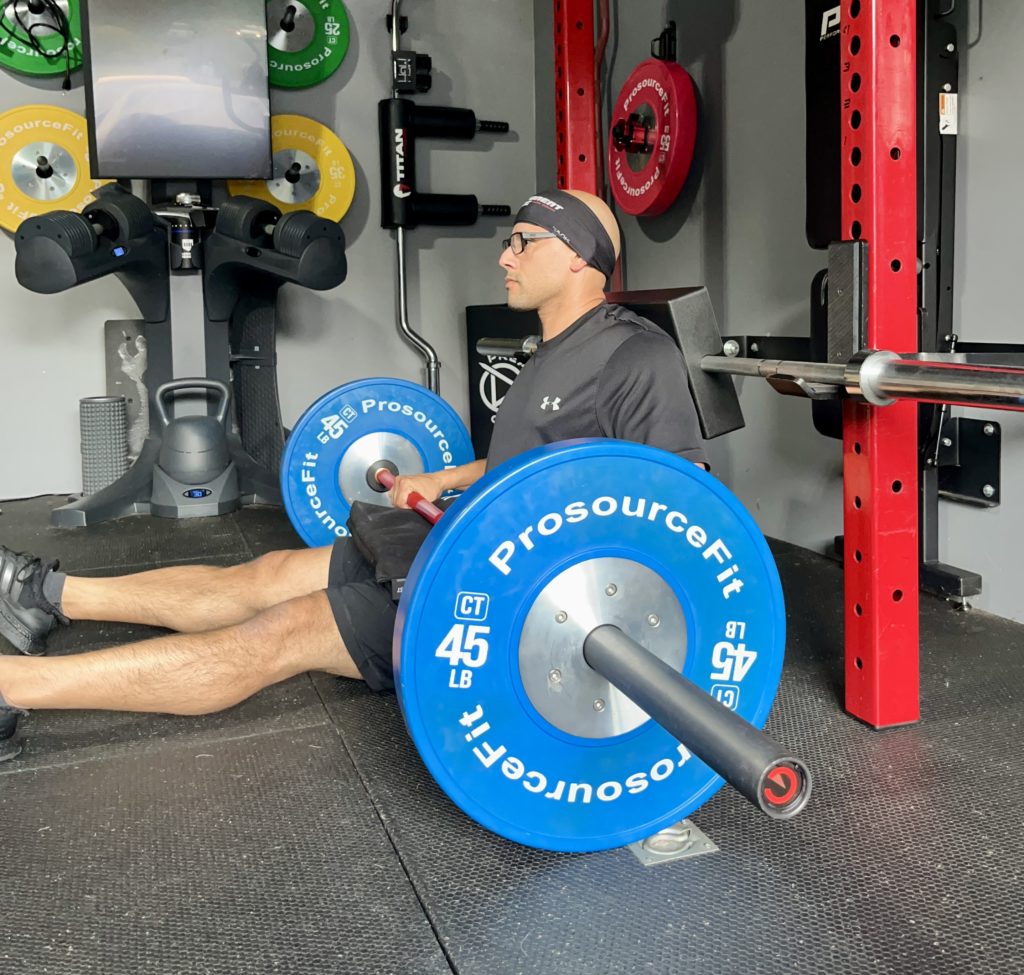
Here’s what my barbell hip thrust set up looks like.
The pivot pad starts vertically on my upper back.
Hip thrust pad is above my hips cushioning the weight of the barbell.
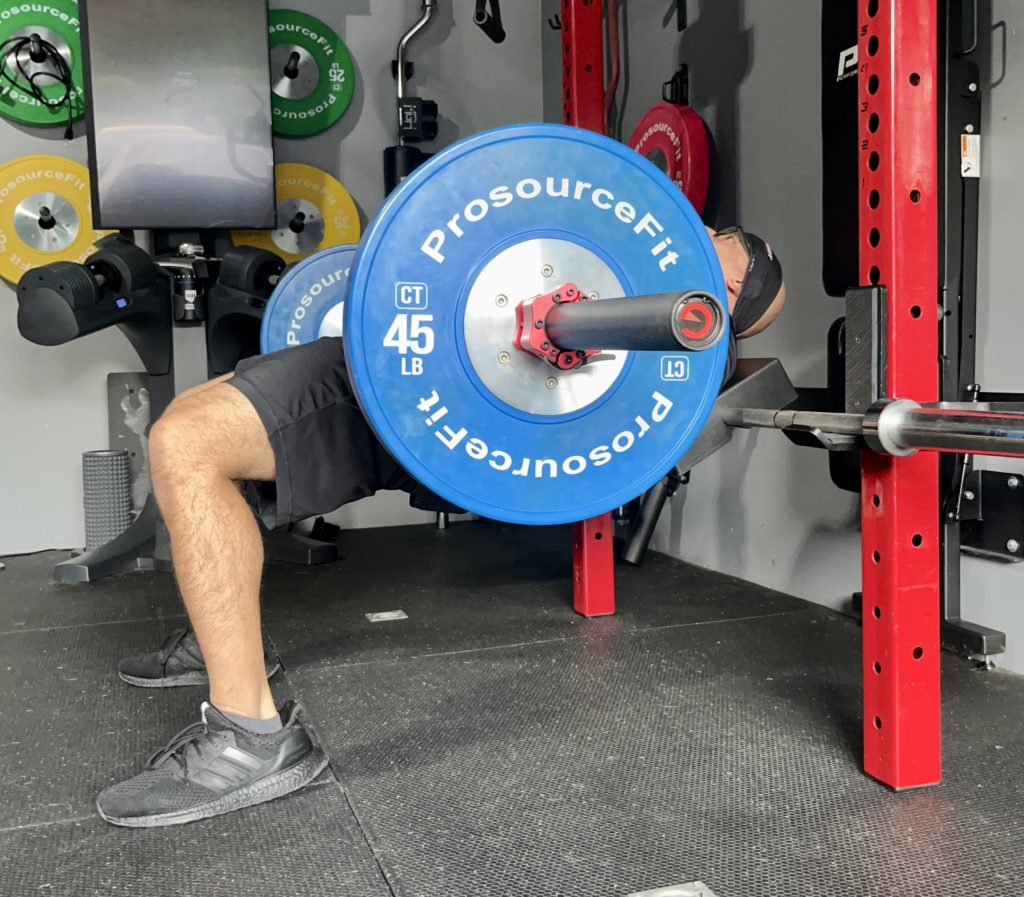
When I do my lift, the pivot pad moves with my back and it feels much comfortable than the side of a weight bench.
Resistance Bands
I’ve done resistance bands hip thrusts on a machine I used to own.
And I could definitely feel my glutes working, especially at the top of the movement where the bands have more tension.
I haven’t tried using resistance bands together with the Pivot Pad yet, but it would just require something to anchor the bands down.
Dumbbell Hip Thrusts
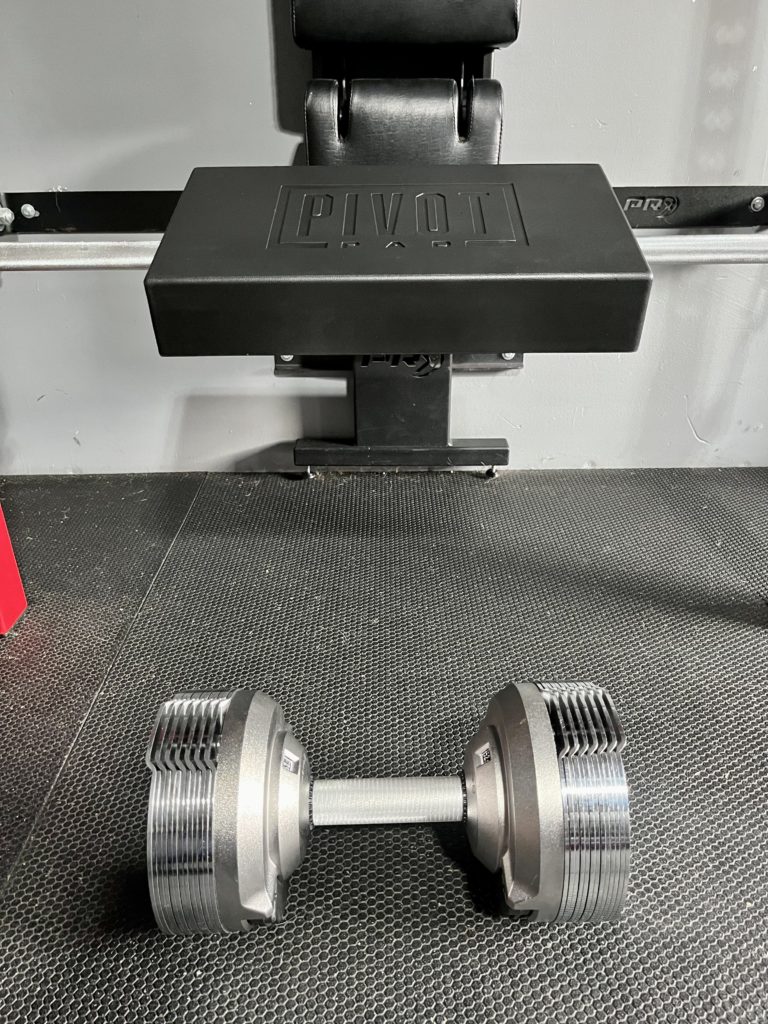
Sometimes I’ll use my dumbbells when doing single leg hip thrusts or doing high reps.
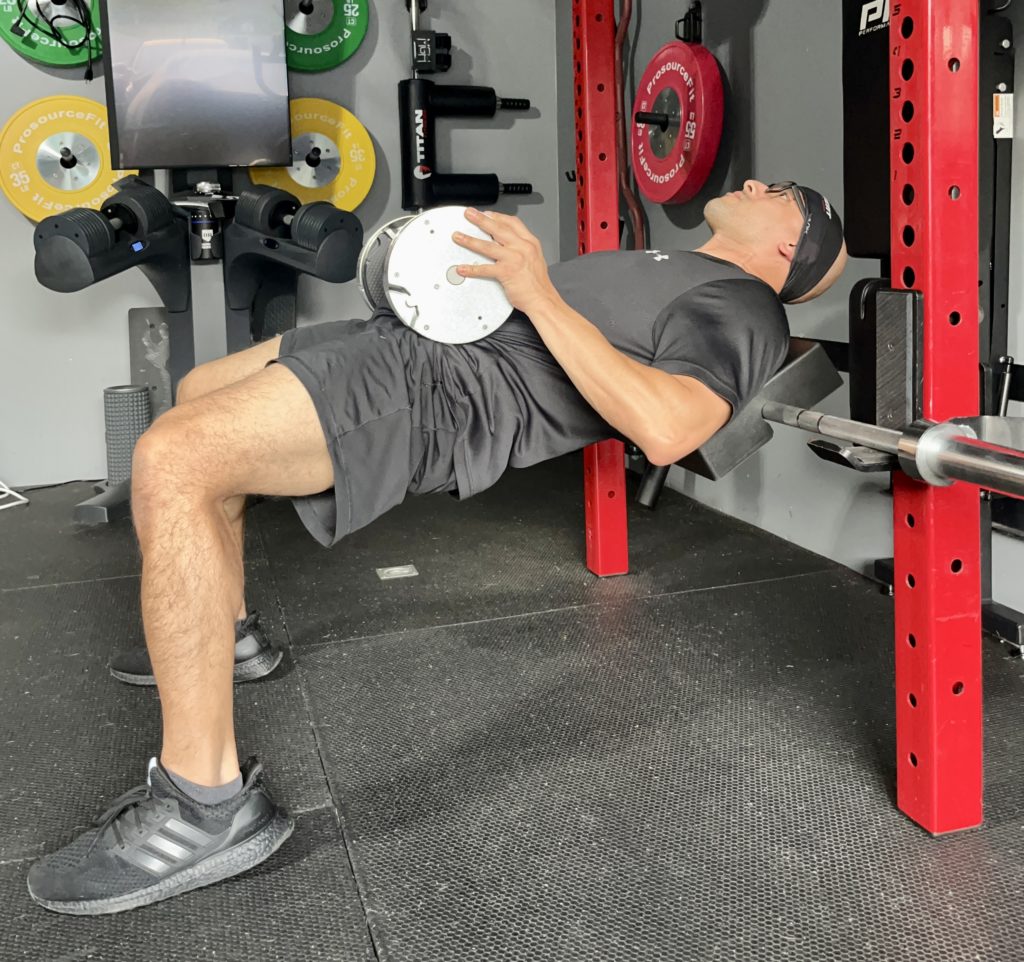
This way it’s a bit more challenging than just bodyweight but not as time consuming to set up as with barbell hip thrusts.
Sandbags
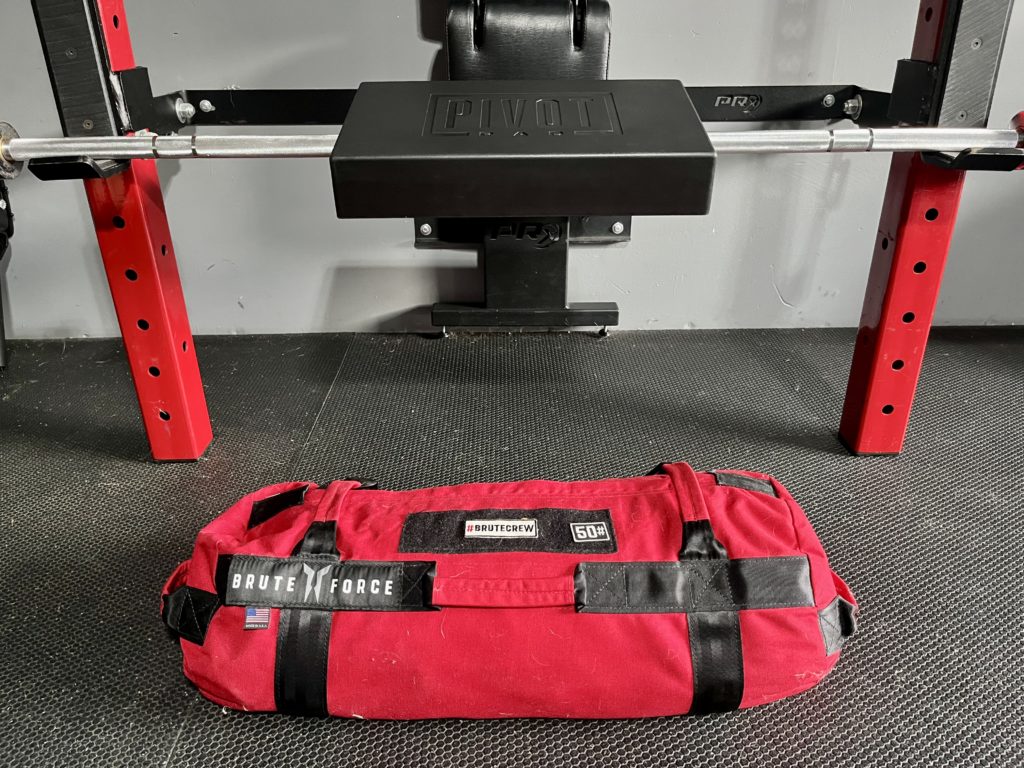
And lastly, you can’t go wrong with sandbags.
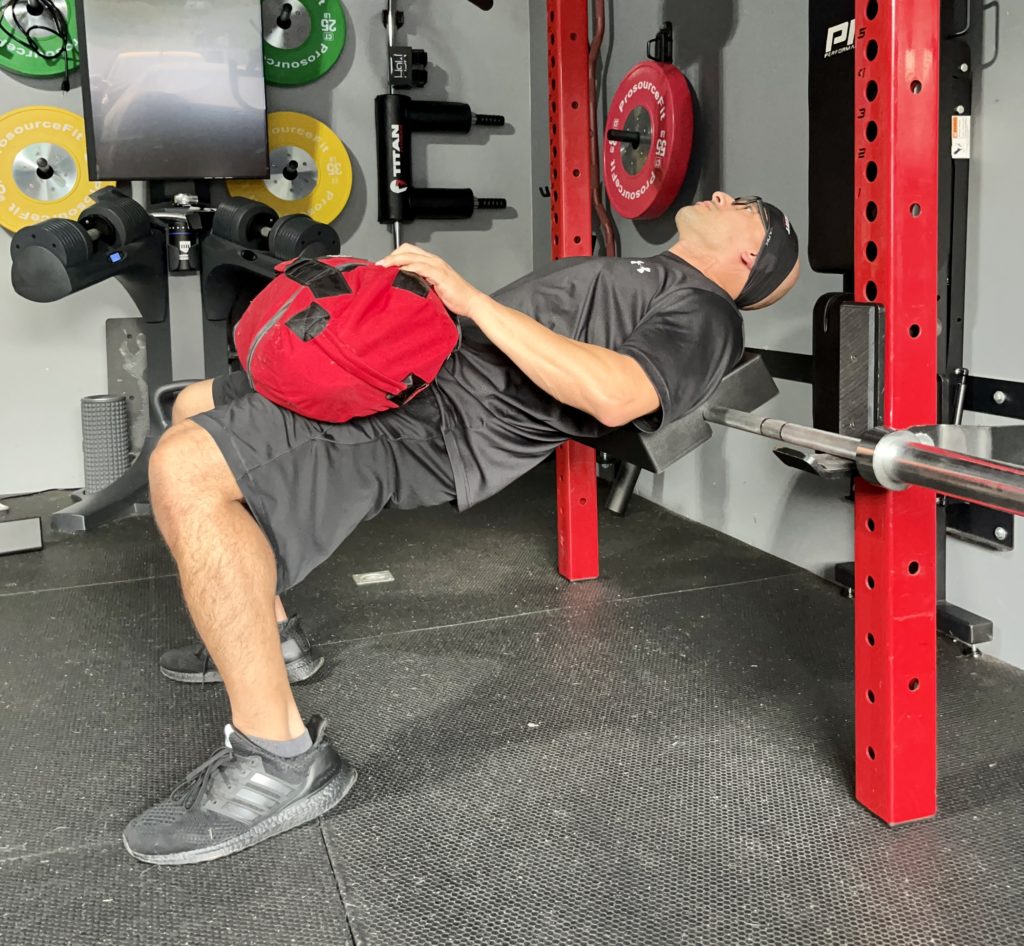
I toss them on my hips and thrust away.
So as you can see, I’ve shown you how to do hip thrusts on the Pivot Pad with different equipment.
Just get creative with what you have and you can do hip thrusts in case you don’t own a second barbell.
AbMat Pivot Pad Alternatives
Core Home Fitness Glute Drive Plus
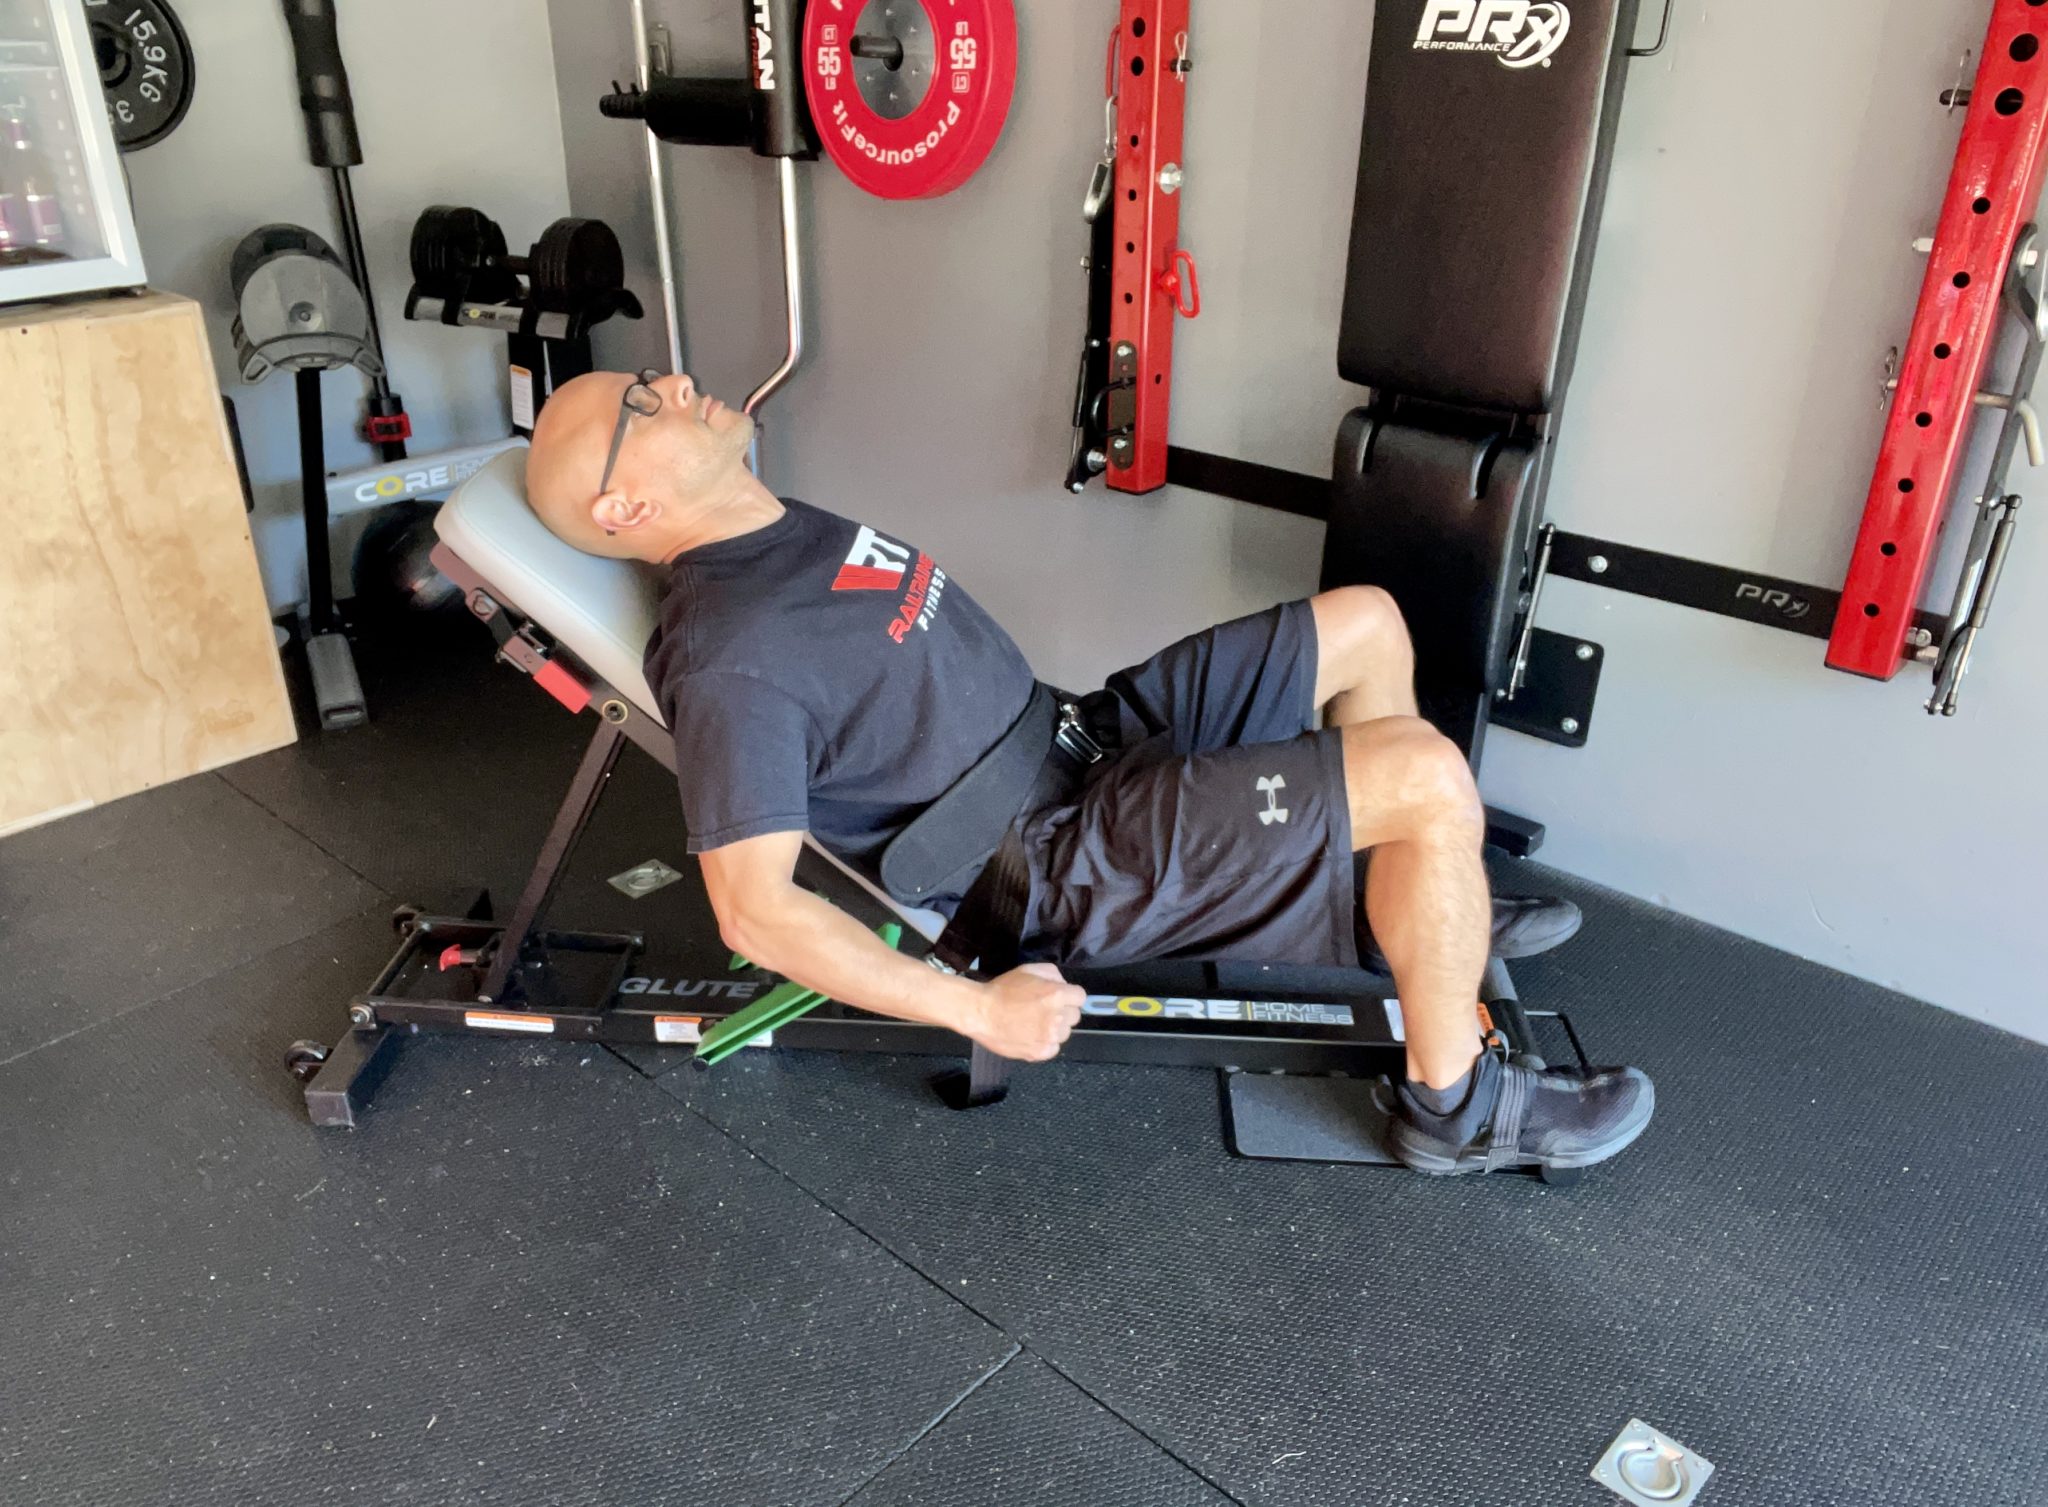
I’ve reviewed a home version of a hip thrust machine before and it works well but it’s 5 feet long.
And as you know, real estate in a garage gym is crucial so we don’t end up cluttered.
This is where the Pivot Pad’s 16″ space saving design comes in clutch.
I use the AbMat Pivot Pad in combination with their hip thrust pad and a barbell to make it work just like a hip thrust machine.
Rogue Multi-use Rack Roller

The Rogue Multi-use rack roller is rack mounted so it doesn’t up a lot of space.
And aside from hip thrusts, I can also use this for Bulgarian split squats, as a lat pulldown lap bar, and as lower back extension machine hack.
Freak Athlete Hyper Pro
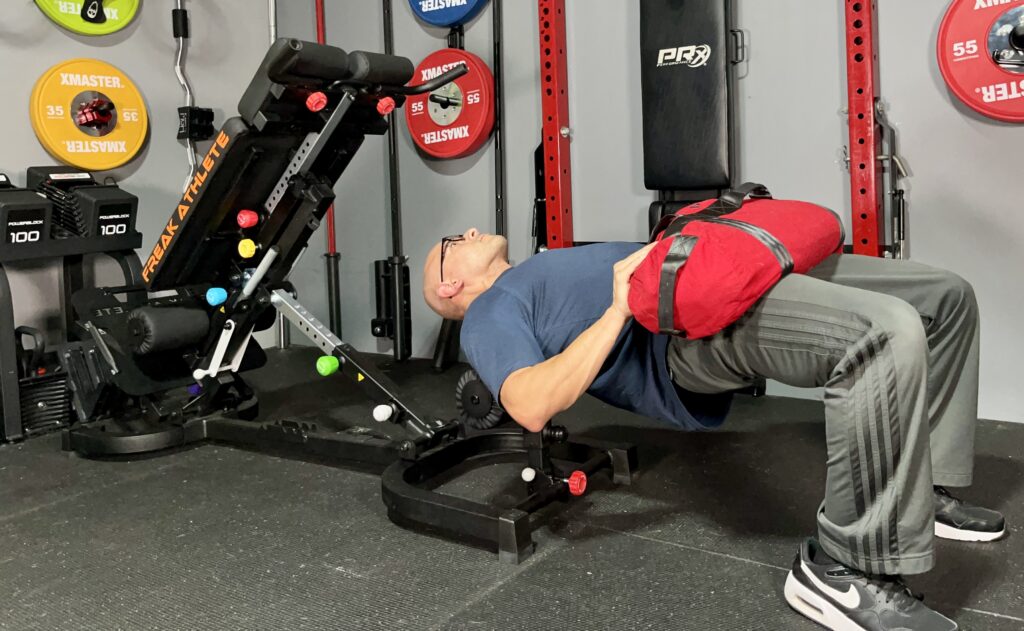
The Freak Athlete Hyper Pro has a detachable leg roller that doubles as a hip thrust bench and Bulgarian split squats stand.
This is an excellent option for those who want a machine with multiple uses (who doesn’t want that).
I can adjust the height of the hip thrust pad to fit my height.
BC Strength Thruster 3.0
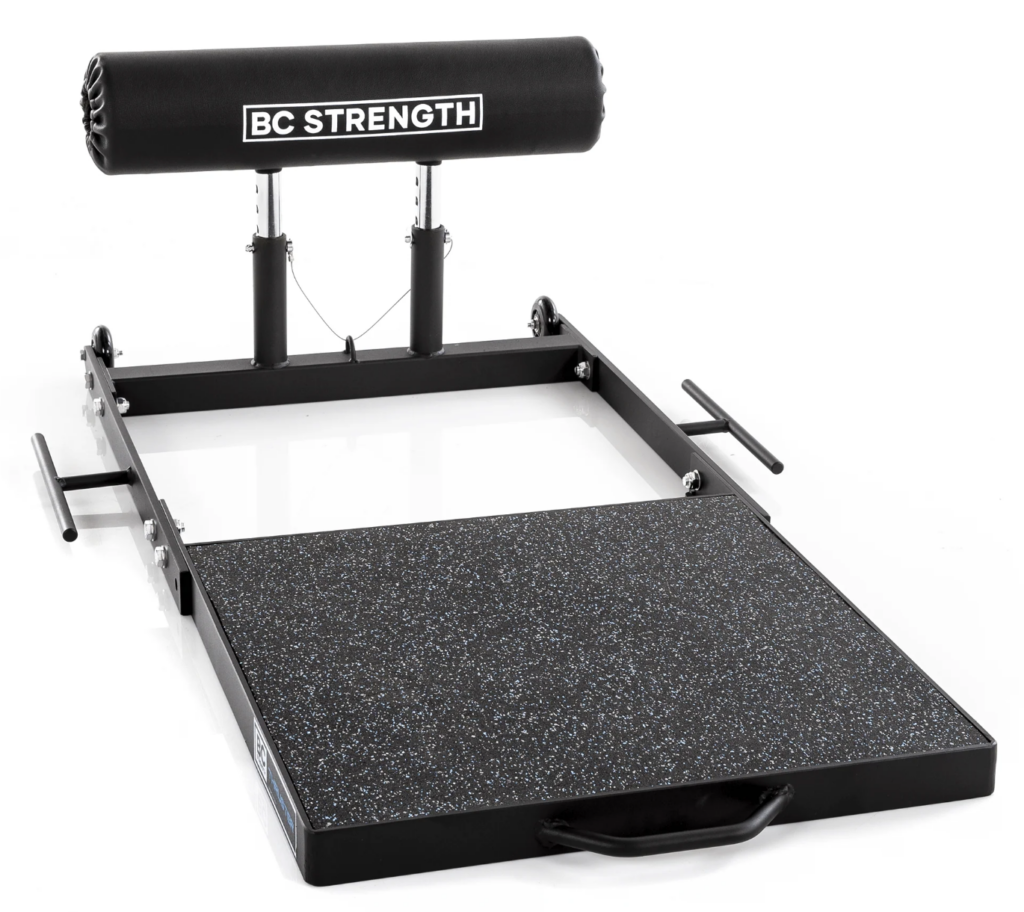
The BC Strength Thruster 3.0 is a dedicated hip thrust machine that can be used with weights and/or resistance bands.
With a height adjustable pad, it also works for Bulgarian split squats and Nordic curls.
Other Exercises I Can Do On The Pivot Pad
Preacher Curls
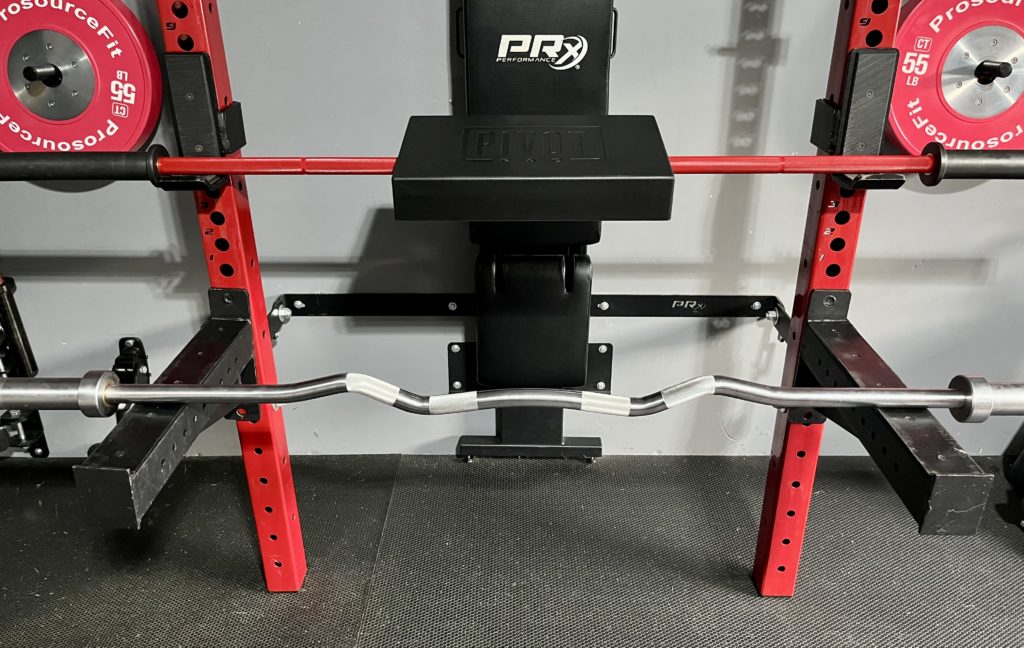
I own the AbMat Preacher Pad and can also use the Bulletproof Isolator to do preacher curls, but if you don’t …
Here’s how you can set up the pivot pad as a preacher curl bench.
First, set up spotter arms above knee height and rest your preacher curl bar on them.
If you don’t own a rackable preacher curl bar, then use a bench instead of lever arms to rest the bar.
Move the J-cups up higher at about the level of your elbows and rest the barbell with the Pivot Pad on it and you’re all set.
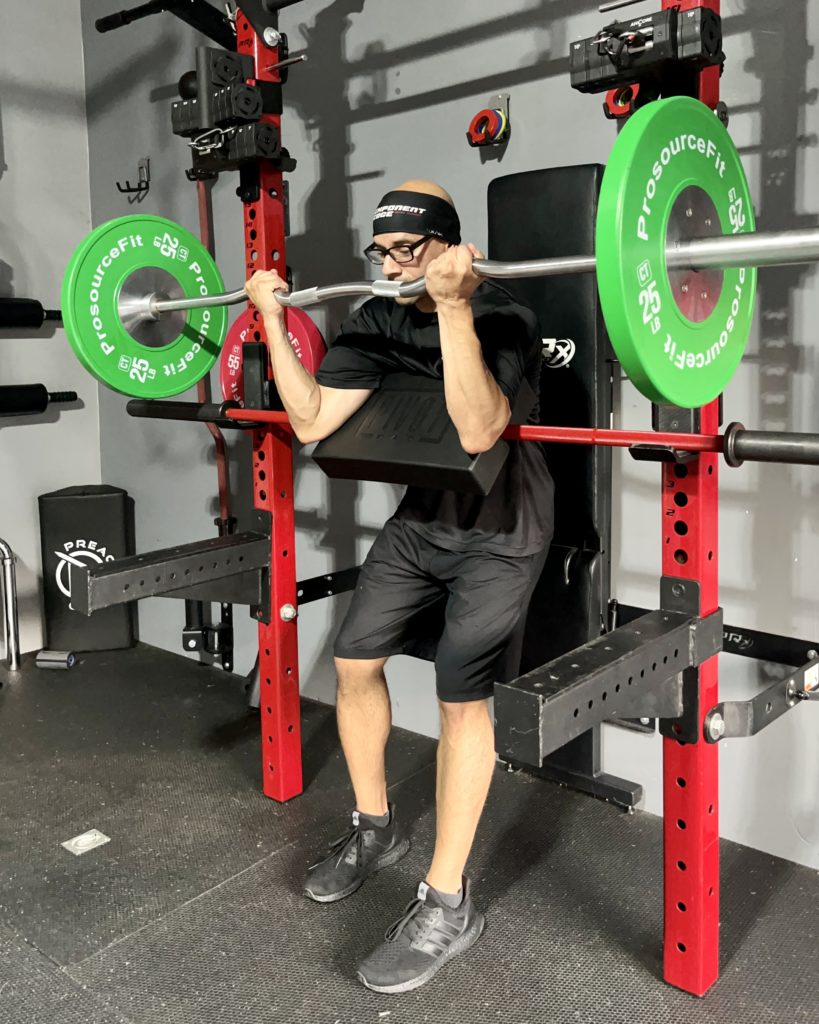
Now I can use the pivot pad as a preacher bench without taking up more space in my garage gym.
I can also skip the preacher curl bar and use dumbbells one arm at a time.
Glute Marches
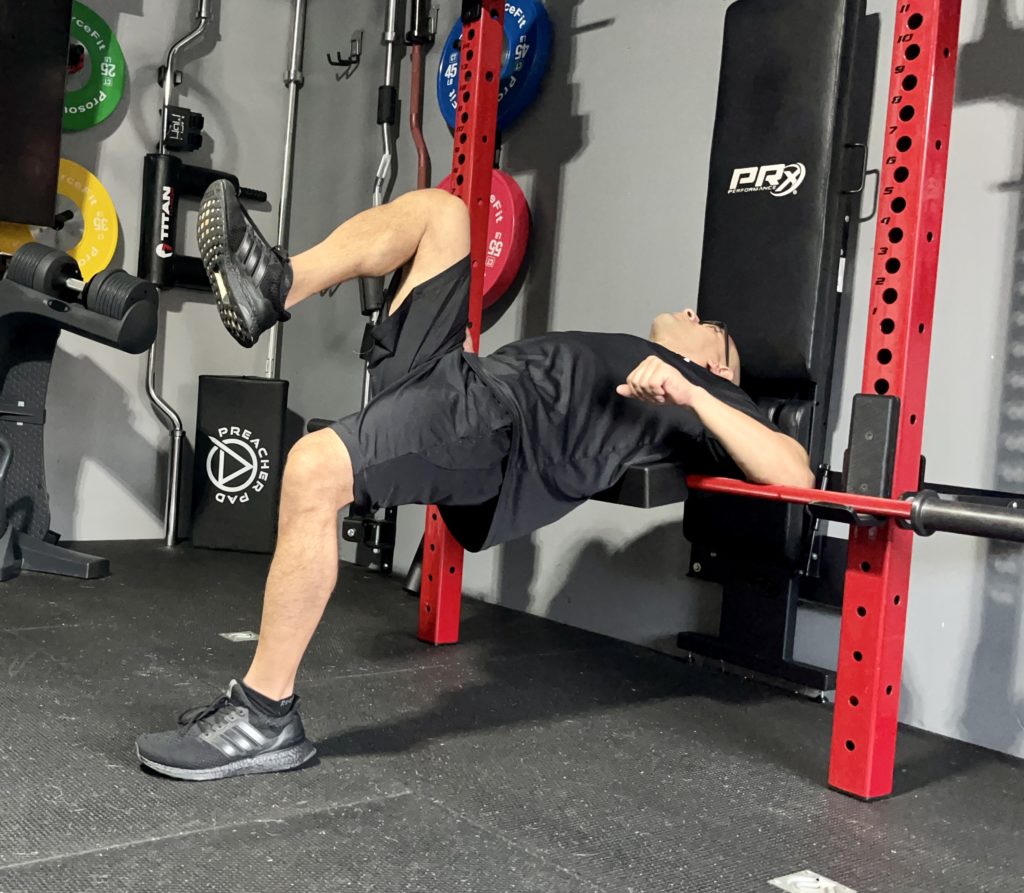
If single leg hip thrusts are too much of a challenge for you, try glute marches.
For this I do a bodyweight hip thrust, then stay in the top position while bringing one leg toward my chest.
Hold for a couple seconds, bring that leg down, and bring the other leg up.
Continue alternating between legs while the planted leg keeps your glute working.
Couch Stretch
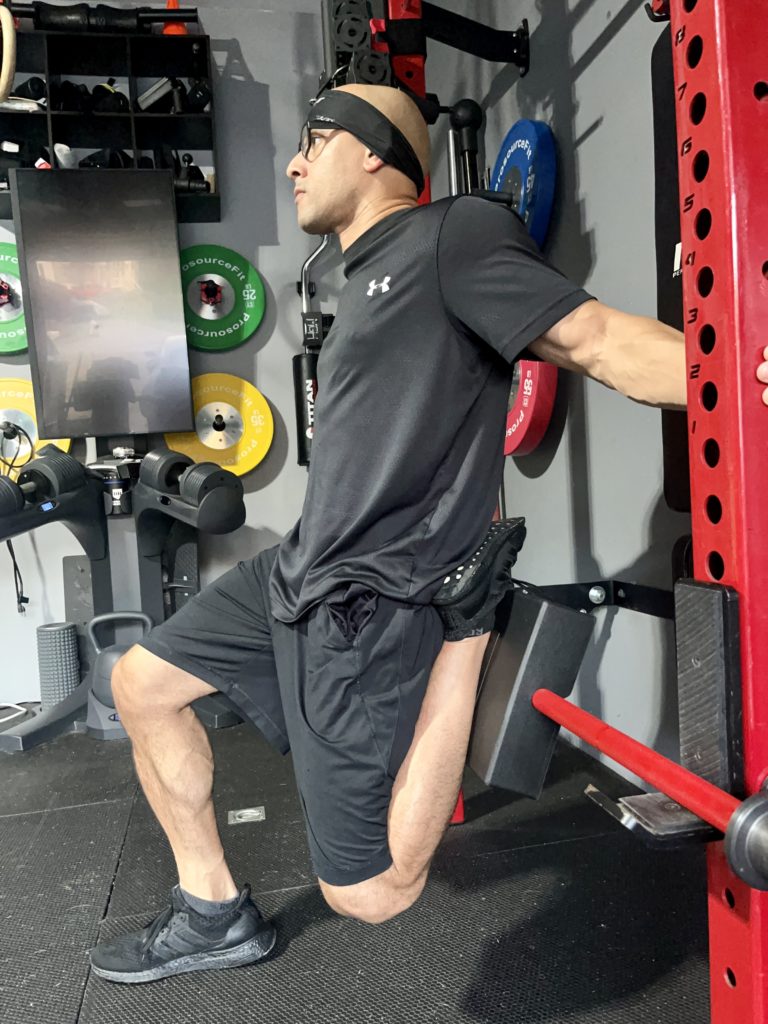
I like doing a couch stretch on the pivot pad because I can really sink into it.
This gives my quads and hip flexors a deep stretch especially when I lean back and sink at the same time.
Decline Push Ups
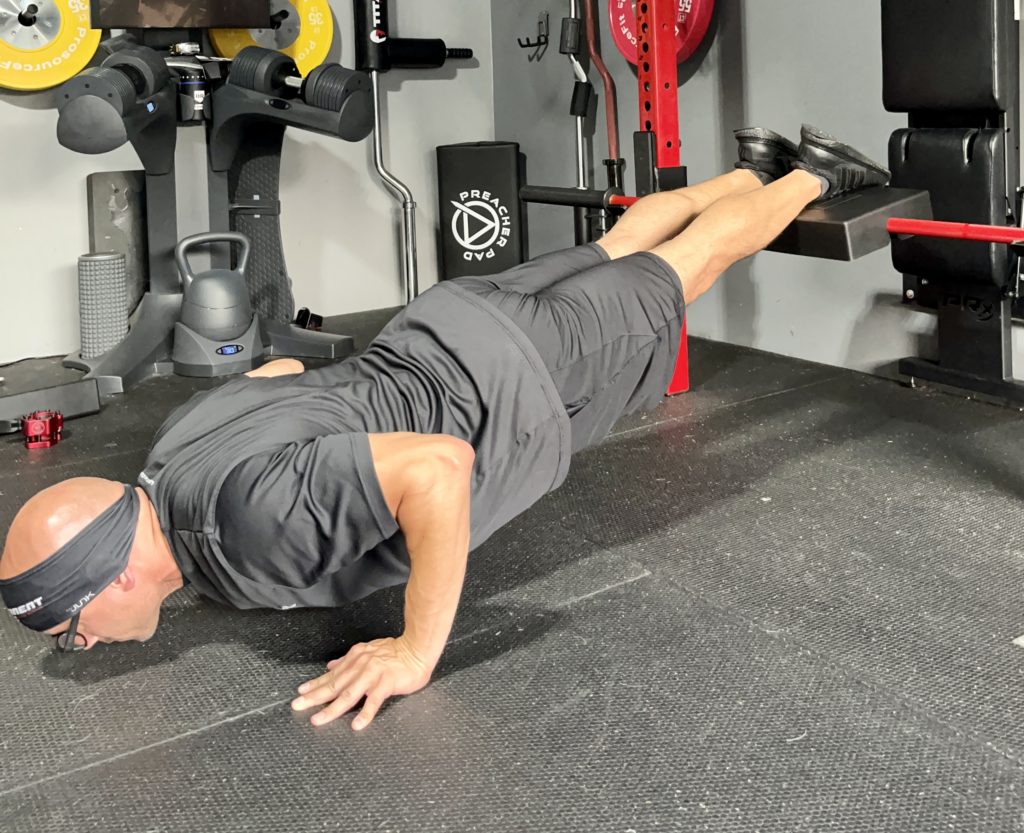
This one is self explanatory.
The pad pivots with my legs so the push ups move smoothly.
Copenhagen Planks
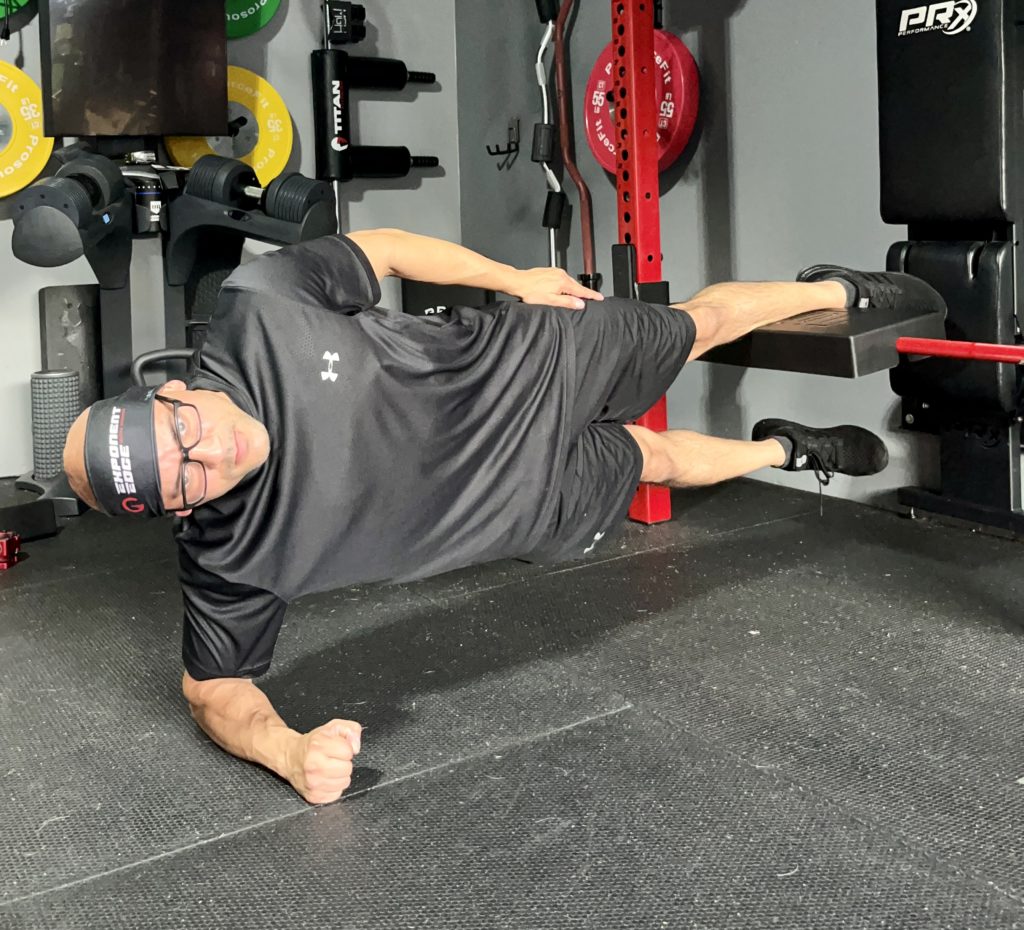
The pivot pad is perfect for Copenhagen planks.
I can work my obliques by resisting gravity from pulling my spine towards the floor.
And I’m working the adductor muscles of my top leg at the same time.
Storing The AbMat Pivot Pad
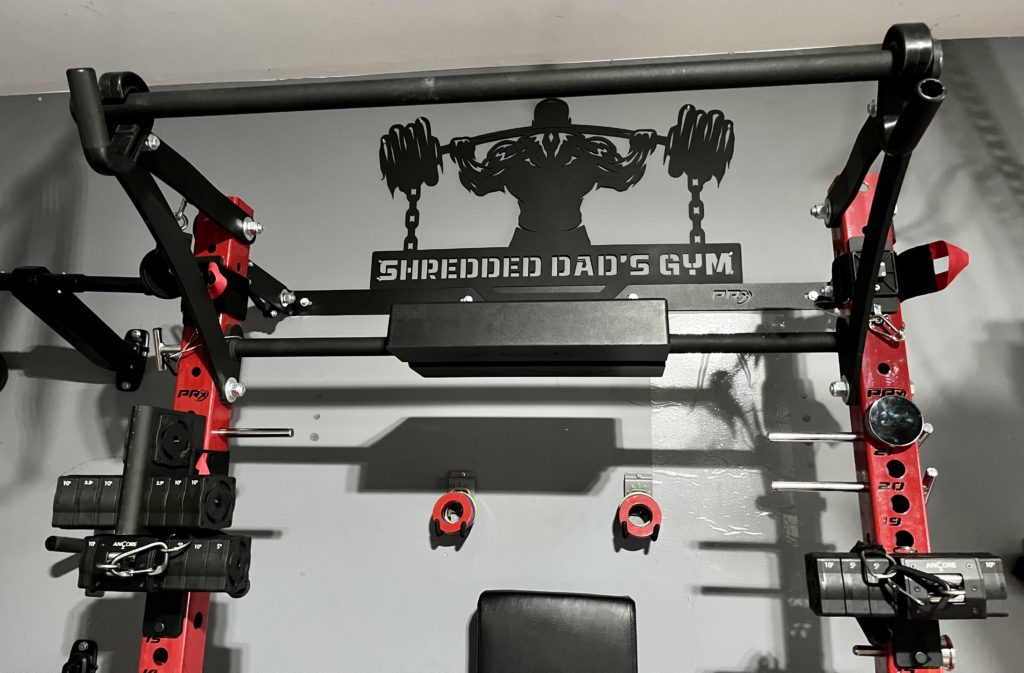
Since the pad fits into a bar, I can store it several ways.
I have a pull up bar on the inside of my PRx rack that I barely use so I can just snap the pad on to it.
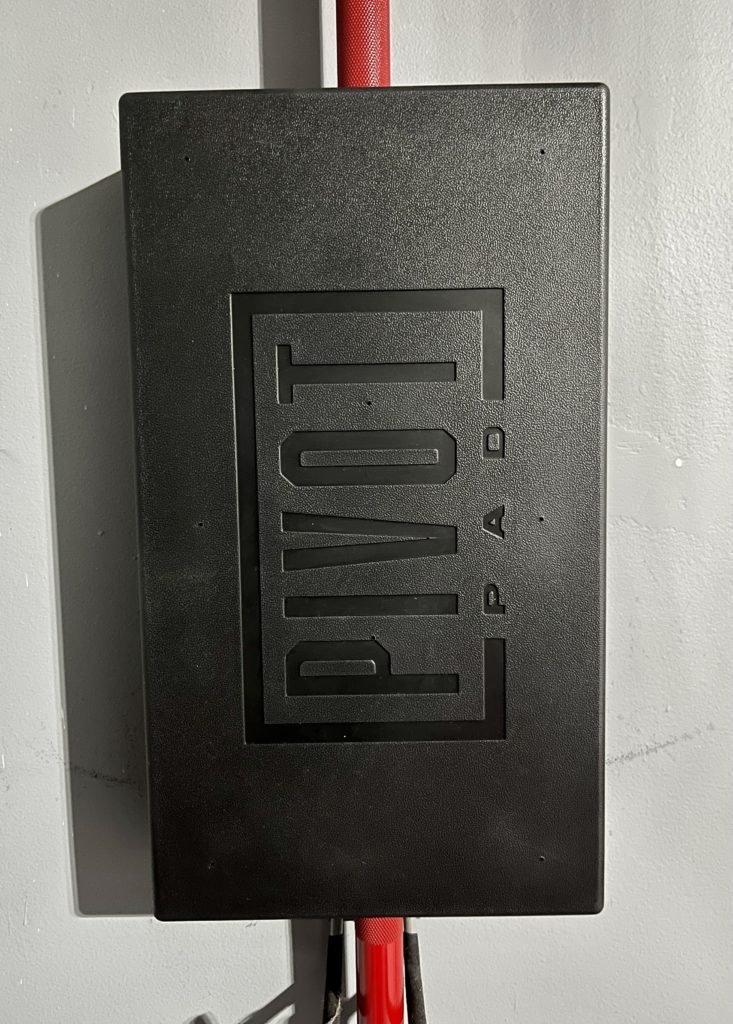
Or I can just snap it into a barbell once I have it stored up right on my wall.
If you have a gym storage rack or any type of shelf, it can also sit there without taking up much space.
Pros & Cons
Pros
- Height selection: I can set the height of the pivot pad so that it fits my body
- Secure: Clips on to my barbell and doesn’t come off
- Comfortable: Pivots with my body unlike the edge of a weight bench and like all AbMat padding, it is very comfortable
- Space saving: Takes up very little space compared to a hip thrust machine
- Storage: I can easily store this on a shelf or keep it on a barbell
- Versatile: I can use it for hip thrusts, preacher curls, glute marches, decline push ups, Copenhagen planks, etc.
- Spine support: The pivot pad gives me better spine support than a bench
Cons
- Grip: If I was to improve something, I’d add a more grippy material to the top surface of the pad but I’m just being picky
- Price: It’s a bit on the pricey side but still less expensive than a hip thrust machine
AbMat Discount Code
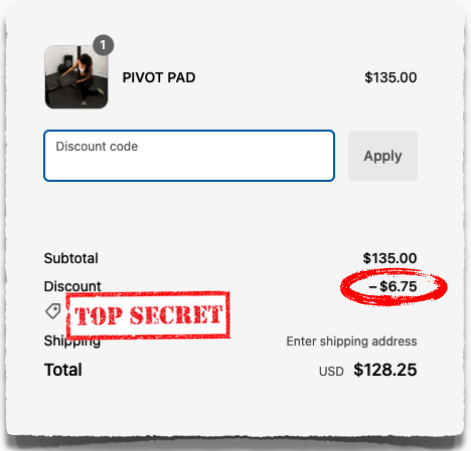
The Pivot Pad currently sells for $135 but I’m gonna show you how to get a 5% discount.
All you have to is click the red button below to reveal the most current AbMat coupon code.
AbMat Pivot Pad Review
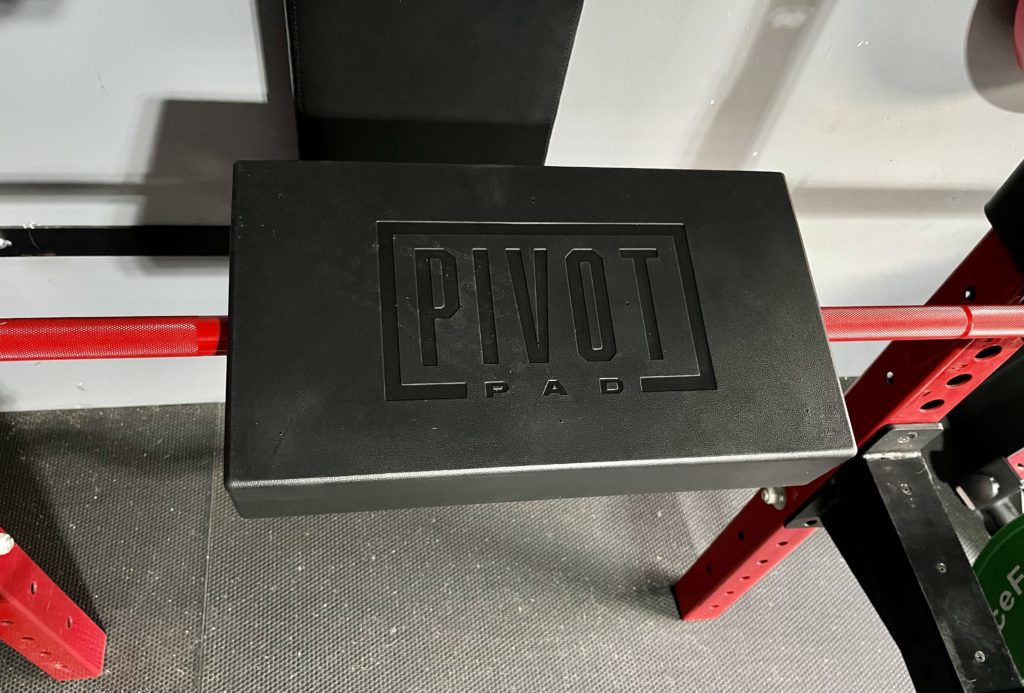
Overall I’m very happy with the Pivot Pad.
I think it’s genius because I’m just repurposing equipment I already have to replace a space hogging hip thrust machine.
It’s made of durable material, comfortable, moves with my body, and I can store it anywhere.
Check Out The Pivot Pad Here

Shredded Dad is a home gym equipment reviewer and fitness equipment expert specializing in hands-on testing of strength and conditioning equipment.
His work has been featured by leading fitness brands and quoted by major media outlets including Yahoo Health, GQ, AskMen, LifeWire, Wales Online, and others.
ShreddedDad.com

